ERT-F2xxx DVR User Manual
UM ERT-F2xxx 030118NA 32
Mouse Operation in Live View
Quick access to the sub-menus that you frequently visit.
Enter the main menu of the system by right clicking the mouse.
Switch to the single full screen by choosing channel number from the drop-down list.
Adjust the screen layout by choosing from the drop-down list.
Switch to the previous screen.
Switch to the next screen.
Enable/disable the auto-switch of the screens.
Start continuous recording or motion detection recording of all channels.
Enter the IP Camera Management interface, and manage the cameras.
Playback
Enter the playback interface and start playing back the video of the selected channel
immediately.
Four modes of output supported, including Standard, Bright, Gentle, and Vivid.
Aux Monitor
The DVR checks the connection of the output interfaces to define the main and
auxiliary output interfaces. The priority level for the main and aux output is HDMI >
VGA.
When both the HDMI and VGA are connected, the HDMI is used as main output and
the VGA is used as the aux output.
The dwell time of the live view configuration must be set before using Start Auto-switch.
The right-click menu varies by model. Please refer to the actual GUI menu of the device.
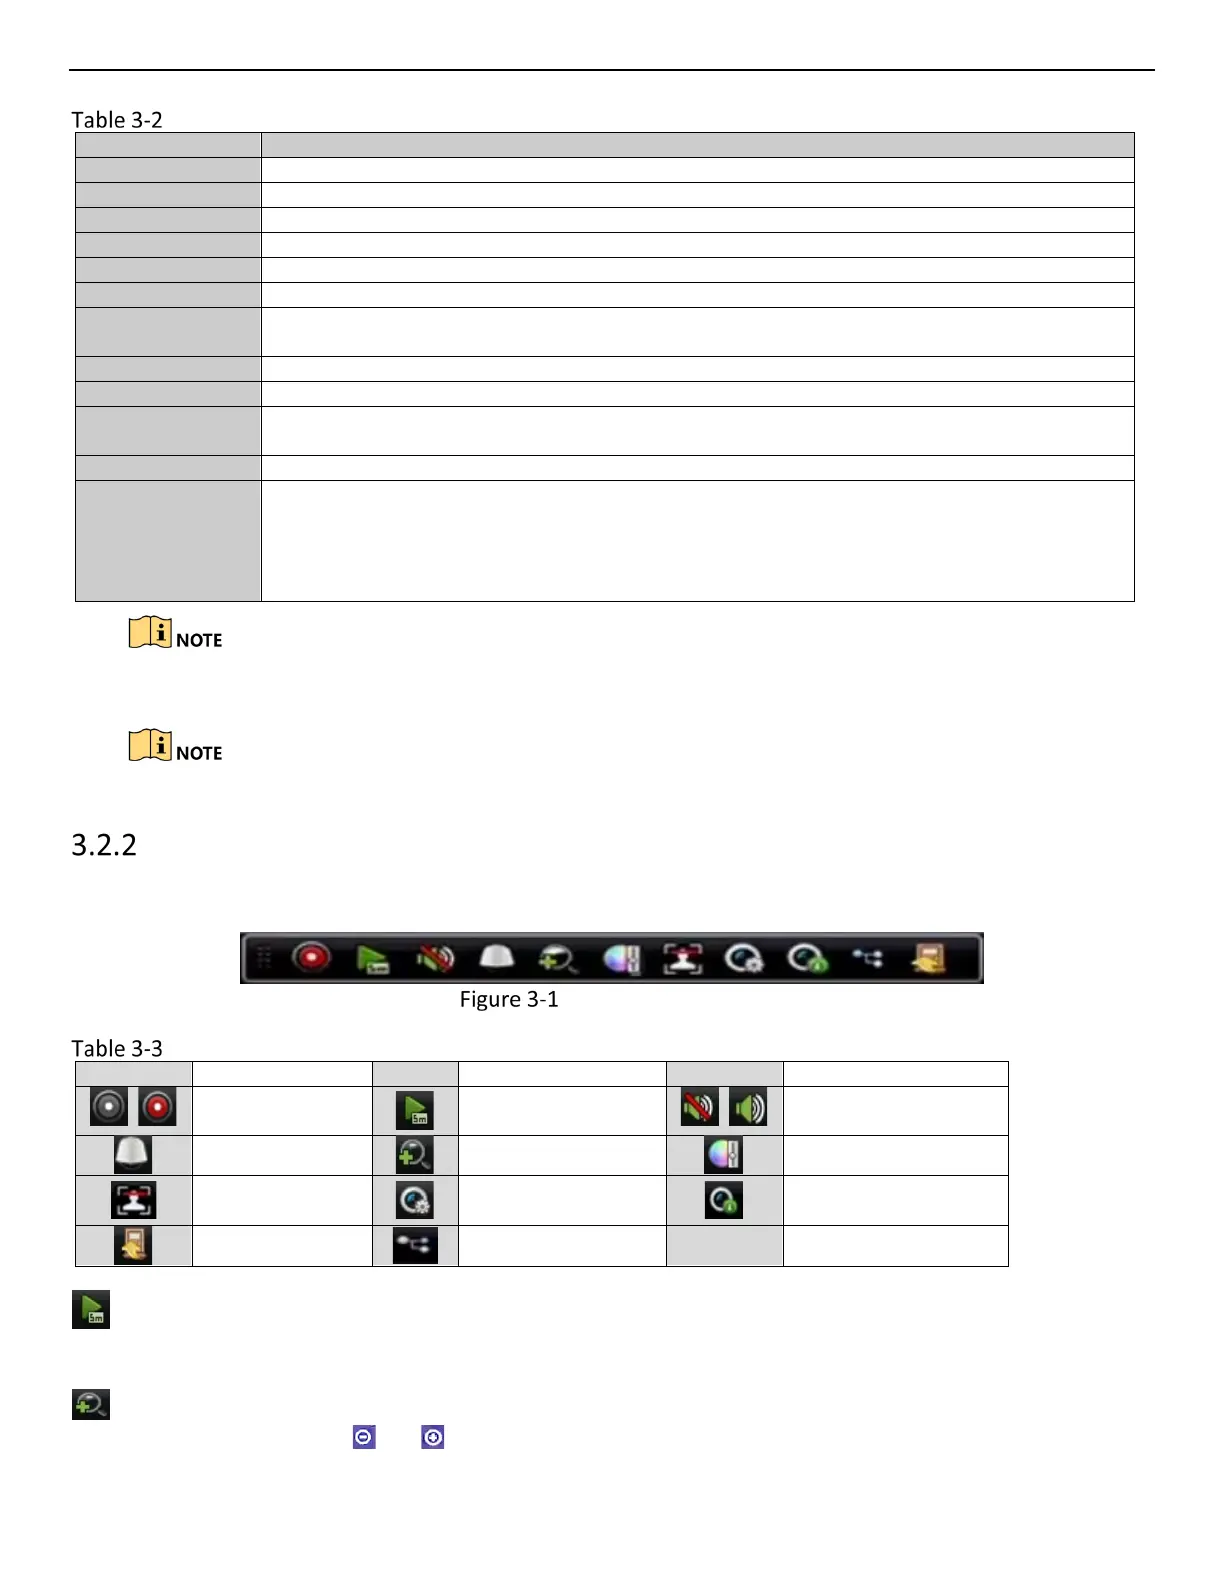
Quick Setting Toolbar in Live View Mode
On each channel’s screen, single click the mouse in the corresponding screen to display a quick setting toolbar.
Quick Setting Toolbar
Description of Quick Setting Toolbar Icons
Enable/Disable
Manual Record
Instant Playback
Mute/Audio on
PTZ Control
Digital Zoom
Image Settings
Face Detection
Live View Strategy
Information
Close
Main/Sub-Stream
Instant Playback shows only the record in the last five minutes. If no record is found, it means there is no
record during the last five minutes.
Digital Zoom zooms in the live image. You can zoom in the image to different proportions (1 to 16x) by
moving the sliding bar from to . You can also scroll the mouse wheel to control the zoom in/out.
 Loading...