80 43-TV-25-30 Iss.6 GLO Aug 07 UK
Web
(Main Menu > Configure > Setup > Edit Setup > Comms > Comms Services > Web)
The Web browse function is enabled/disabled from this menu. Select this to enable and al-
low the recorder to be browsed on a web page. Internet access is required. The Web button
is password protected if passwords are enabled. For web browsing information see “Web
Browser” on page 233 and “Internet Security Settings” on page 234.
See “Level Permissions” on page 173 for information on how to Web Browse and have
full remote control of your recorder from your PC. The Remote View function is a firmware
option that is activated from the Factory menu > “Credits” on page 102.
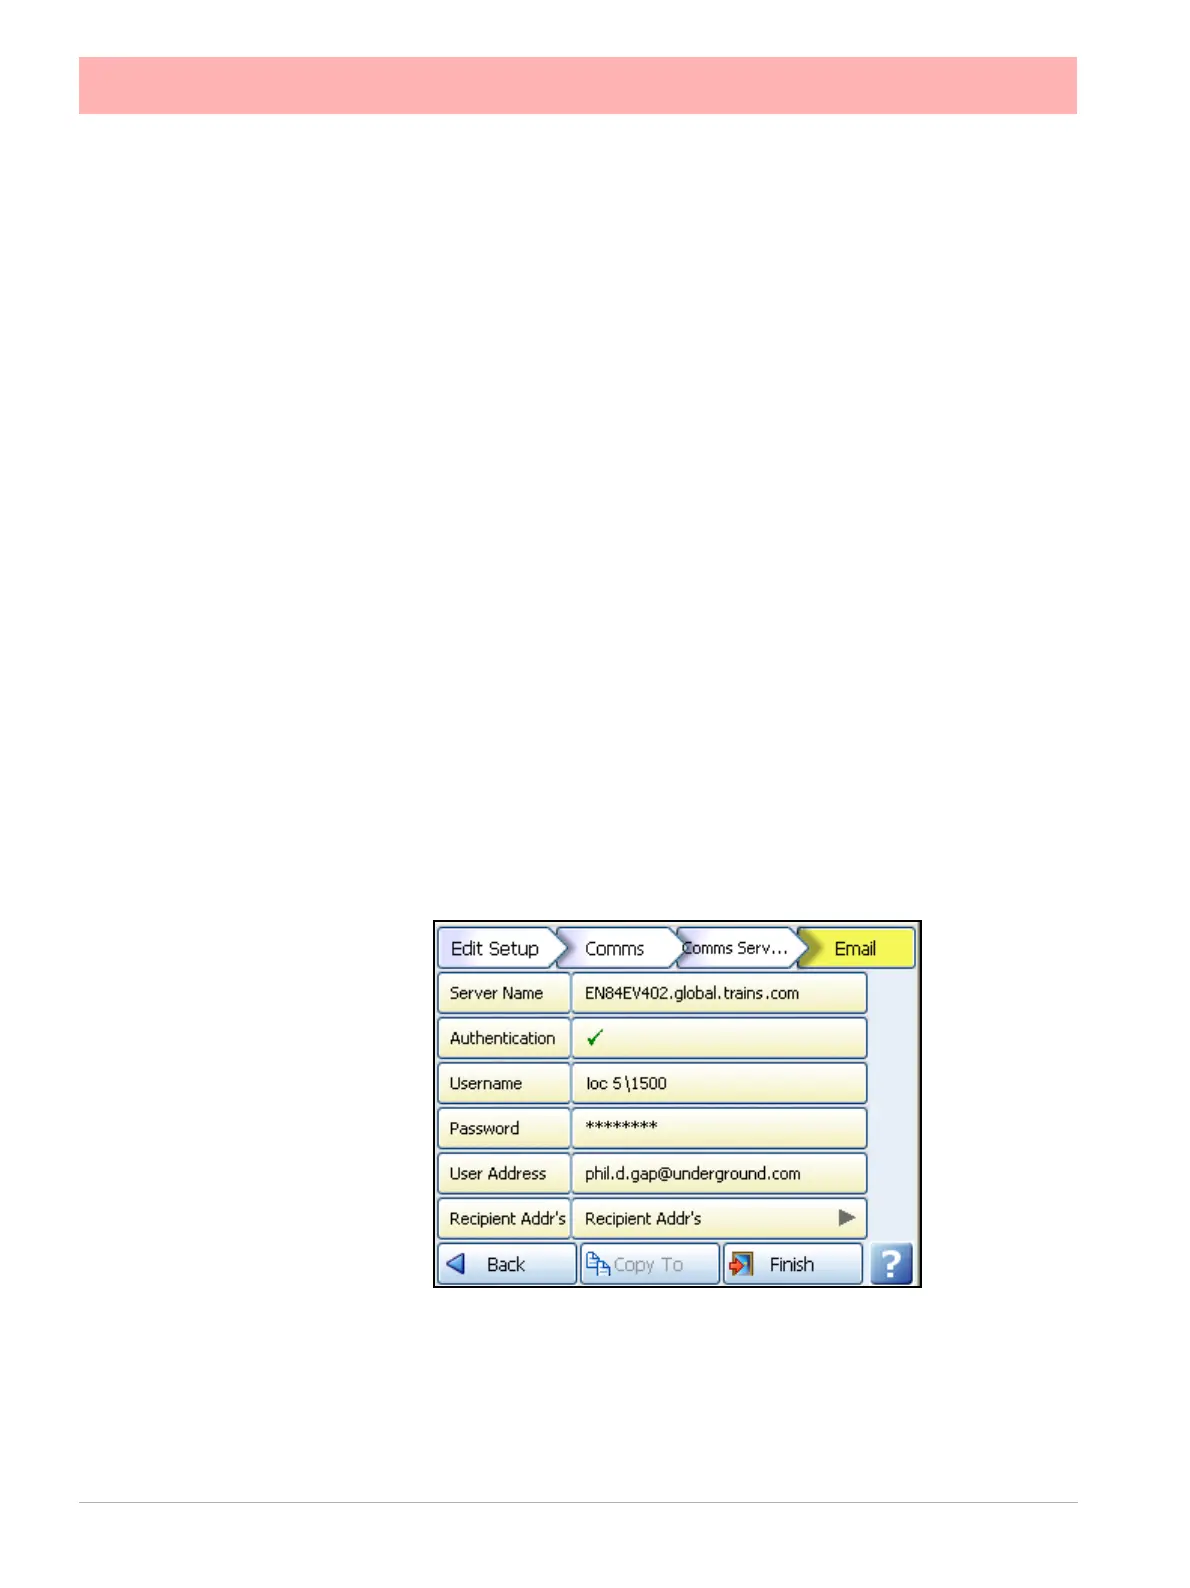
Email
(Main Menu > Configure > Setup > Edit Setup > Comms > Comms Services > Email)
Set up this email menu in order to send emails for the following:
1. When an Alarm is triggered, see Email Alarms in the “Alarms Menu” on page 68
2. An Email can be sent as a part of an Event occurring, such as:
• Alarms – In to, Out of or Acknowledged
• Totaliser – Start, Stop or Reset
• Digital Inputs – On, Off or State change
• TC Burnout – on a specific Analogue Input channel
• Scheduled Events – Once, Interval, Specific days, Month End.
For more information on setting up events that will send emails, see “Event Effects” on
page 91.
Server Name - Enter your server name that will handle the transfer of the emails. Ask your
IT Admin for the server details. One method of finding this information is to go to Microsoft
Outlook
, Tools, Email Accounts, select “View or change existing email accounts”. Select
your email server from the box eg. Microsoft Exchange Server
and click on the Change
button. The server name you require is displayed in the Exchange Server Settings dialog.
Enter this name exactly using the on-screen or USB keyboard.
 Loading...