Configuring via the Web Server
Maintaining Cards
NetAXS™ Access Control Unit User’s Guide, Document 800-00233, Revision A 2-41
2.6.4 Displaying Reports
Use this function to display a report of all cards and card data. You can display the
cards either by the cardholder’s last name or by the card number.
Click
Cards > Reports to display the Card Reports screen.
The Card Reports screen enables you to:
• View card records by the cardholder’s last name.
• View card records by the cards’ numbers.
Steps:
1. Click the By Name tab to display the card records by the cardholders’ last
names.
2. Click the By Number tab to display the card records by the cards’ numbers.
3. Use the descriptions given in the following table to read the card records (see
“Adding New Cards“ on page 36 for more information about card data):
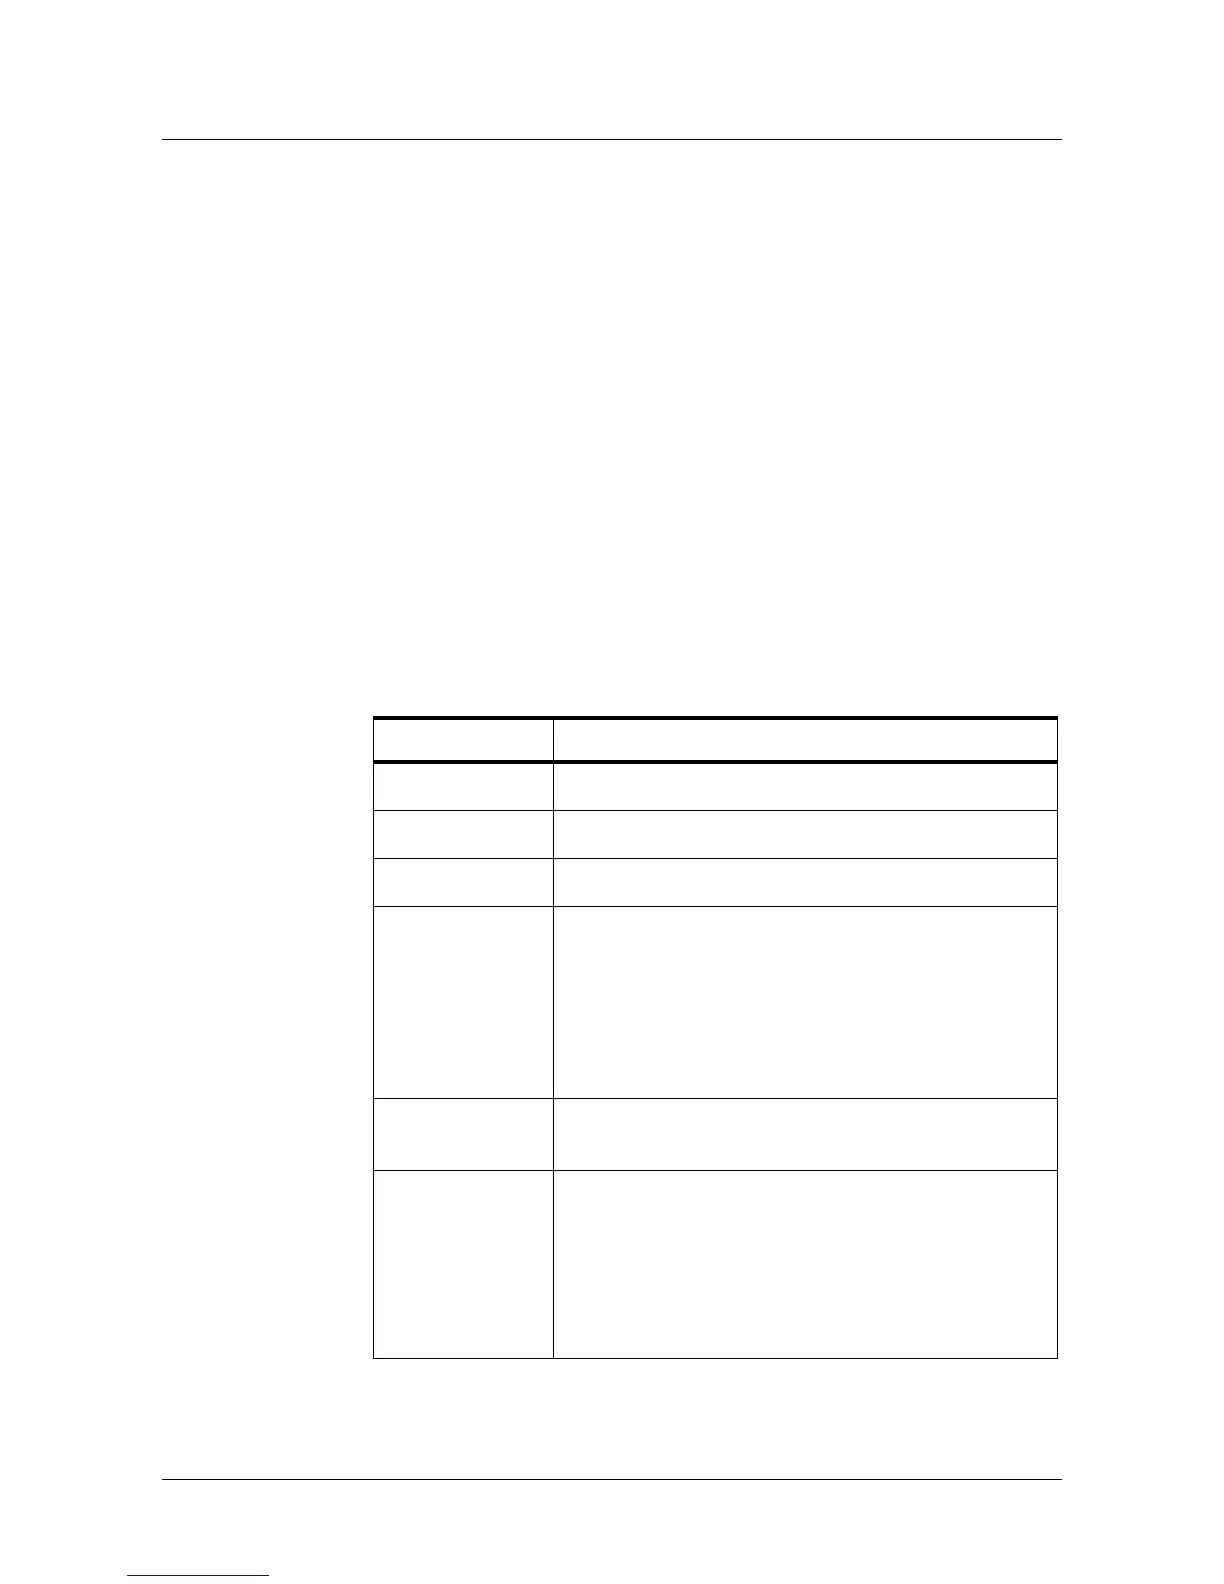
Table 2-9: Cards > Reports Field Descriptions
Field Description
Last Shows the cardholder’s last name.
First Shows the cardholder’s first name.
Card Number Shows the card number.
Site Shows the Site Code number. A Site Code is a
user-configured name that identifies the site, or location, of
the cardholder’s access. See “Site Codes Tab“ on page 9 for
more information about Site Codes. To determine the Site
Code name associated with the Site Code number, click
Configuration > System > Site Codes to display the Site
Codes tab.
PIN Shows the Personal Identification Number (PIN) for the
card holder. The PIN number has a maximum of six digits.
Access Level
Shows the access level(s) configured for the cardholder. An
access level specifies the time zone, or time schedule, dur-
ing which the card holder can be granted access at a specific
door. See “Configuring Access Levels“ on page 34 for more
information about access levels. To determine an access
level’s defined hours, click
Configuration > Access Levels
to display the Access Level Configuration screen.
 Loading...