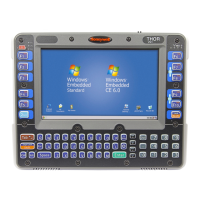
Thor VM1 with Microsoft Windows Embedded Standard 2009 User Guide 75
Fuse Requirements
•For 12VDC input, use the 10A fuse from the kit or a slow blow fuse that has a DC
voltage rating greater than 12VDC.
•For 24VDC input, use the 6A fuse from the kit or a slow blow fuse that has a DC
voltage rating greater than 24VDC.
•For 36VDC input, use the 4A fuse from the kit or a slow blow fuse that has a DC
voltage rating greater than 36VDC.
•For 48VDC input, use the 3A fuse from the kit or a slow blow fuse that has a DC
voltage rating greater than 48VDC.
Note: For North America, a UL Listed fuse is to be used.
Warning: For proper and safe installation, the input power cable must be
connected to a fused circuit on the vehicle. If the supply
connection is made directly to the battery, the fuse should be
installed in the positive lead within 5 inches of the battery’s
positive (+) terminal. Use VM3055FUSE (or equivalent) to
install the fuse as shown below:

 Loading...