To remove the CD/DVD/DAT, follow these steps:
1. To remove the CD/DVD/DAT, depress the front locking latch to release the drive from the
chassis.
2. To disconnect the cables from the rear of the CD/DVD/DAT, slide the drive far enough from
the chassis.
3. Slide the drive completely out of the chassis.
4. Remove the rails and clips from the drive.
Replacing a CD/DVD/DAT Drive
To replace the CD/DVD/DAT, follow these steps:
CAUTION: Before attempting to install the drive into the chassis, position the data cable over
the top of the drive to avoid pinching the cable during installation.
1. Attach the rails and clips to the drive.
2. Partially slide the drive into the chassis and connect the cables to the rear of the
CD/DVD/DAT.
3. Fully slide the drive into the chassis. The drive easily slides into the chassis.
4. To properly seat the drive, use a slow, firm pressure until the release latch locks.
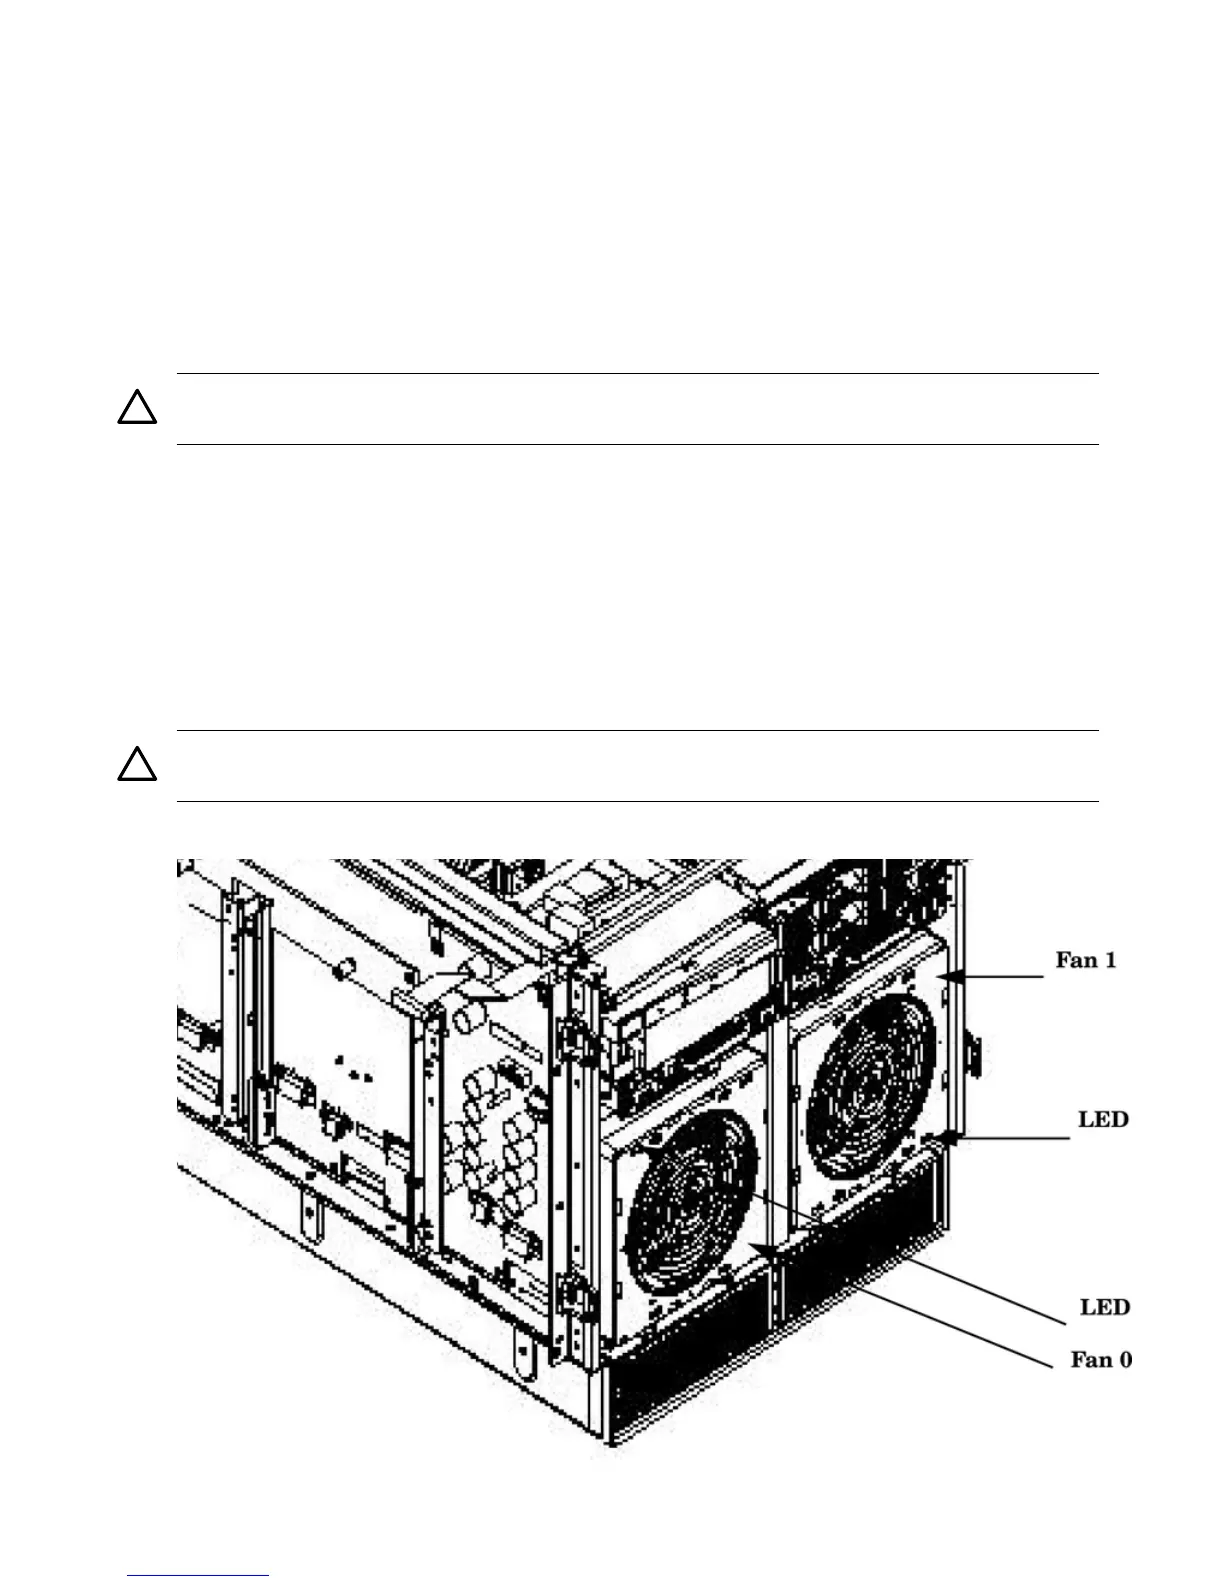
Removing and Replacing a Front Smart Fan Assembly
The front smart fan assembly is located in the front of the chassis. The fan assembly is a hot
swappable component.
CAUTION: Observe all ESD safety precautions before attempting this procedure. Failure to
follow ESD safety precautions can result in damage to the server.
Figure 6-10 Front Smart Fan Assembly Locations
92 Removing and Replacing Server Components