59
7. Operation <Practical Steps>
7.1 How to Start
7.1.1 Standard Specification
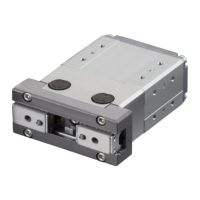
(1) Connect the motor cable and encoder cable to the controller.
(2) Connect the host PLC to the PIO connector using the supplied flat cable.
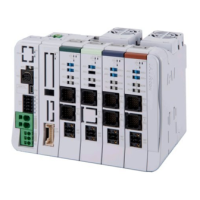
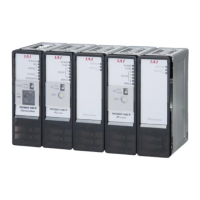
(3) If two or more axes are connected, set the necessary items using the address switch. For details,
refer to 9, “Controlling Multiple Controllers via Serial Communication.”
(4) Actuate an emergency stop or cut off the motor power.
(5) Supply 24 VDC to the controller’s terminal block.
(6) Connect a PC or teaching pendant and set the following parameters as the minimum initial settings:
• Parameter No. 15, “Pause input disable selection”
• Parameter No. 21, “Servo ON input disable selection”
• Parameter No. 25, “PIO pattern selection”
For details, refer to 8, “Parameters.”
(7) Cancel the emergency stop or supply the motor power.
(8) Turn ON the *Pause and servo ON input at the PIO connector (if these signals are enabled).
(9) The controller is working properly if the RDY and RUN lamps (LEDs) on the controller are lit. If the
ALM lamp (LED) is lit, there is an error. Refer to the alarm table and take an appropriate action.
Note: Commands from the PLC must be issued after the position complete signal turns ON following
the power ON.
 Loading...