Removing a PCI adapter from a PCI riser-card assembly
This topic describes removing an adapter from a PCI expansion slot in a PCI
riser-card assembly. These instructions apply to PCI adapters such as video graphic
adapters and network adapters.
The following illustration shows the locations of the adapter expansion slots from
the rear of the server.
Maximal card dimension supported in each slot (rear view)
1 Full height , up to full length 4 Full height , up to full length
2 Full height, half length 5 Full height , up to full length
3 Full height, half length 6 Full height, half length
(Riser 1) (Riser 2)
Note: If you are replacing a high power graphics adapter, you might need to
disconnect the internal power cable from the system board before removing the
adapter.
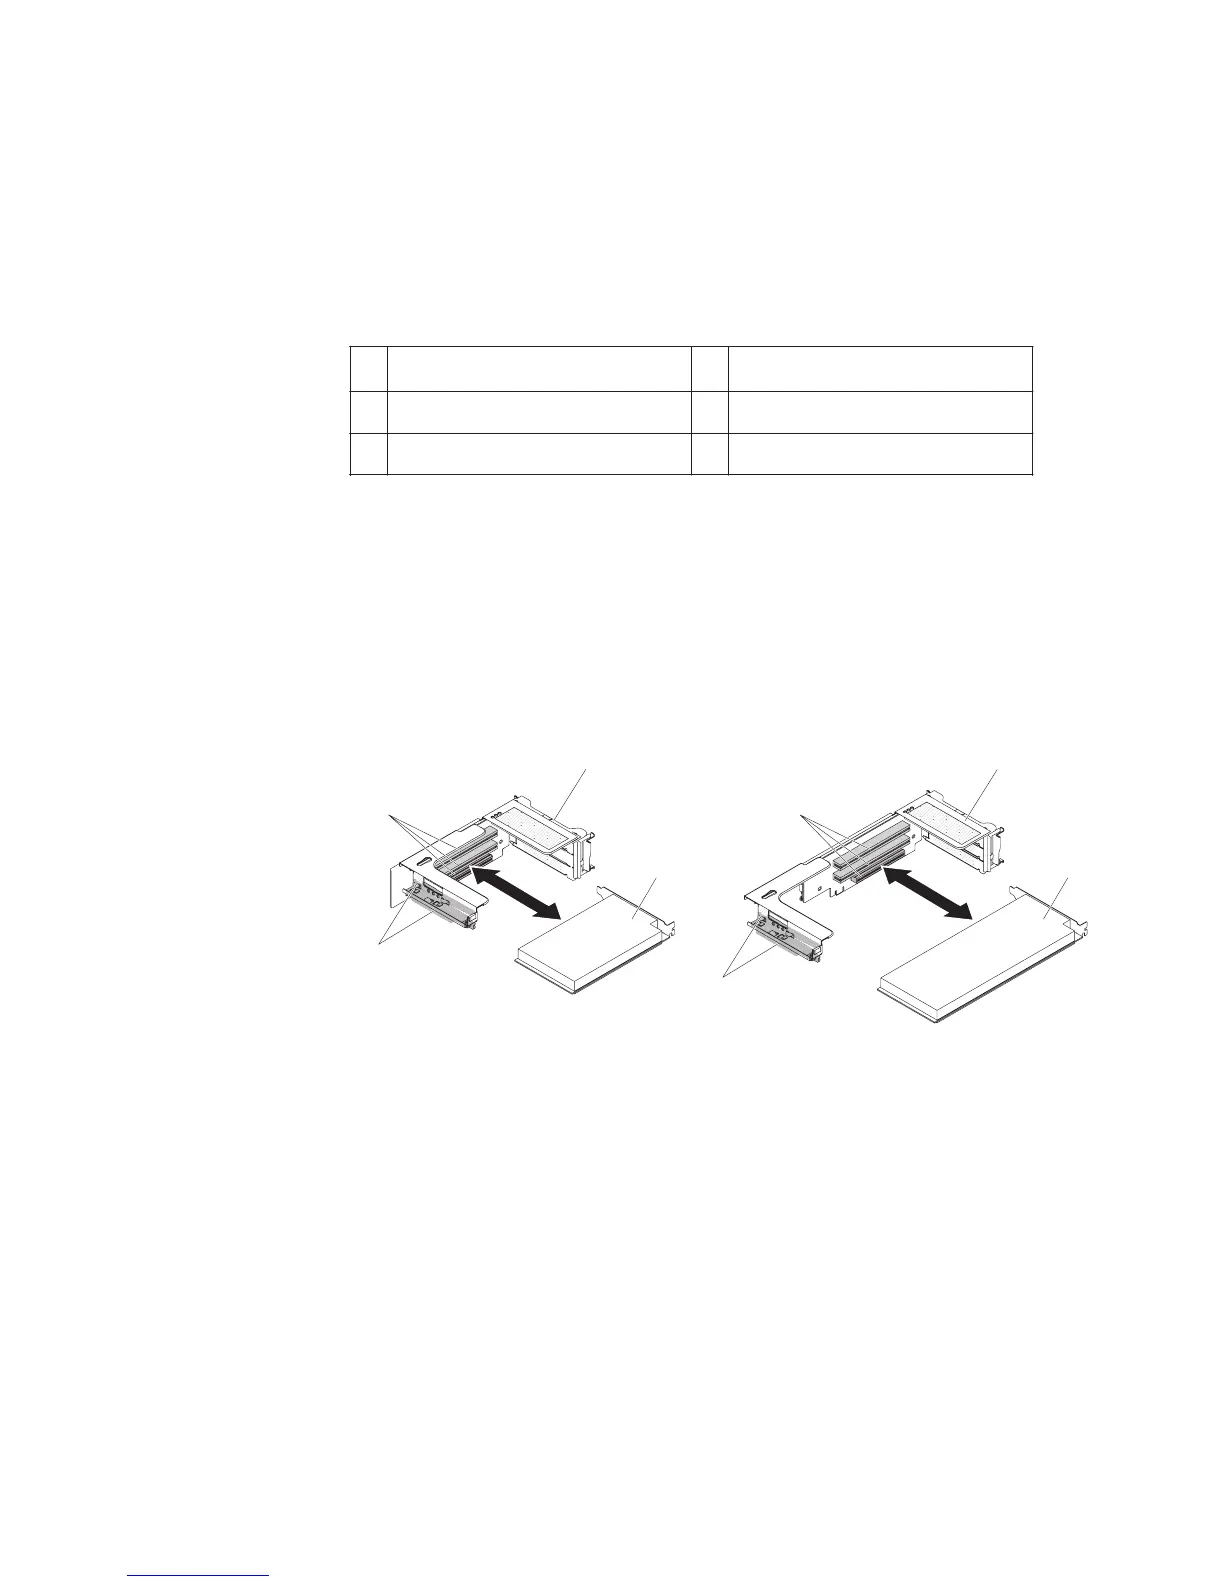
To remove an adapter from a PCI expansion slot, complete the following steps.
PCI
riser-card
assembly
(in long position)
Adapter
Adapter
connectors
PCI
riser-card
assembly
(in short position)
Adapter
Adapter
connectors
Full-length
adapter
bracket
Full-length
adapter
bracket
1. Read the safety information that begins on page vii and “Installation guidelines”
on page 191.
2. Turn off the server and peripheral devices and disconnect all power cords and
external cables.
3. Press down on the left and right side latches and slide the server out of the rack
enclosure until both slide rails lock; then, remove the cover (see “Removing the
cover” on page 205).
4. Remove the PCI riser-card assembly that contains the adapter (see “Removing
a PCI riser-card assembly” on page 218).
v If you are removing an adapter from PCI expansion slot 1, 2, or 3, remove
PCI riser-card assembly 1.
v If you are removing an adapter from PCI expansion slot 4, 5, or 6, remove
PCI riser-card assembly 2.
5. Disconnect any cables from the adapter (make note of the cable routing, in case
you reinstall the adapter later).
Chapter 5. Removing and replacing server components 221

 Loading...


