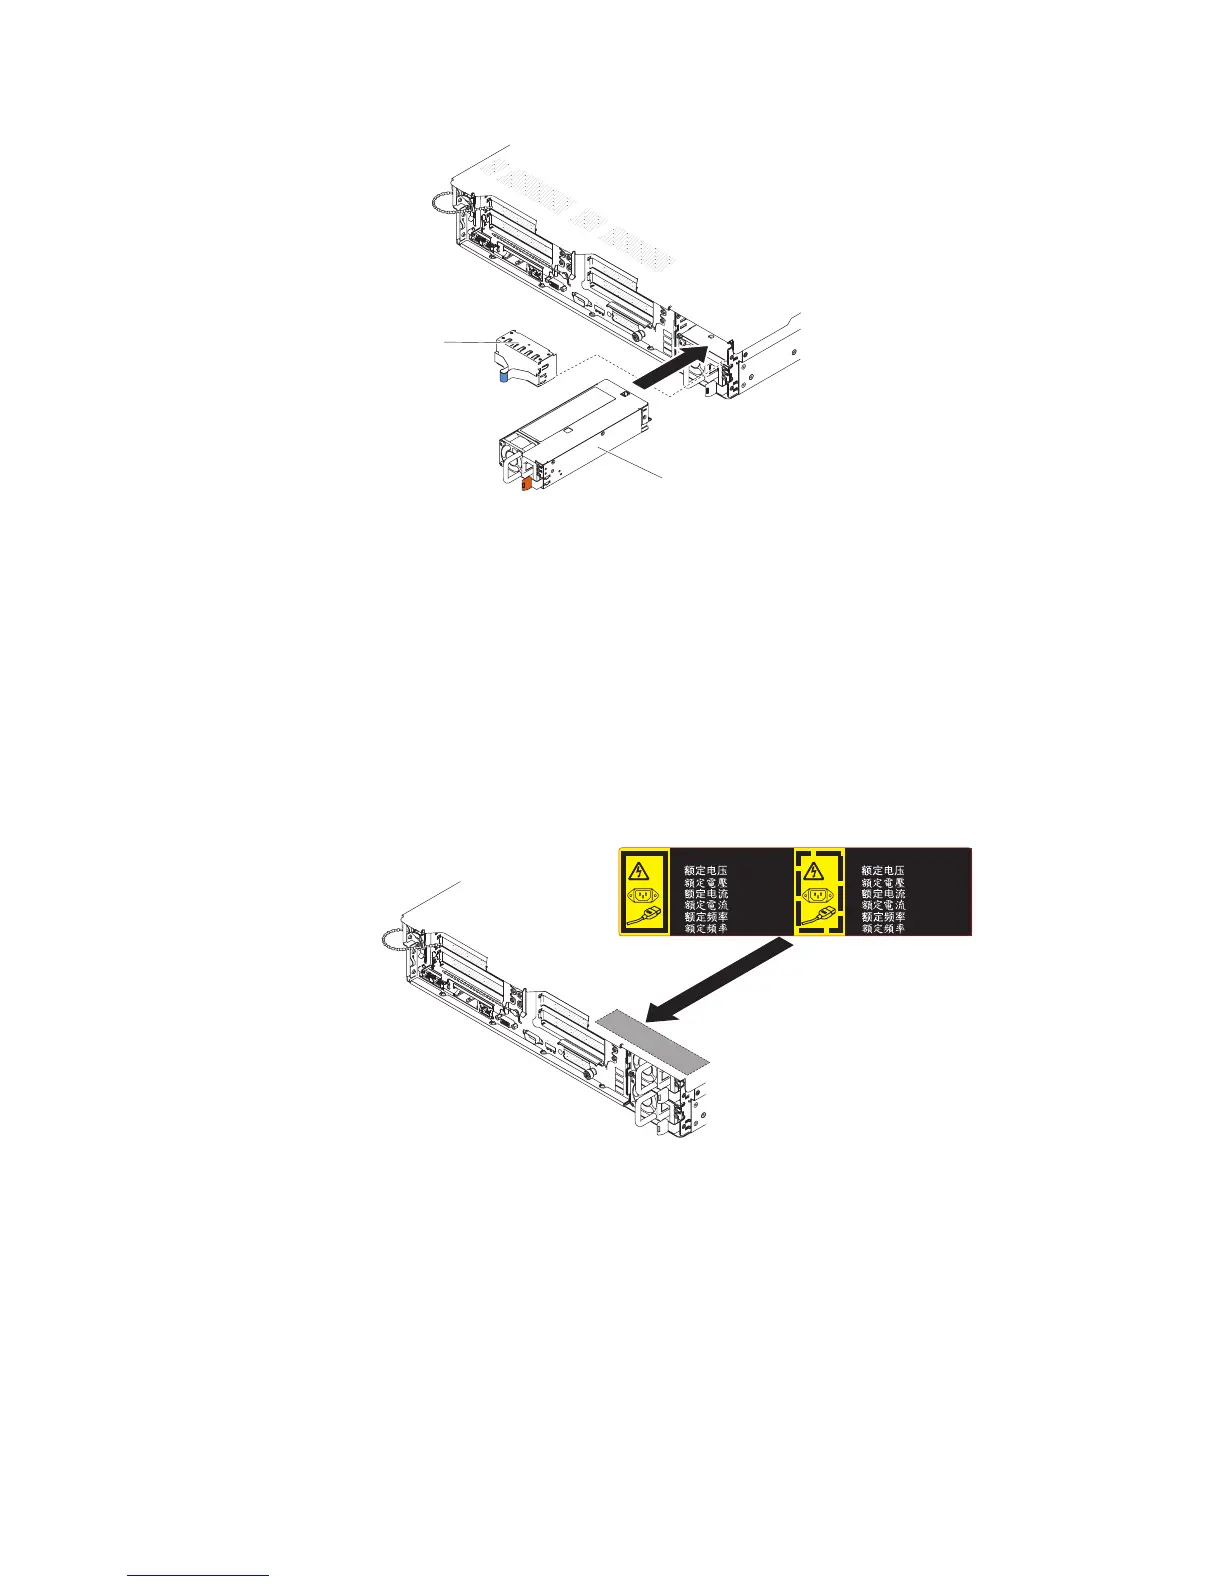
Hot-swap
power supply 2
Power supply
filler panel
Attention: During normal operation, each power-supply bay must contain either a
power supply or power-supply filler for proper cooling.
To install a power supply, complete the following steps:
1. Read the safety information that begins on page vii and “Installation guidelines”
on page 191.
2. Touch the static-protective package that contains the hot-swap power supply to
any unpainted metal surface on the server; then, remove the power supply from
the package and place it on a static-protective surface.
3. If you are adding a power supply to the server, attach the redundant power
information label that comes with this option on the server cover near the power
supplies.
1
xxx-xxx/
xxx-xxxV~
2
XXXW ~ AC
x,x/x,x A
xx/xx Hz
xxx-xxx/
xxx-xxxV~
XXXW ~ AC
x,x/x,x A
xx/xx Hz
Power supplies
4. Slide the power supply into the bay until the retention latch clicks into place.
Attention: Do not install the different power rating or wattage of power
supplies, high-efficiency and non-high-efficiency power supplies in the server.
5. Connect the power cord for the new power supply to the power-cord connector
on the power supply.
The following illustration shows the power-cord connectors on the back of the
server.
Chapter 5. Removing and replacing server components 261

 Loading...


