Section 4 - Installation
INSTALLATION
32 Installation and Maintenance
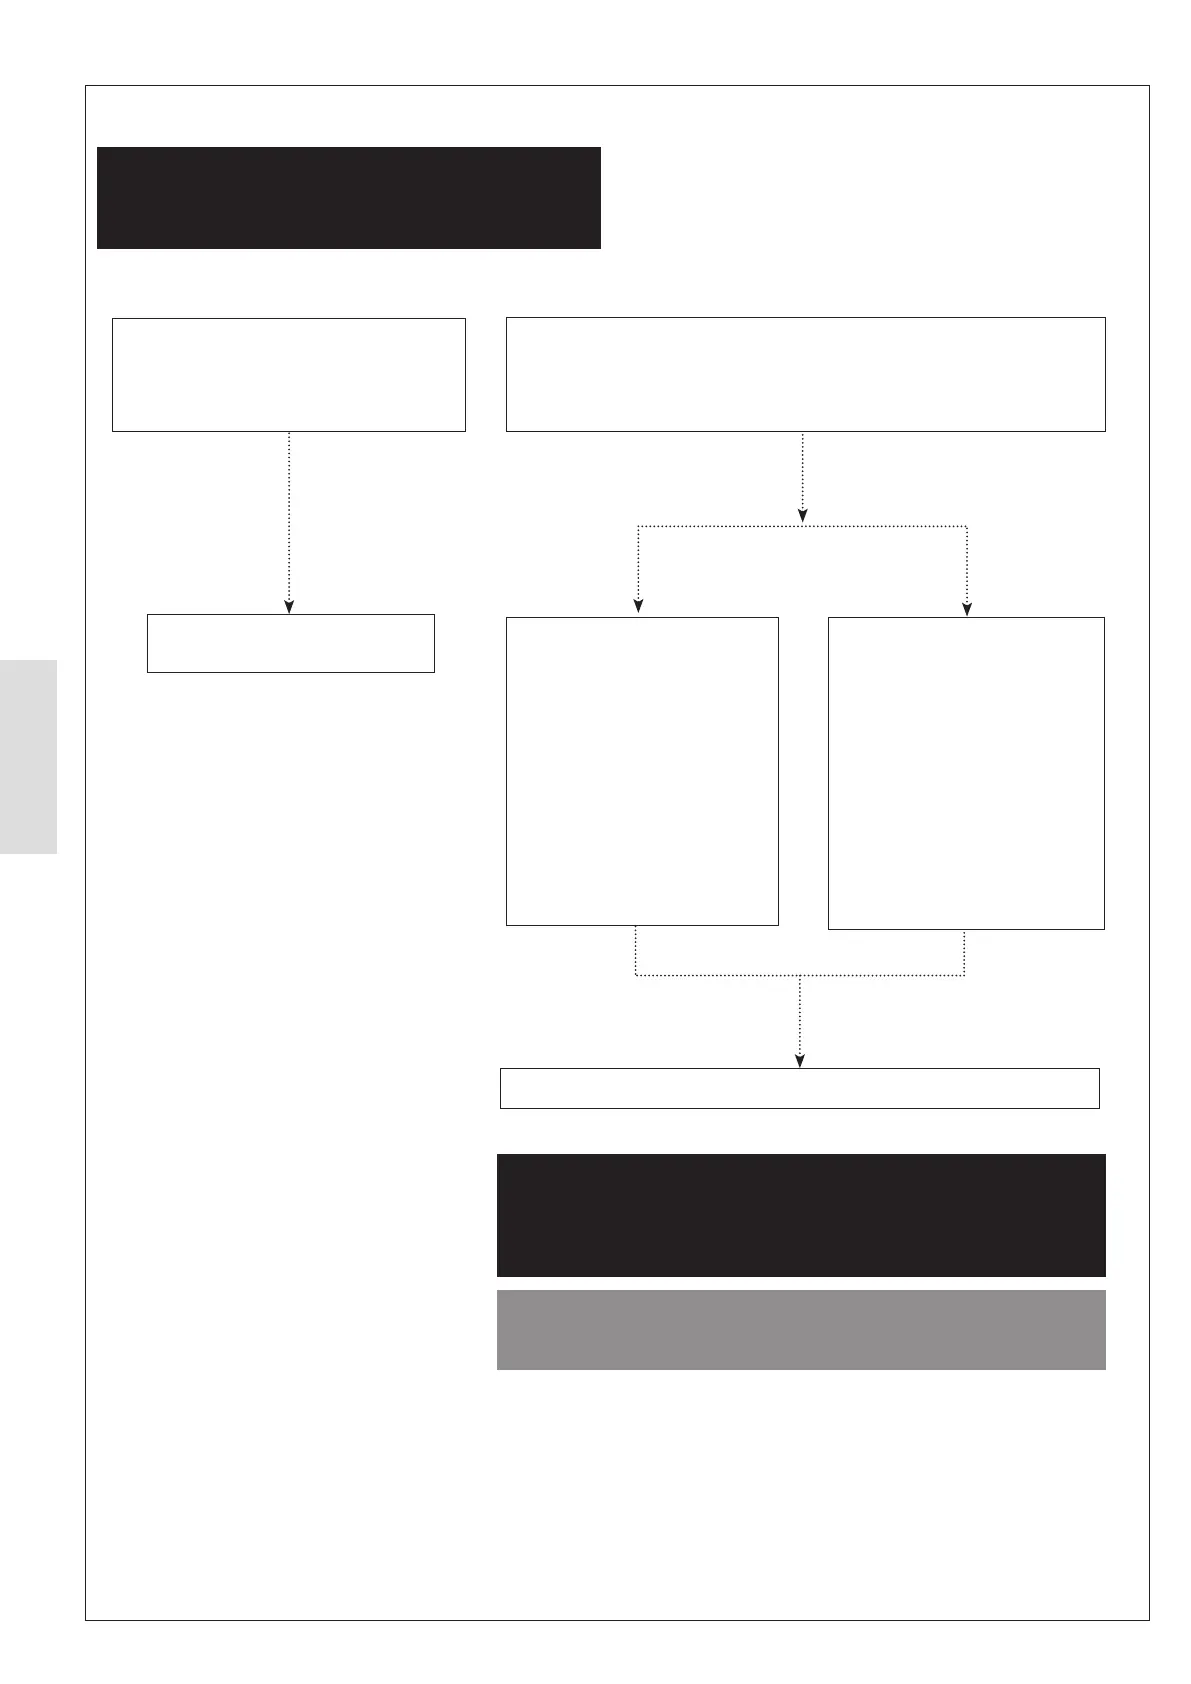
4.1.5 Condensate Disposal
ᘐ WARNING: The HP290 generates a large volume
of condensate water. The condensate water MUST
be disposed of in a safe manner avoiding freezing on
walkways and surfaces.
INSTALLATION OPTION 1
HP290 installed on a permeable base
i.e. gravel or sand soakaway etc. which
will allow the condensate to drain freely.
No additional condensate drain
requirements.
INSTALLATION OPTION 2
HP290 installed on a non-permeable base such as concrete, patio or
paving blocks etc. which may restrict condensate drainage and increase
the potential for the condensate freezing.
SOLUTION B
Install a condensate drain tray
underneath the HP290 Heat
Pump.
Install condensate drain
pipework to a suitable drainage
point. Insulate all condensate
drain pipework.
No additional condensate drain requirements.
SOLUTION A
Install the condensate spigot
into the drain connection point
in the Heat Pump base panel,
refer to Figure 33 and Figure
34.
Install condensate drain
pipework to a suitable
drainage point. Insulate all
condensate drain pipework.
YES
YES
ᘐ WARNING: The product contains the hydrocarbon refrigerant
R290, in the unlikely event of a leak, the refrigerant may collect in
the condensate drain. For installation option 2: Make sure that any
drainage system that the heat pump’s condensate drain pipework is
connected to, includes a frost-free siphon i.e. a P-trap.
ᘐ CAUTION: To avoid condensate freezing, any condensate that is
piped away from the heat pump must be sloped to prevent collection
of condensates in the pipework.