Section 6 - Inspection and Maintenance
INSP & MAINT
87
Installation and Maintenance
6.3.2 Control Box Checks
to access settings covered in the below instructions:
1. Gain access to the control box (either wall mounted or pre-
plumbed cylinder).
2. Do a check of the installation to make sure that it conforms
to the installation instructions and correct any non-
conformities.
3.
control box.
ᘐ CAUTION: The control box may have dual electrical
supplies (a power supply from the outdoor unit and a
power supply for the DHW Cylinder immersion Heater).
Both must be isolated before removing the control box
front panel.
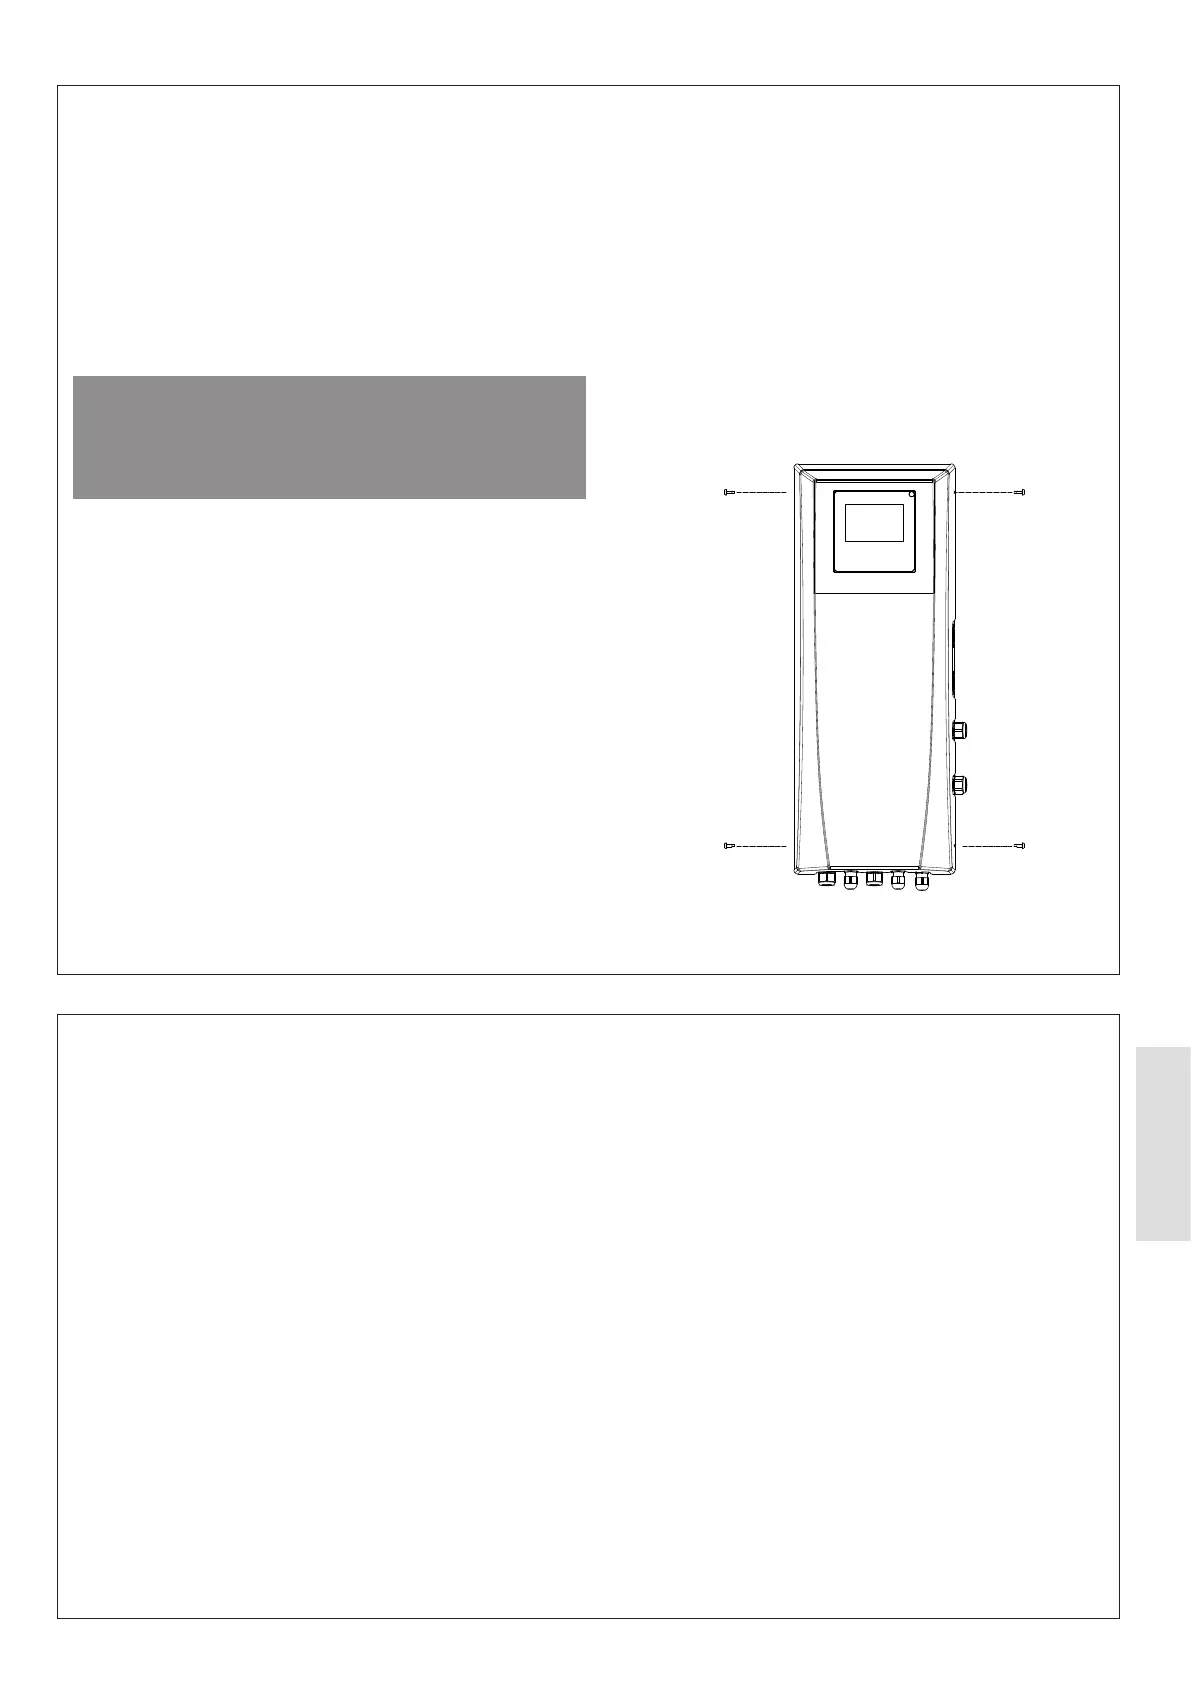
4. Remove the front panel of the control box by removing the
screws indicated in Figure 63.
5. Inspect the electrical connections, cables, and terminals
for signs of damage, loose connections etc.
6. Figure
63.
7.
reactivate the mains power supply.
8. Check and record the following in the maintenance record:
a. Legionella Function.
b. Weather Compensation.
c. Hot Water Set Temperature.
d. Fault History.
9. Check that both the time and date settings are correct on
the main menu.
10. Put the product into DHW operation. Check and record the
11. Put the product in CH operation. Check and record the
12.
the following:
a. 3 – divertor way valve.
b. Secondary circulator.
13. Check that when a heat demand is initiated, that the
system warms correctly.
14. Ask the system owner about the heating performance and
review the settings of the controller to make improvements.
15. Record the any generation and consumption meters for
6.3.3 Domestic Hot Water Cylinder and System
Checks
1. Gain access to the domestic hot water cylinder and
assess the installation to make sure that it conforms to the
installation instructions and correct any non-conformities.
2. On the control box, make sure that the demand for
domestic hot water and central heating demand are turned
3. Isolate the cold-water supply mains lines to the cylinder
and any other water supplies.
4. Make sure to loosen any auto air vent dust caps and then
drain the domestic hot water cylinder from a suitable drain
point.
5.
6. Check the pre-charge of any expansion vessels against
air as required.
7. Make sure that the system has been reassembled and that
the drain valve is closed. Repressurise the system to 1.5 –
3 bar by re-opening the cold-water supply mains line.
8. Manually check the operation of any temperature,
pressure, and expansion relief valves installed on the
system. Check that the discharge lines from these valves
are free from obstruction & blockage and correctly
discharge into an appropriate drainage point without
spillage.
9. Check that the water downstream of the pressure reducing
valve is within the manufacturer’s limits.
10. Carry out the following maintenance activities on the
immersion heater:
i.
immersion heater.
ii. Remove the electrical cover to the immersion heater
and check that the system is electrically dead.
iii. Check that the position of the immersion heater
thermostat is set to the maximum position.
iv. Replace the electrical cover to the immersion heater
and re-energise the electrical supply.
11. Check the placement of the DHW sensor and that it is
place securely within its pocket.
12. Make the owner aware of any works taken place and
advise them to not place any clothing or combustible
materials on/against the cylinder or adjacent components.
Figure 63. Front Panel Removal