IDS X-Series Installer Manual 700-398-02H Issued July 2013
NOTE: When you use the [*] key to scroll through a bitmapped location, it will scroll through the pages.
When using the [*] key to scroll through numbered locations, it will scroll through the bytes.
Alpha-numeric locations (location 51 - telephone number), will show 1 digit per press of the [*] key.
Numeric locations (location 197 – installers code), will show 2 digits per press of the [*] key.
To view how the data is represented, please see Table 1.
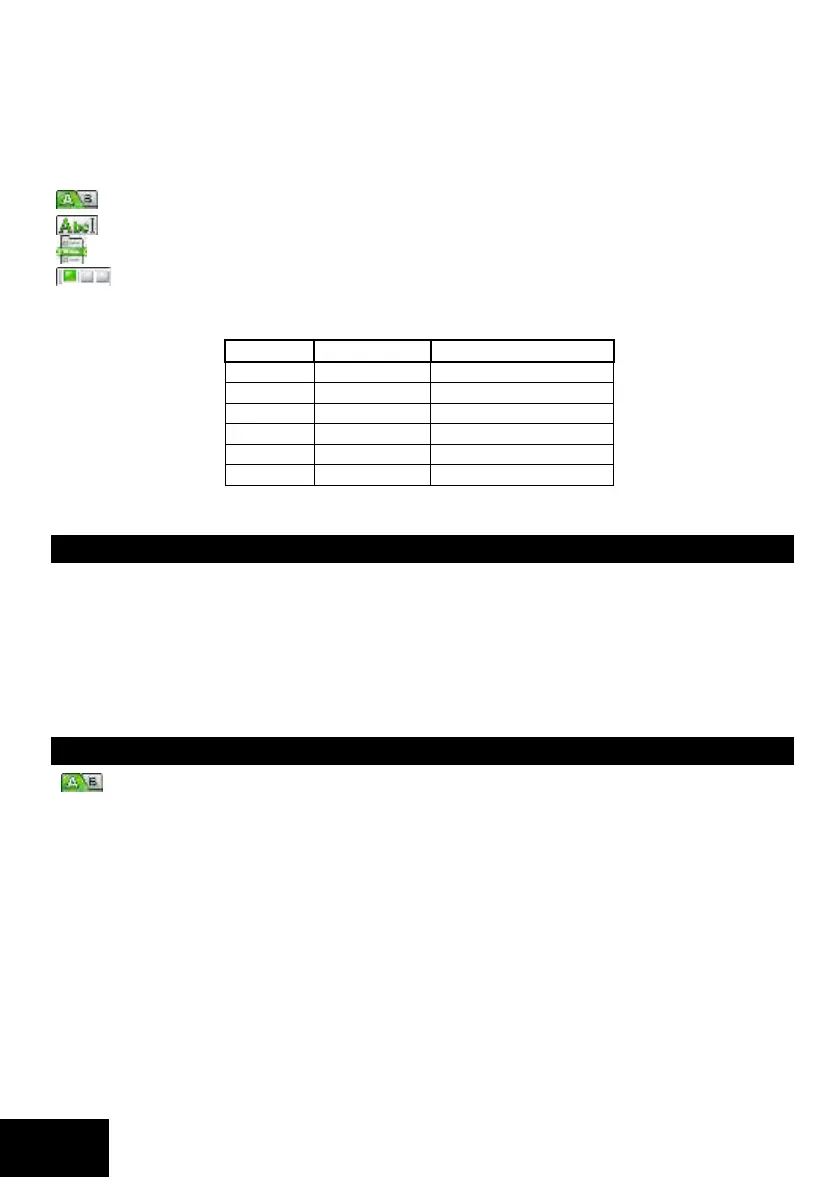
Below are various programming symbols you will see throughout the manual:
Indicates programming the standard method
Indicates programming using the string method
Indicates programming a sub-location
Indicates programming a location/sub-location with a bitmap
Where a hexadecimal number must be programmed, use the [MODE] key as per Table 3.
Table 3: Hexadecimal Values
NOTE: The hex values of A-F can be used for account codes. Only B-F can be used for phone numbers. This
means that for locations 50-54, A is NOT a hex number – but is rather used to CLEAR a telephone number.
Entering Installer or Maintenance Mode
The following steps show how to enter into installer or maintenance mode.
1. Ensure that all partitions are unarmed.
2. Press the [#] key followed by the [INSTALLER CODE] or the [MAINTENANCE CODE].
3. The default installer code is 9999 or alternatively 999999 should a 6-digit default installer code have
been used.
4. Press the [*] key and a long beep will confirm entry into program mode. If a correct code has been
entered, the green READY LED will flash.
NOTE: This will not work if the dialler is active at the time, or if one of the partitions are armed.
Programming Standard Locations
The following steps show how to program standard locations.
1. Ensure the panel is in program mode - the READY LED will be flashing.
2. Enter the [LOCATION NO.] of the program location you wish to view or change.
3. Press the [*] key, until the beep. The READY LED will become solid and the AWAY LED will flash.
4. The zone LEDs will display the data stored in the program location in binary format.
5. Enter the [NEW DATA] followed by the [*] key. A long beep will indicate a valid entry and the AWAY
LED will turn off. The READY LED will flash.
6. If you do not wish to change the data, press the [#] key. The READY LED will continue flashing and the
AWAY LED will turn off.
7. Repeat steps 2 - 5 until all the necessary locations have been programmed.
8. Press the [#] key to exit program mode.
9. The READY LED will stop flashing and the panel will return to the standby mode.
When programming a standard location, any attempt to enter invalid data will result in an error beep (3 short
beeps).
The AWAY LED will remain on after the error beeps. Re-enter the correct data. There is no need to press the [#]
key.
 Loading...