Chapter 3: Getting started
TruVision DVR 12HD User Manual 17
Caution: It is strongly recommended that you change the password of the
administrator. Do not leave 1234 as the default password. Write it down in a safe
place so that you do not forget it.
If you should forget the password to your recorder, contact your supplier with the
serial number of your recorder to obtain a secure code to reset it.
Click Next.
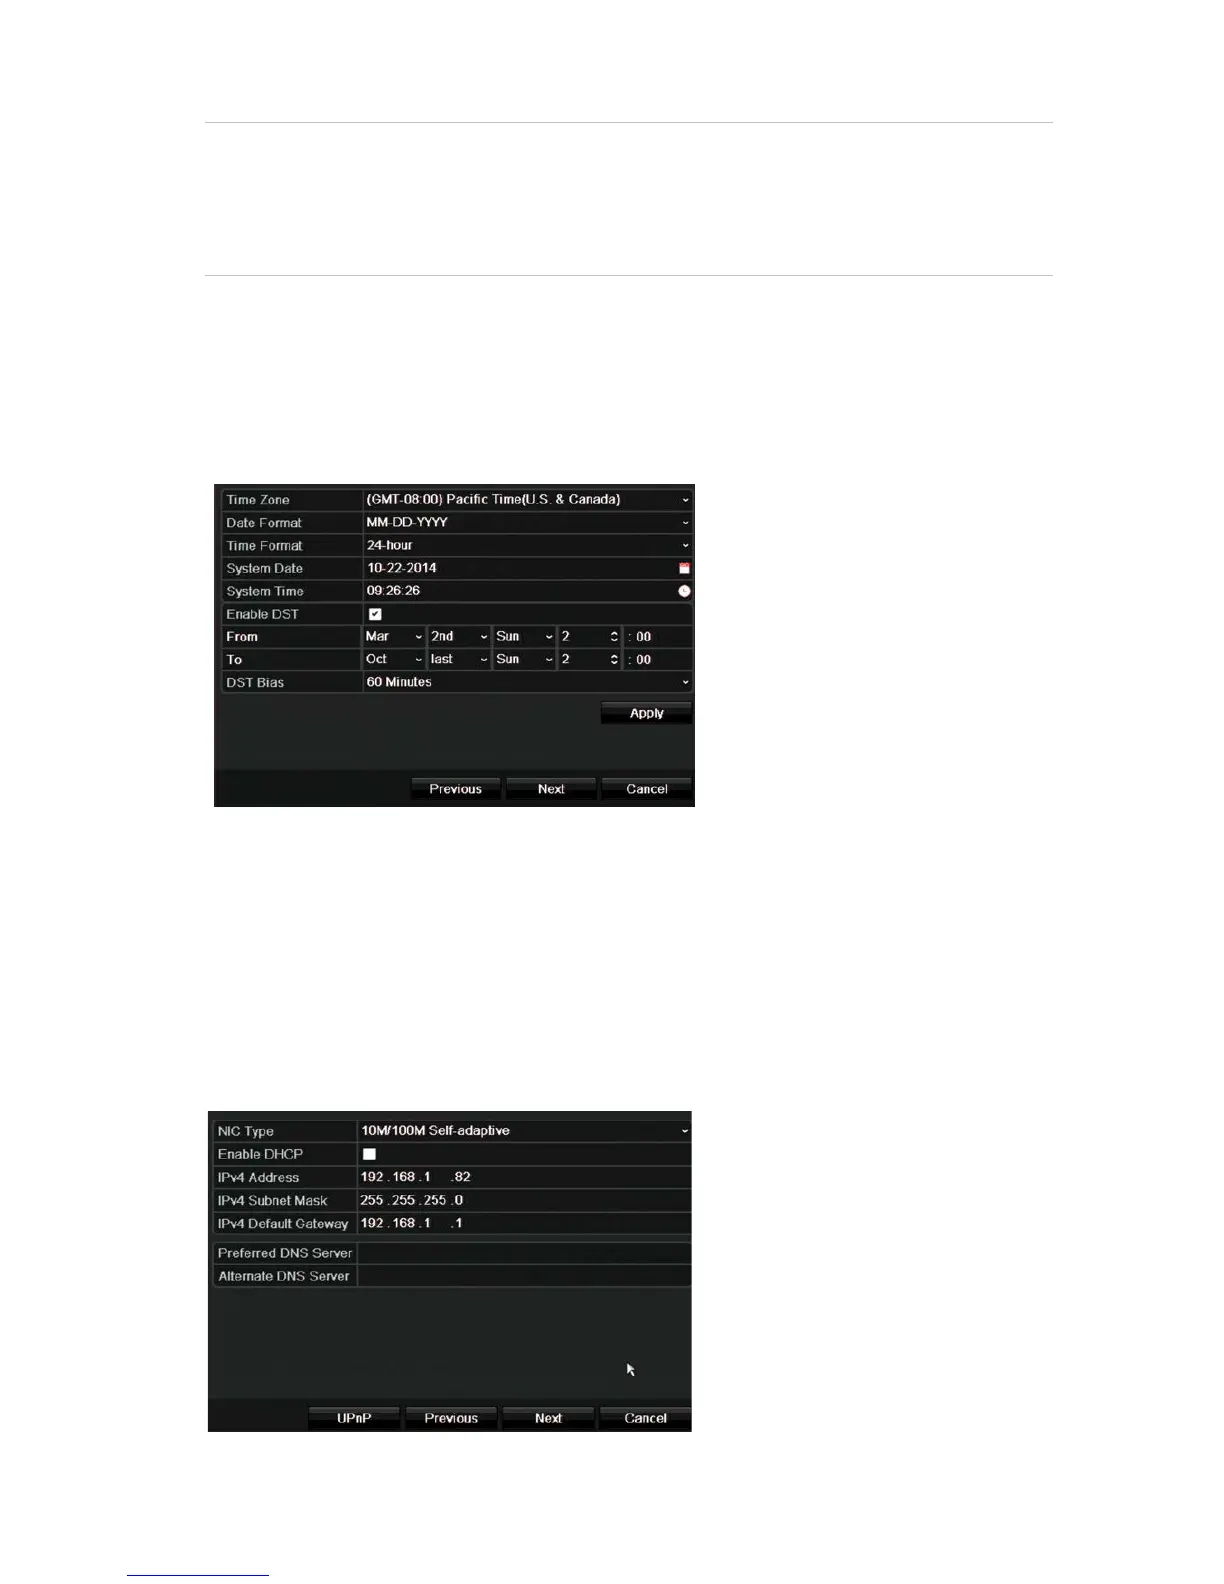
5. Time and date configuration:
Select the desired time zone, date format, system time, and system date.
If Daylight saving time (DST) is required, check Enable DST and enter the desired
summer and winter times.
Note: The system time and date are visible on screen. However, they do not
appear in recordings.
Click Apply and then Next to move to the next page or click Previous to return to
the previous page.
6. Network configuration:
Configure your network settings such as the NIC type, IP address, subnet mask,
and default gateway. Enter the preferred DNS server address as well as the
alternate one to use.