Installation 29
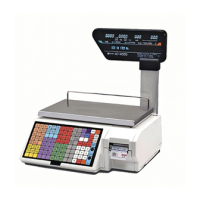
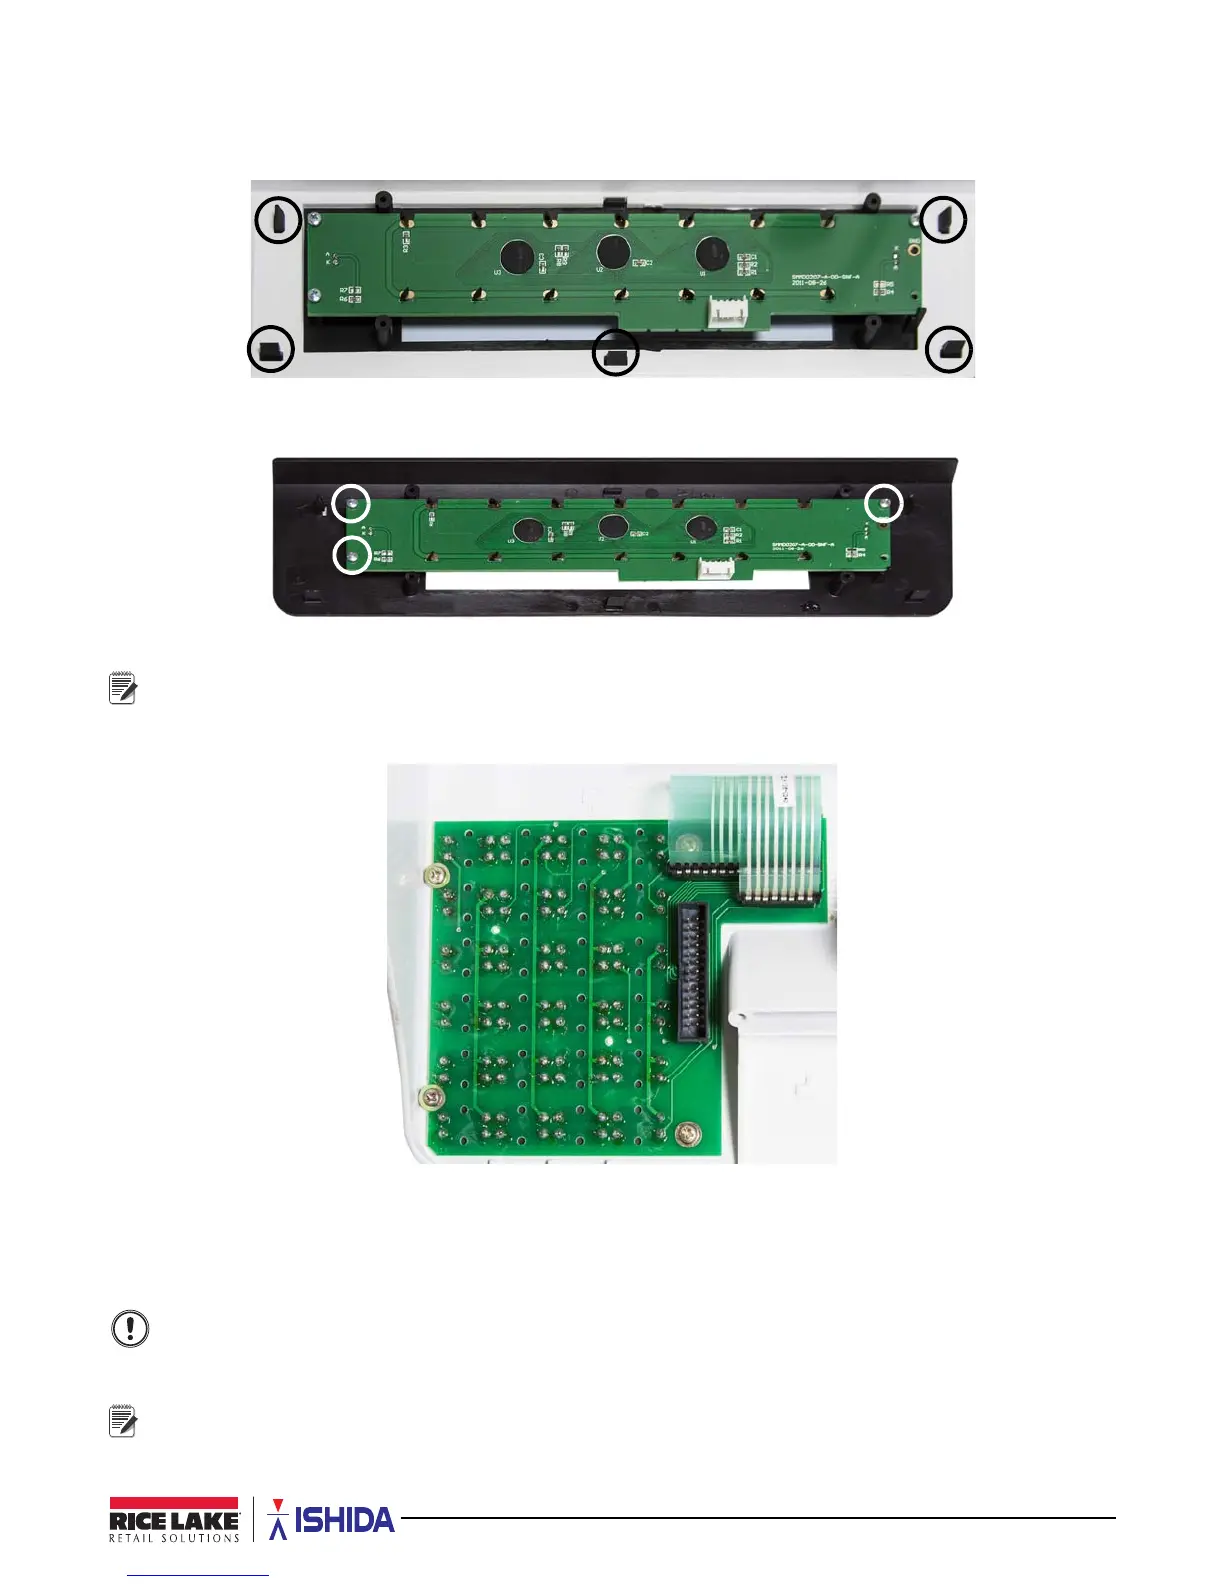
Customer Side Display Board Disassembly Procedure (Bench Models Only)
1. Remove the top cover.
2. Release the five tabs.
Figure 2-16. Customer Side Display Board Disassembly
3. Remove the three self tapping screws.
Figure 2-17. Remove the Three Screws
Reverse this procedure for assembly.
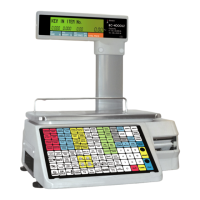
Keypad Disassembly Procedure
1. Unplug the two flexible cables from the keypad board. See Figure 2-18.
Figure 2-18. Keypad Disassembly
2. Remove the four screws.
3. Remove the keypad board.
4. Peel off membrane keypad.
The membrane keypad will be damaged during removal and cannot be reattached. Before removal,
connect the replacement and verify operation.
Remove all adhesive from the plastic case before applying the new membrane keypad. An uneven
surface will lead to premature failure.
Reverse this procedure for assembly.
 Loading...