8 Service and Maintenance
General Calibration or Adjustment Procedure
218 E364xA User’s and Service Guide
Voltage and OVP calibration
2 Move down a level to the voltage calibration mode.
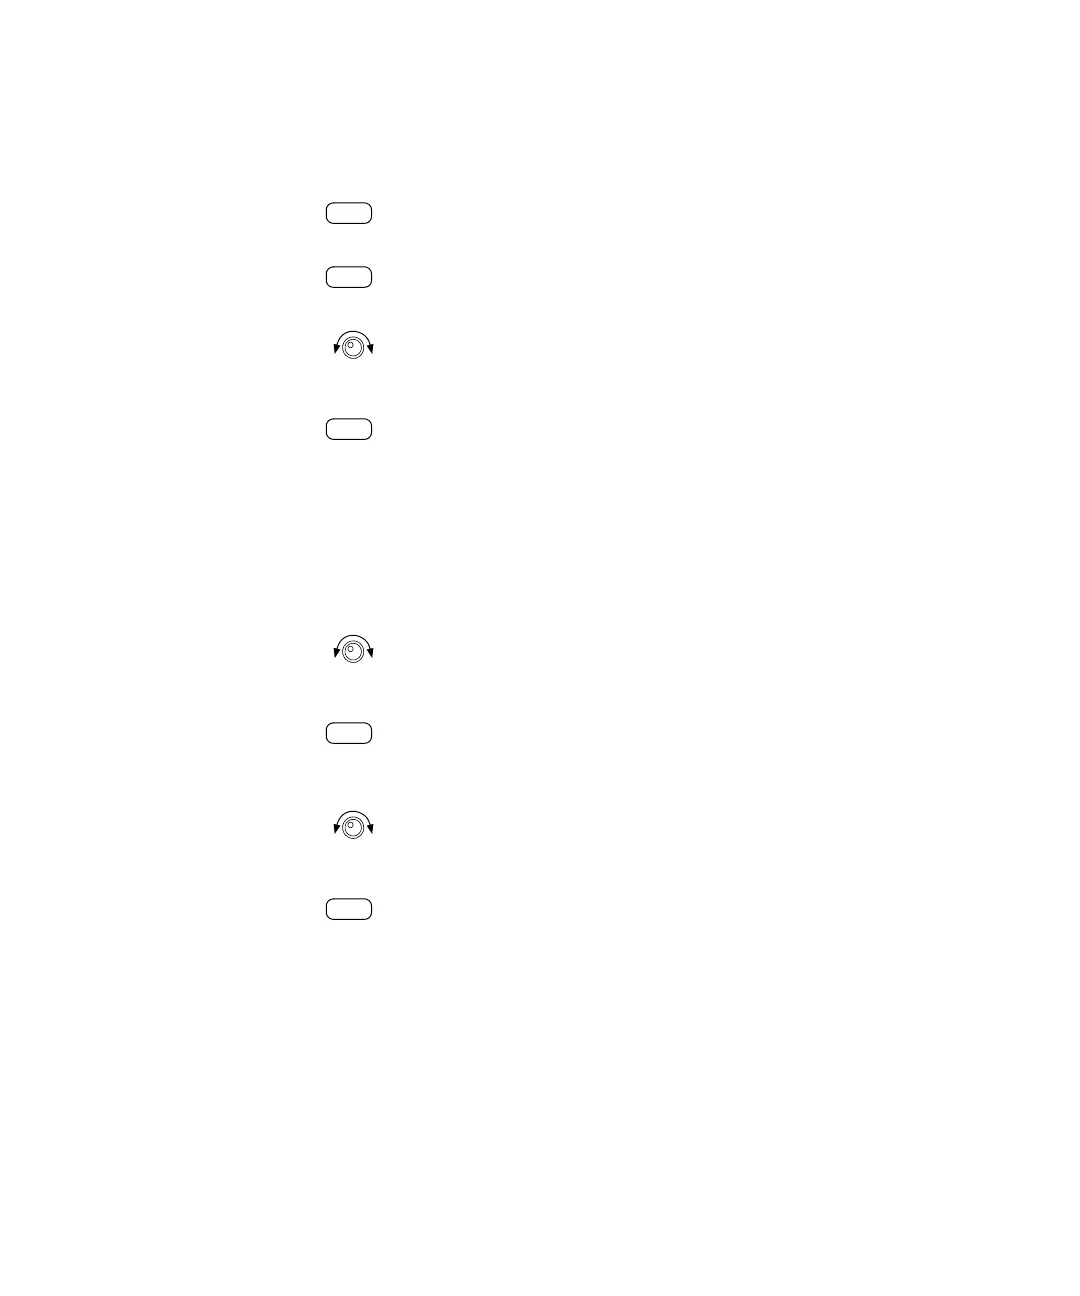
VOLT1 CAL
3 Select the low- end voltage calibration point.
V LO 0.300,0
4 Enter the reading you obtained from the DVM by using
the knob and resolution selection keys.
V LO 0.305,0
5 Save the changes and select the middle voltage calibration
point.
V MI 10.000
If the entered number is within an acceptable range, an
ENTERED message appears for a second. If the entered
number is not correct, an error message will be displayed
for a second and you will hear a beep, and then return to
the low, middle, or high voltage calibration point again.
6 Enter the reading you obtained from the DVM by using
the knob and resolution selection keys.
V MI 11.058
7 Save the changes and select the high voltage calibration
point.
V HI 19.500
8 Enter the reading you obtained from the DVM by using
the knob and resolution selection keys.
V HI 19.495
9 A CALIBRATING message is displayed. Save the changes and
go to the OVP calibration mode.
OVP1 CAL
If the calibration fails, an error message will be displayed
for a second and return to the voltage calibration mode
again. A VOLT1 CAL message is displayed. The message
above is displayed to indicate that the power supply is
ready for the OVP calibration.