Installation
February 2012 2-2 P/N 06-237058-001
• Installation/Configuration Kit, P/N 76-800000-008, containing:
– User Disk, P/N 06-220289-001, that includes
– Installation, Operation, and Maintenance Manual, P/N 06-237058-001
–ARIES NETLink Configuration Tool User’s Guide, P/N 06-237059-001
– Installer’s Wiring Diagram, P/N 06-237046-001
2-2.1.2 ADDITIONAL ITEMS
The additional items below are available separately from the standard control unit:
• Battery Tray, P/N 76-800030-006
• Large Capacity Battery Cabinet , P/N 76-100010-001
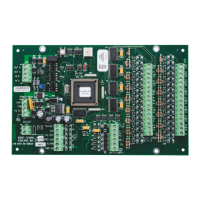
• Expansion Card Cage Assembly, P/N 76-800010-001
•Expansion Cards
• Standby Batteries
• Add-On Power Supply/PMU Assembly, P/N 76-800030-003
• Expansion Enclosures
• Remote Enclosure
•Dead Front Cover
2-2.2 Materials/Tools Required
The materials listed below are NOT supplied with the system, but may be needed for installation.
•The ARIES NETLink Configuration Tool (may be downloaded at no cost from the secure
“Distributor Extranet” link on www.kiddefiresystems.com)
• 1/4” mounting bolts to mount the control unit cabinet (recommended)
• Electrical conduit for AC input power and field circuits
• Electrical junction boxes (as required)
• Wire-nuts and crimp-on terminals (as required)
• Basic electrician hand tools
• Wrist ground strap
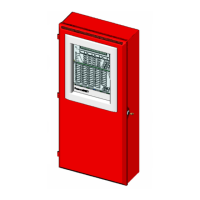
2-2.3 Determining Wall Location
The control unit can be surface or semi-flush mounted. For either mounting configuration, locate the
top of the cabinet approximately 66 in. above the floor so that the control unit’s display is positioned
at a convenient height for viewing system events and for entering operator commands (or in
accordance with field wiring).
Choose a location in an area that allows easy access for operation and maintenance of the system. If
a location has been designated by an architect and/or fire-prevention authority, plan your installation
according to that location. It is important that the location of the system be clean, dry, vibration-free,
and maintained within the environmental limits.
2-2.4 Removing Knockouts From Enclosure
Remove knockouts as required for conduit connections. Consult approved electrical installation
drawings for connection information.