SECTION 3 - PARTS, ASSEMBLIES & HARDWARE
1-3-3
3-3
© 2018 Konami Gaming Inc. P/N 810237
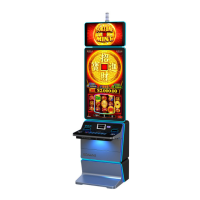
CONCERTO UPRIGHT
(Original Instructions)
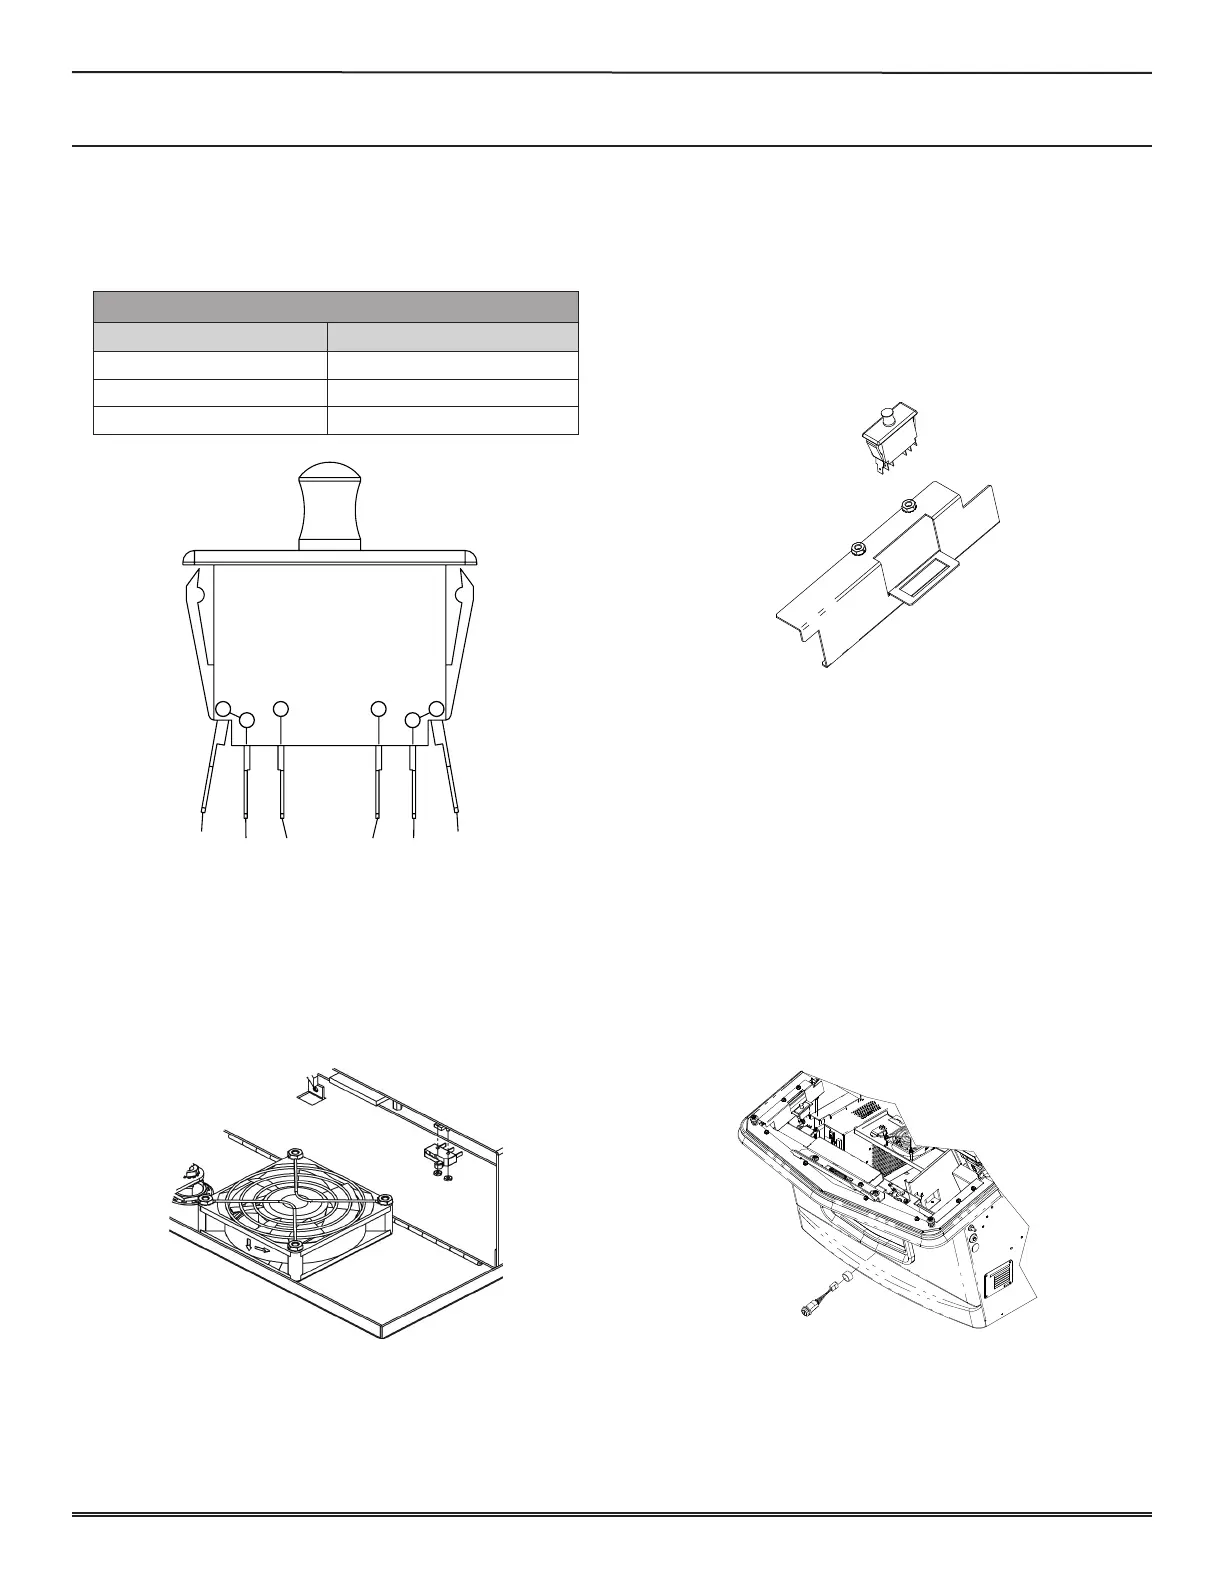
SWITCH WIRING
Each wire of the switch harnesses is marked to indicate
terminal position. Use the following illustration to ensure the
switch is connected correctly.
DOOR SWITCH WIRE LOCATIONS
LOCATION MARK
Terminal 2 COM
Terminal 4 N.C.
Terminal 6 N.O.
LOGIC UNIT SWITCH
reMoval
1. Disconnect harness from Switch.
2. Remove two #2-56 nuts from Switch Assembly.
3. Remove Switch.
installation
1. Install Switch on mounting studs and secure with two
#2-56 nuts.
2. Connect harness.
2 6 5 1
34
COM1
(1-C)
COM2
(2-C)
NC1
(1-NC)
NO1
(1-NO)
NO2
(2-NO)
NC2
(2-NC)
MAIN DECK DOOR SWITCH
reMoval
1. Unlock and open Main Deck Door.
2. Remove any components necessary to allow access to
Switch.
3. Note wire locations for installation and remove all wires
from Switch.
4. Grasp the two tabs on the Switch and push upward to
remove bracket.
installation
1. Push new Switch into mounting bracket until two tabs on
the Switch seat in place.
2. Connect wires to terminals.
3. Re-install removed components.
4. Close and lock Main Deck Door.
KEY SWITCH
reMoval
1. Turn off machine power.
2. Unlock and open Main Deck Door.
3. Disconnect wires from Switches.
4. Remove 3/4” nut and remove Switch from machine.
installation
1. Insert Switch into machine and install 3/4” nut.
2. Connect wires to terminals.
3. Turn on main power.
4. Close and lock Main Deck Door.
 Loading...