Figure 65. Hot-swap power supply filler removal
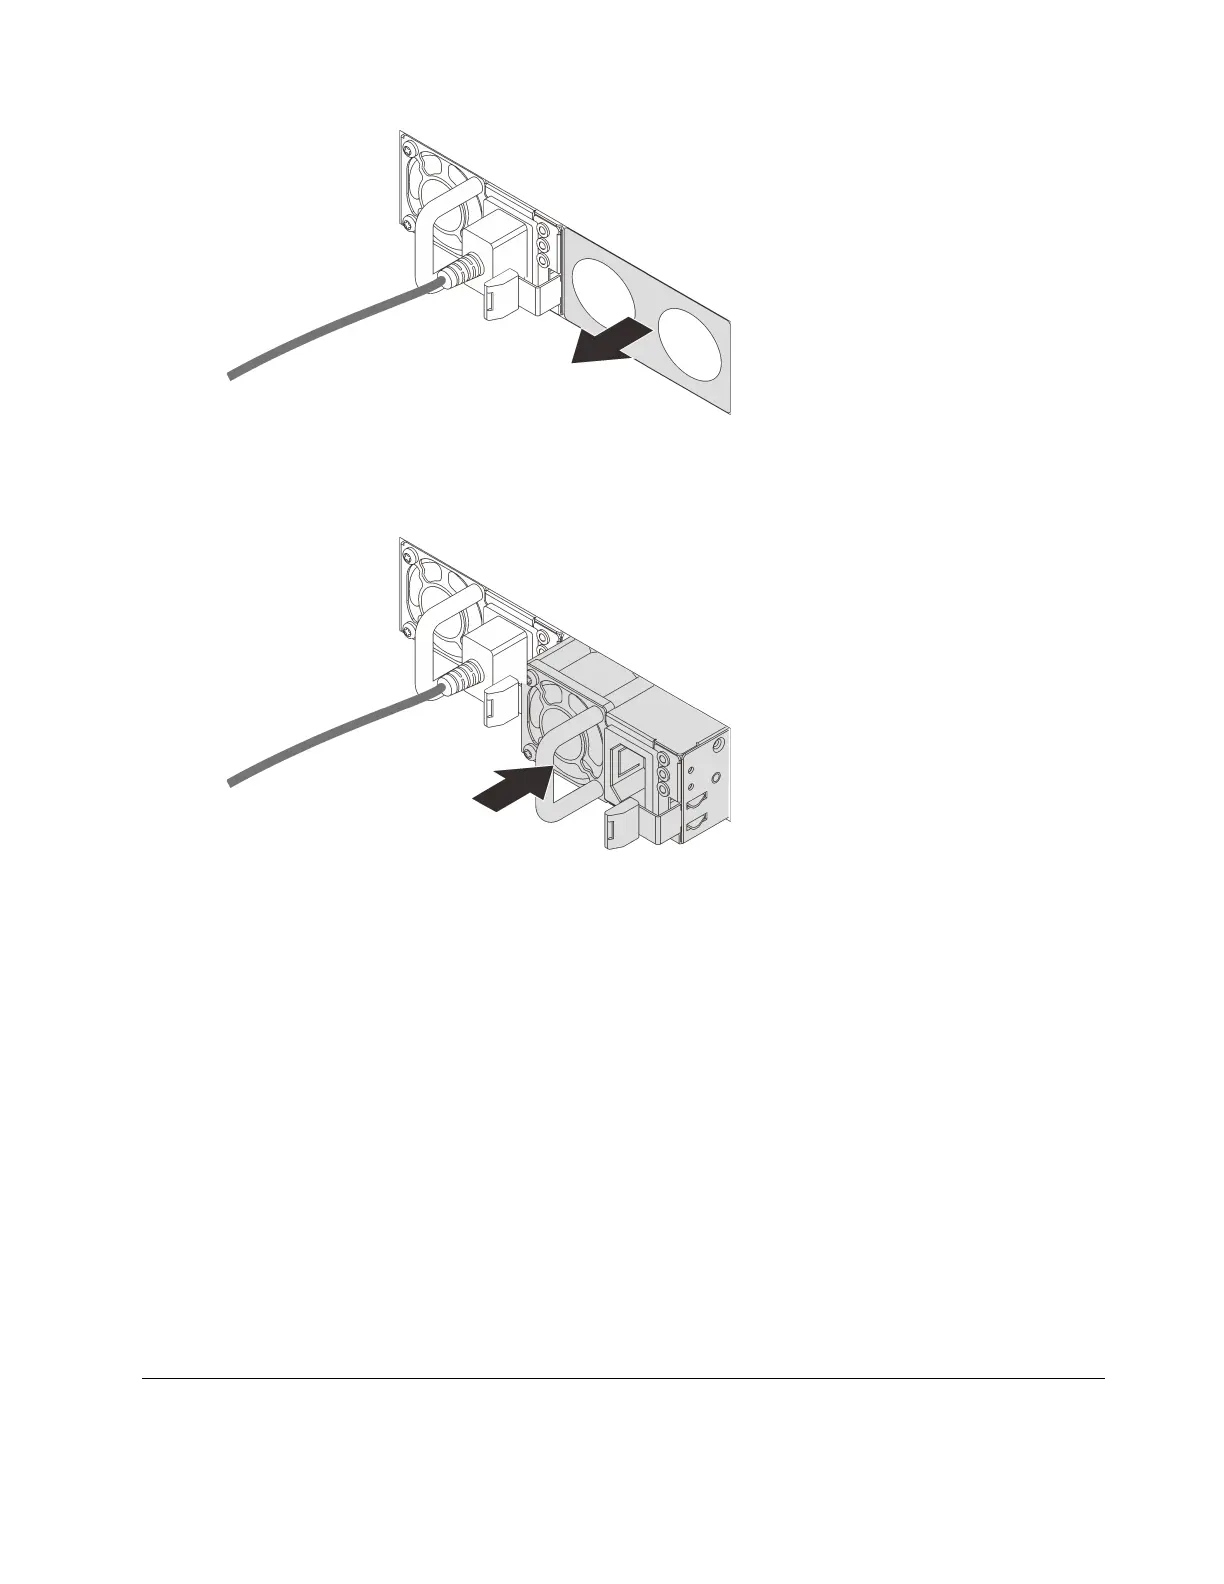
Step 3. Slide the new hot-swap power supply into the bay until it snaps into position.
Figure 66. Hot-swap power supply installation
Step 4. Connect the power supply unit to a properly grounded electrical outlet.
• For 240 V DC power supply units:
1. Turn off the server.
2. Connect one end of the power cord to the power connector on the power supply unit.
3. Connect the other end of the power cord to a properly grounded electrical outlet.
• For AC power supply units:
1. Connect one end of the power cord to the power connector on the power supply unit.
2. Connect the other end of the power cord to a properly grounded electrical outlet.
After you finish
1. If you have adjusted the CMA to gain access to the power supply bay, readjust the CMA back in place.
2. If the server is turned off, turn on the server. Ensure that both the power input LED and the power output
LED on the power supply are lit, indicating that the power supply is operating properly.
Power-supply-unit air duct replacement
Use this information to remove and install a power-supply-unit air duct.
Chapter 5. Hardware replacement procedures 103

 Loading...


