Repair information 4-135
7510
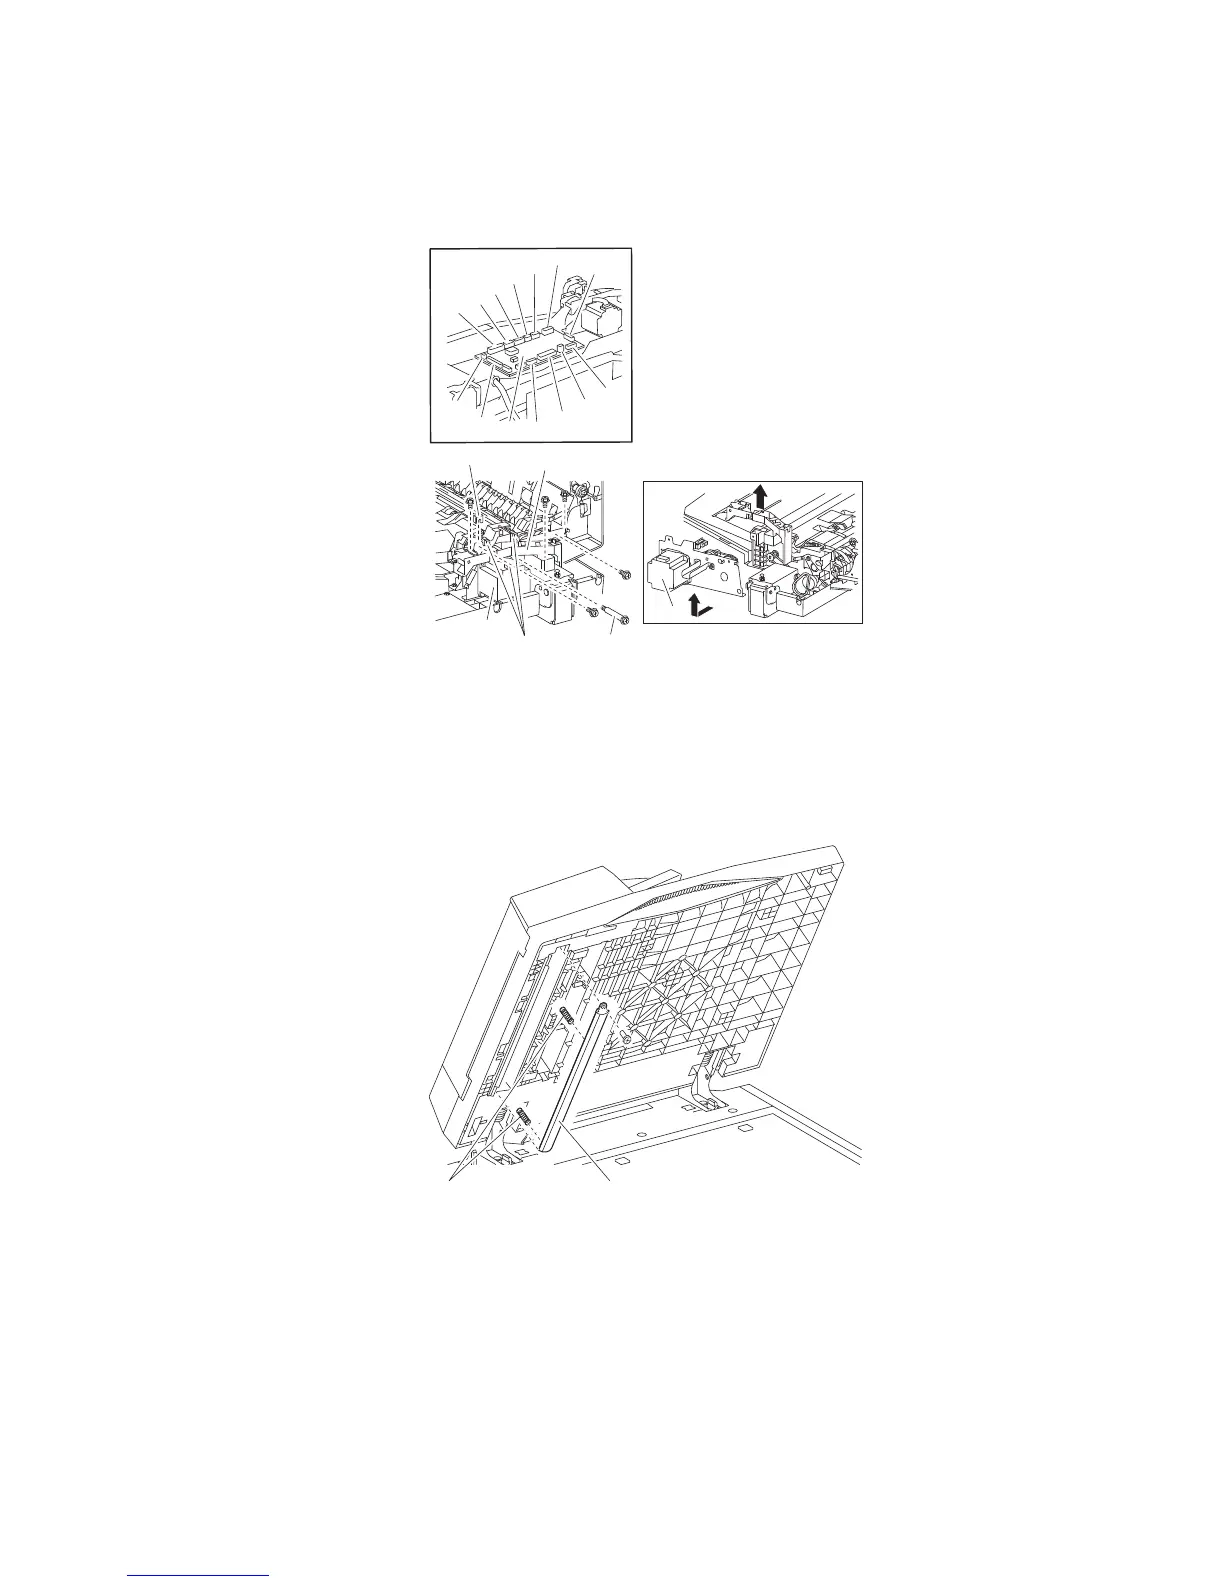
11. Remove the connectors P751, P754, P755, P758, P761, P785 and P786 from the ADF controller card assembly
(D).
12. Remove the harness guide (B) containing the harnesses, and swing it out of the way.
13. Remove the ADF dual drive motor assembly (A) from the ADF.
Media scan guide removal
1. Open the ADF unit assembly.
2. Remove the screw securing the media scan guide (A) to the ADF unit assembly.
3. Remove the media scan guide (A).
4. Remove the two media scan guide springs (B) from the media scan guide (A).
ADF media feed assembly removal
1. Remove the platen cushion assembly. See “Platen cushion removal” on page 4-130.
2. Remove the ADF unit assembly. See “ADF unit assembly removal” on page 4-129.
3. Remove the ADF front cover assembly. See “ADF front cover assembly removal” on page 4-131.
4. Remove the ADF rear cover. See “ADF rear cover removal” on page 4-131.
5. Remove the ADF left cover media guide. See “ADF left cover media guide removal” on page 4-144.
6. Remove the left cover pinch roll assembly. See “Left cover pinch roll assembly removal” on page 4-134.
7. Remove the ADF left cover assembly. See “ADF left cover assembly removal” on page 4-132.
P760
P759
P758
P785
P761
P751
P752
P753
P754
P755
P786
P756
P757
A
D
A
C
B
Connectors Stud screw
 Loading...


