Beta Draft Confidential
13-61/19/05 ATM Services Configuration Guide for CBX 3500, CBX 500, GX 550, and B-STDX 9000
Configuring Layer 2 VPNs
Configuring a Layer 2 VPN
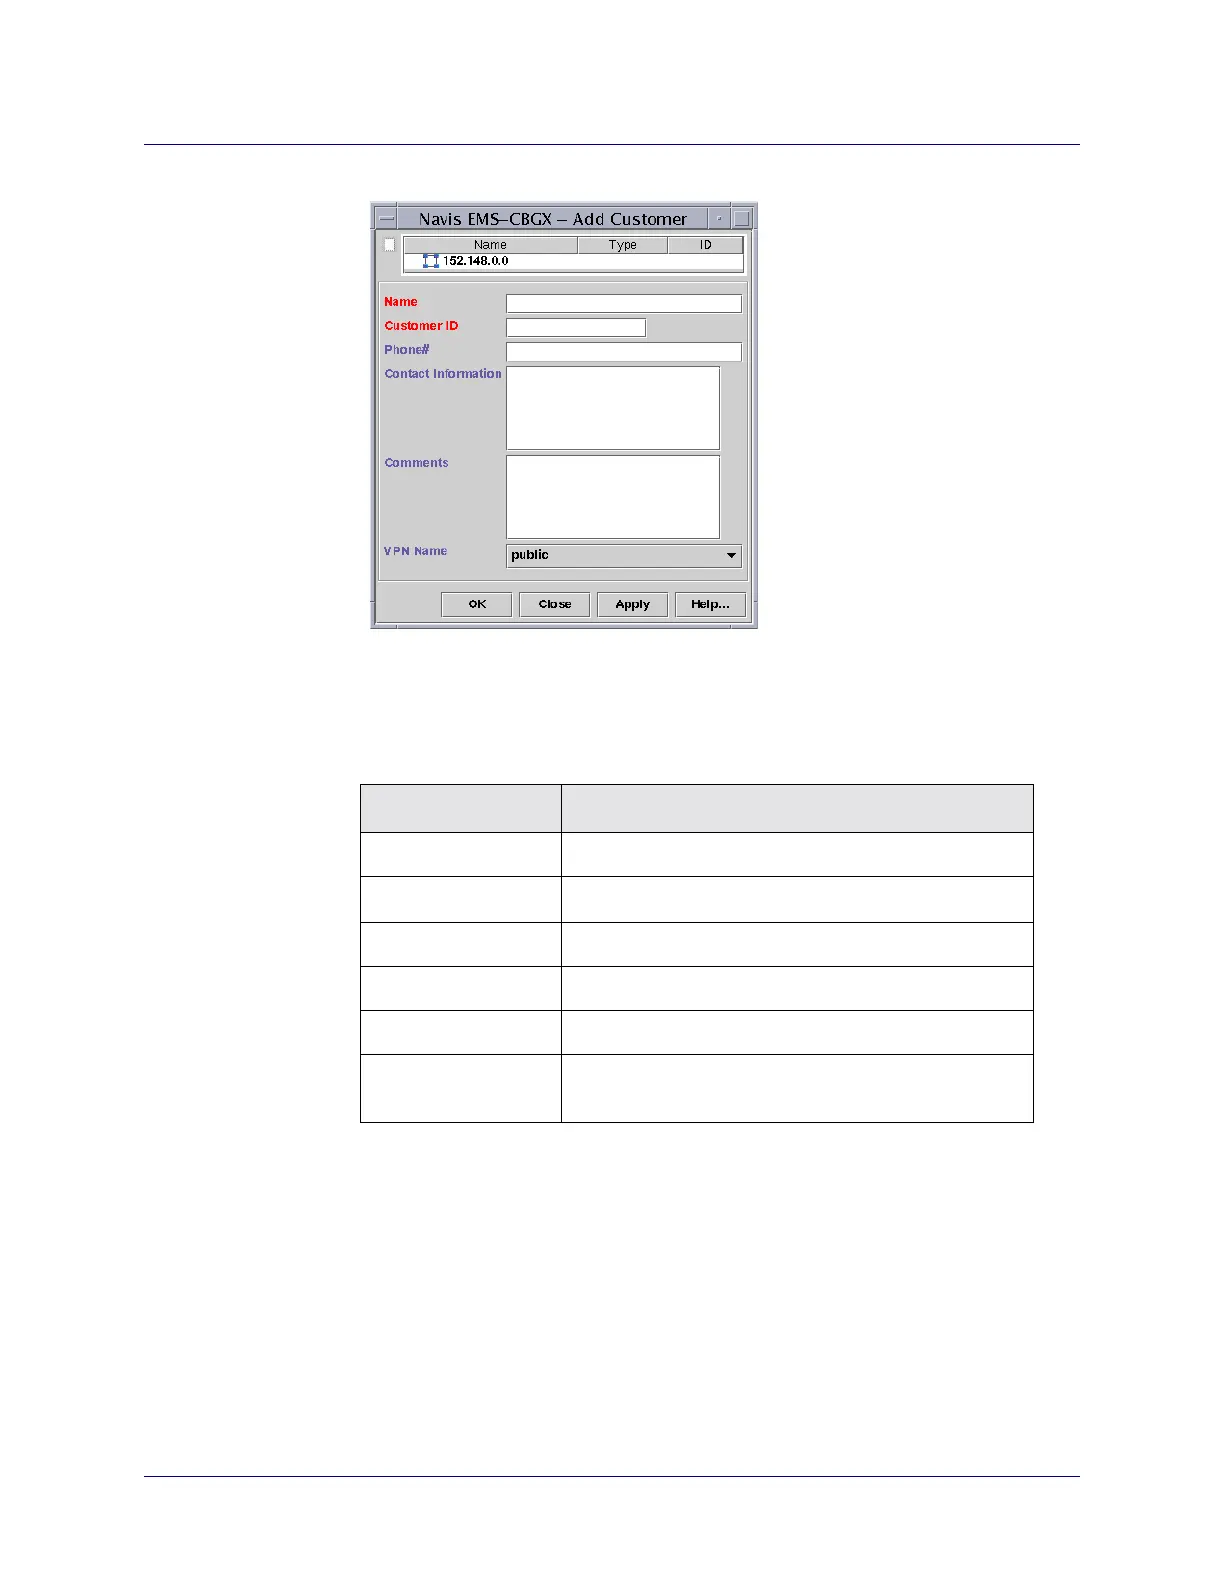
Figure 13-4. Add Customer Dialog Box
3. Complete the fields in the Add Customer dialog box, as described in Table .
4. Choose OK to add the VNN Customer. The Add Customer dialog box closes.
Table 13-2. Add Customer Dialog Box Fields
Field Action/Description
Name Enter a customer name
Customer ID
Assign a value from 1 to 65535.
Phone # (Optional) Enter the customer’s phone number.
Contact Information (Optional) Enter the customer’s contact information.
Comments (Optional) Enter any comments about this customer.
VPN Name Select the VPN name to which this customer belongs
from the pull-down list of available VPN names.