S
ection
6
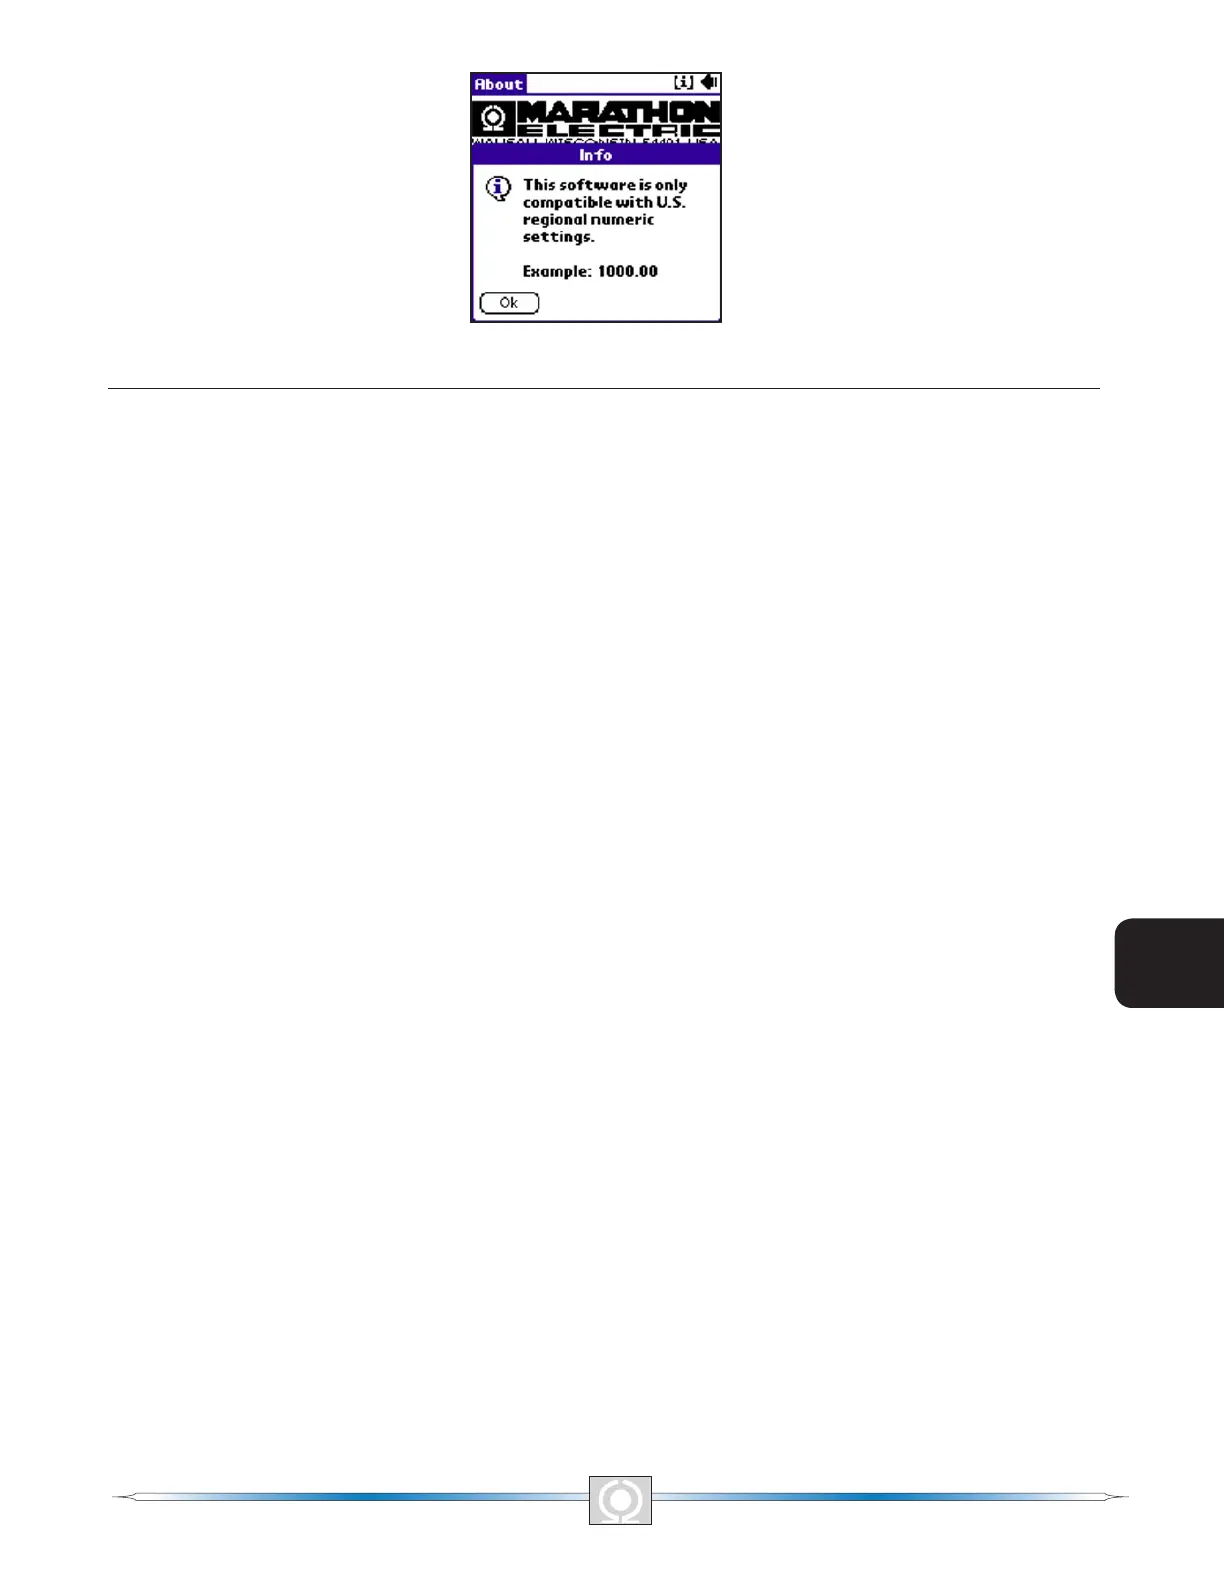
Figure 6-27. Numeric Settings Screen
SOFTWARE FILE OPERATIONS SCREEN
The File Operations Screen (Figure 6-13) displays a list of 10 user-created settings les and one factory-default
settings le. When less than 10 user-created settings les exist, placeholders labeled "– empty –" occupy unused
locations in the list. Tapping the name of a user-created le or the default settings le loads the le settings into
software.
A drop-down menu is accessed by tapping the down arrow (6) on the File Actions line. Selections from the drop-
down menu enable you to create a settings le, send a settings le to the DVR2000E, retrieve settings from the
DVR2000E and delete user-created settings les from the le list on the File Operations Screen.
Creating a Settings File
A settings le can be created with software in either On-Line or Off-Line mode. In On-Line mode, the existing
DVR2000E settings can be downloaded from the DVR2000E and then modied to create a settings le. The
factory-default settings or a user-created settings le can be retrieved and modied in either On-Line mode or
Off-Line mode to create a new settings le. When editing of the settings is complete, the following steps are used
to save the settings le with a unique name.
1. On the software main screen, tap the down arrow (6) on the Other Pages: line.
2. Select File Operations from the drop-down menu and then tap the Open… button in the "Which
Settings?" dialog box to access the File Operations Screen.
3. Tap the down arrow (6) on the File Actions: line of the File Operations Screen.
4. Select SAVE to (handheld) le from the drop-down menu.
5. Use the handheld Grafti® writing area to enter a name for the le. Up to 50 alphanumeric characters
can be used. Note that no more than approximately 13 characters are shown in the Save As: eld when
entering a le name. Upon saving, a date/time stamp will be added to the end of the lename.
Sending a Settings File to the DVR2000E
An existing settings le can be sent to the DVR2000E by using the following procedure.
1. On the software main screen, tap the down arrow (6) on the Other Pages: line.
2. Select File Operations from the drop-down menu and then tap the Open… button in the Which
Settings? dialog box to access the File Operations Screen.
3. Select the desired settings le from the list on the File Operations Screen to load the settings into
software.
4. Tap the OK button to acknowledge that the settings were loaded.
5. Repeat Steps 1 and 2 to access the File Operations Screen.
6. Tap the down arrow (6) on the File Actions: line and select SEND to DVR2000E from the drop-down
menu.
7. Ensure that the proper data cable is connected between the DVR2000E and the handheld.
8. Tap the OK button in the Connect Cable dialog box to send the le.
9. Tap the OK button to acknowledge that the settings were sent to the DVR-2000E.
10. To save the settings in DVR2000E memory, tap the Save to DVR2000E button which is accessible from
82
3
Main Index
5
Section 6 Index
83
3
Main Index
5
Section 6 Index