S
ection
6
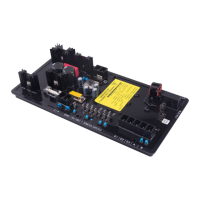
Figure 6-4. Select A User Screen
5. Click the check box next to the desired user or click the Select all button to make the software available to
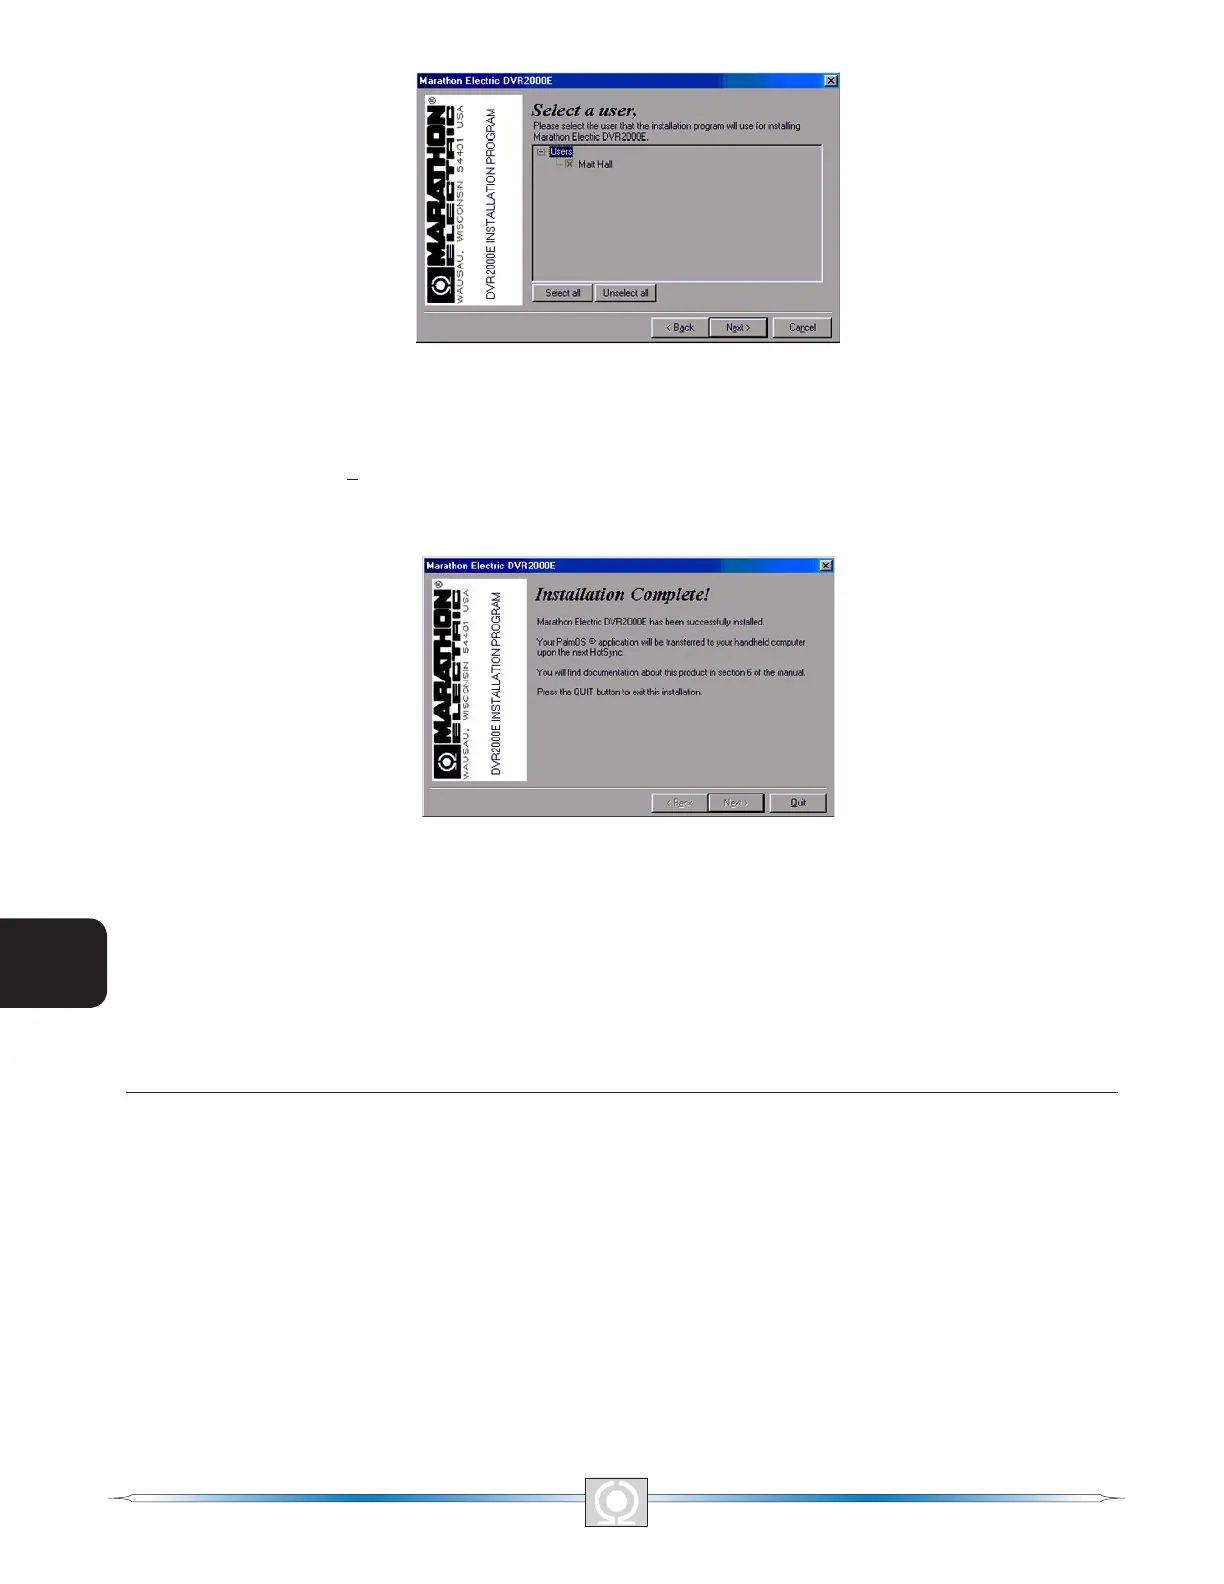
all users. Click the Next> button to complete the installation. The Installation Complete Screen (Figure 6-5)
appears and conrms that the software was installed successfully. Click the Quit button to exit the setup
utility.
Figure 6-5. Installation Complete Screen
6. Connect the handheld and PC using a HotSync® cable or cradle and perform a HotSync® operation to load
the software on the handheld.
Connecting the DVR2000E and Handheld
Communication between the DVR2000E and the handheld requires the proper connections. A 9-pin, male-to-
male, null-modem adapter can be used to connect the handheld to the DVR2000E in series with a HotSync®
cable.
STARTING THE SOFTWARE
The software is started by tapping the DVR2000E icon on the Main Menu Icons Screen (Figure 6-6) of the
handheld. The Please Enter Password Screen appears (Figure 6-7). The default password is “DVR.” Tap “OK”
after entering the password. If the password entered is incorrect, the Password Is Incorrect Screen (Figure 6-8)
appears. Tapping “OK” will close the application. The password can be entered by using your stylus and Grafti
®
script in the writing area of your handheld. An alternative method is to bring up the keyboard display and tap out
the alphabetic code using the stylus followed by a tap to “DONE.” The keyboard can be displayed by tapping the
“abc” symbol in the lower left side of the handheld screen.
72
3
Main Index
5
Section 6 Index
73
3
Main Index
5
Section 6 Index