Configuring the Software Installing & Configuring PhotoPRINT Server
13-6 Sprinter User's Manual
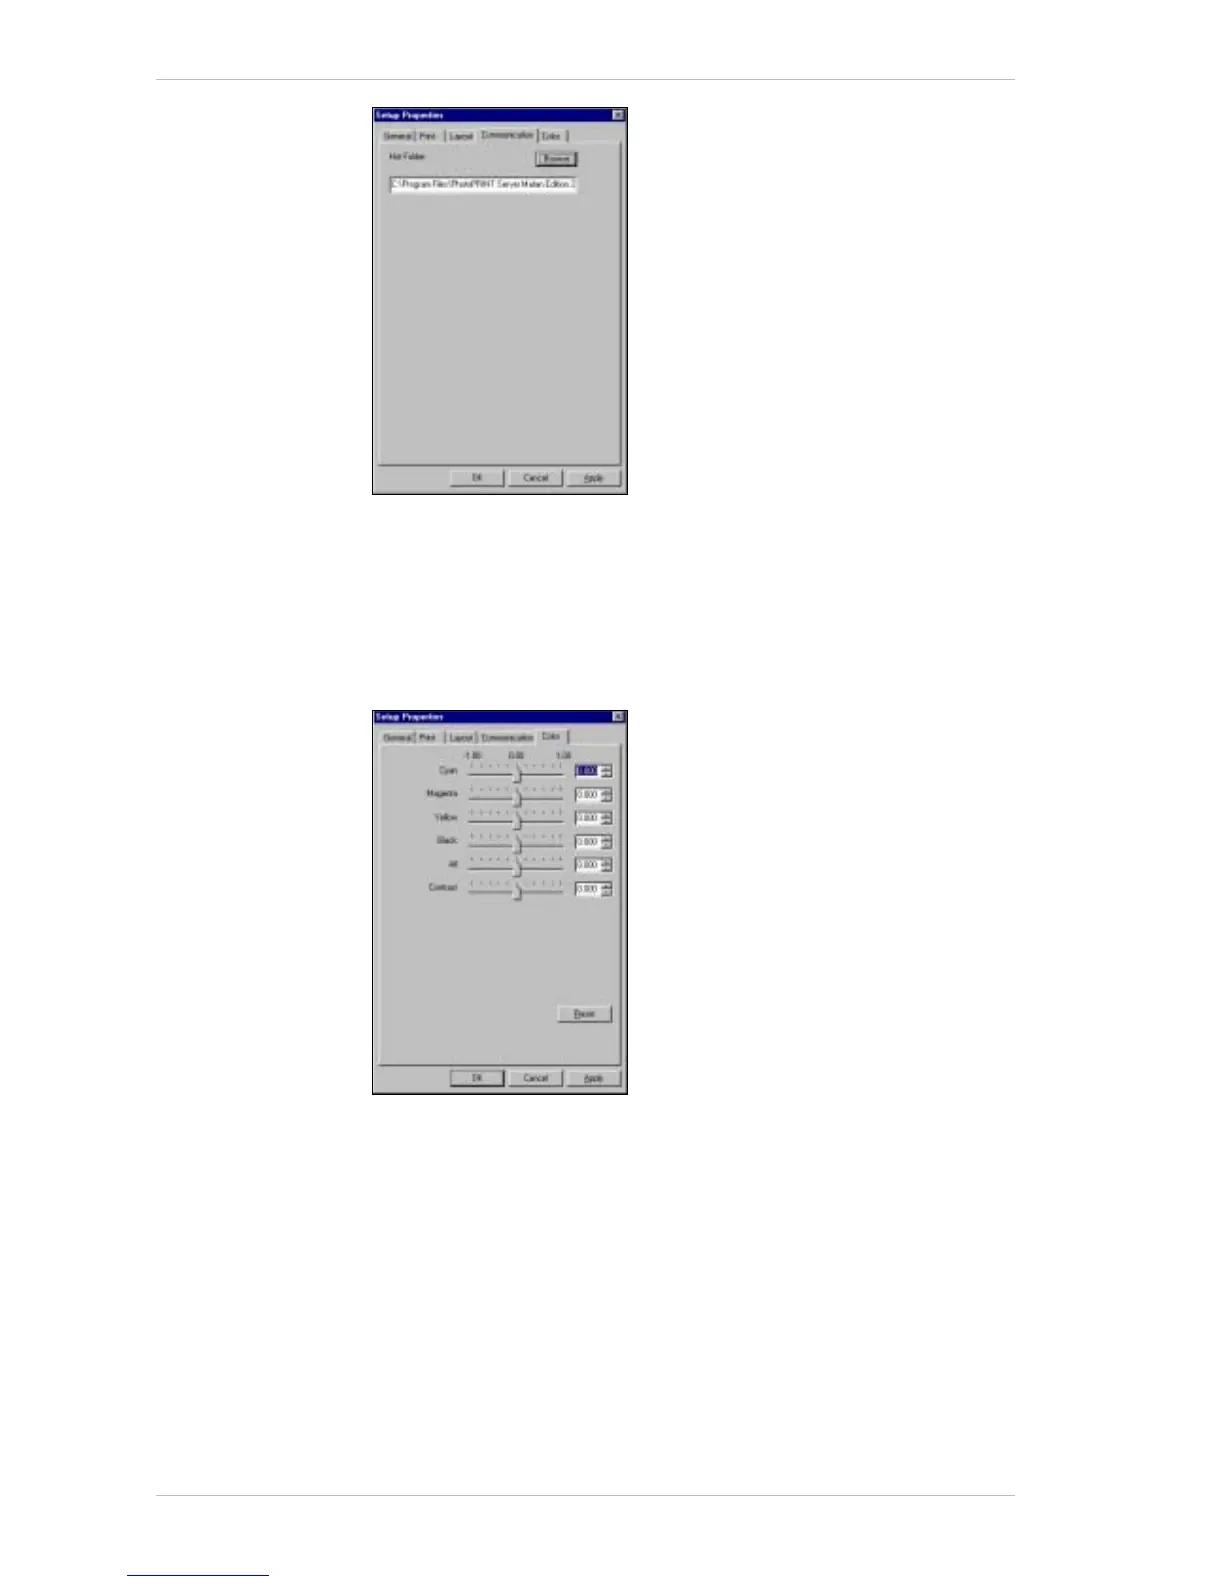
Figure 13-7: Setup Properties Window – Communication Tab
11. Insert the destination path for your saved output files.
12. Click the C
OLOR tab.
The C
OLOR tab appears (Figure 13-17, page 13-11).
Each color channel is represented by a slider that increases or
decreases the ink density.
Figure 13-8: Setup Properties Window – Color Tab
If required, edit the values in each box, to ensure exact matching
between channels.
The settings in the C
OLOR tab will not show in the job preview.
A
LL allows quick adjustments of all the color channels as a group.
C
ONTRAST adjusts the contrast of the image.
R
ESET restores the values and settings to their original state.
13. Click A
PPLY to confirm your settings and click OK.