18
BEFORE USE
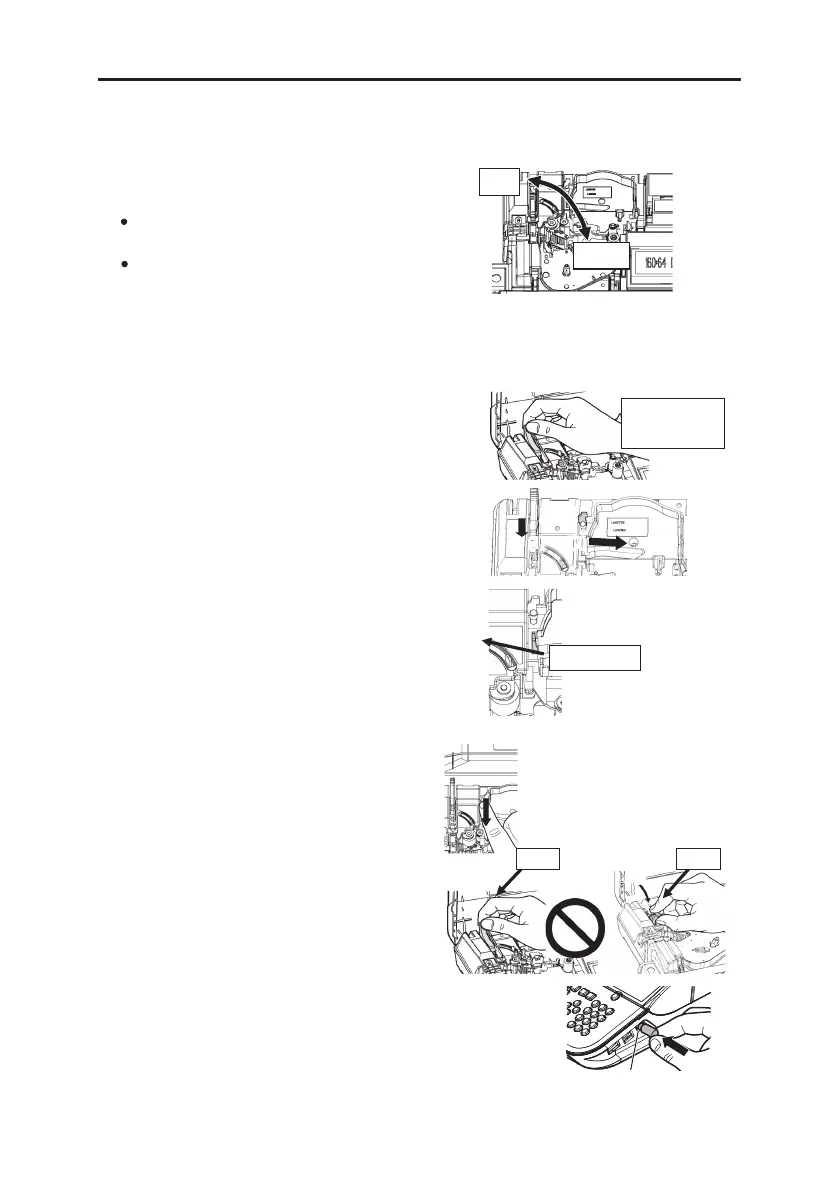
4-8 ADJUSTING THE HALF CUTTING DEPTH
Half cutting depth can be adjusted with the ”Half cutting depth adjustment lever”, when half
cutting depth is not adequate.
Note:
When printing on tubes, the lever has to
be
positioned on the “TUBE.”
When printing on tape or ID plate, the lever
has to be positioned on the “TAPE” choice.
.
4-9 SW
4-10 CONNECTING AC ADAPTER
ITCHING THE PRINTING PRESSURE
Printing pressure can be adjusted with the “Printing pressure switching lever.”
Note: You don’t need to change the strength unless the printed result is too dark.
(Changing from the standard pressure to the low pressure)
1. Check that the release lever is at the
middle position. (The lever is standing)
2. While pressing the lock button, then slide
the printing pressure switching lever to
the right.
3. Now, the strength of the printing pressure
is low.
(Changing from the low pressure to the standard pressure)
1. Ch
1. Insert the AC adapter jack firmly into the connection part on
the right side of the main unit.
eck that the release lever is at the
middle position. (The lever is standing).
2. P
2. Insert the power plug of the AC adapter into the outlet/power
point .
ress the lock button.
Note: Don’t change the head pressure when
the head release lever is positioned as
the figure (“Open” position or “Close”
position).
Deep
Shallow
he release lever i
standing.
Low po
AC adapter
connection
sition
“Open” “Close”
 Loading...