21
Module Mounting Locations
4.0 Module Mounting Locations
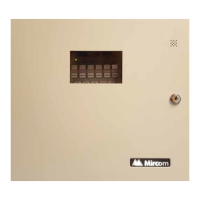
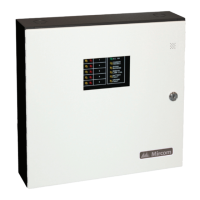
The main chassis in a BB-1024 or BB-1072 enclosure comes pre-assembled with all power
supply, main panel, and display components and boards. The expander chassis is equipped
with a pre-assembled display board. The PR-300 City Tie Module or the UDACT-300A Digital
Communicator may be added on the left side, as shown in Figure 8 on page 24. These
modules connect directly to the dedicated P2 connection in the upper-left corner of the main
fire alarm module.
Attention: There needs to be enough display points for each circuit on an adder
module. These display points are assigned during configuration
(See System Configuration on page 60.) in the order in which the adder
modules are electrically installed (the order in which they have their
cables connected to each other). Both the number of points available
for each display type and the number of points required for each circuit
adder module type are described in 5.0 Module Settings on page 25.
As good practice, it is recommended that circuit adder modules are
installed in the order of detection modules (DM-1008A) followed by
signal modules (SGM-1004A), followed by relay modules (RM-1008A).
To enable communication from the main fire alarm module to all of the
circuit adder modules, it is necessary to remove the continuity jumper
on JW6 (near P5, the circuit adder module connector) on the main fire
alarm module. This jumper plug must be installed on the continuity
jumper on the last installed circuit adder module. To verify the location
of the continuity jumper on a particular circuit adder module see 5.0
Module Settings on page 25
Note: Only the last circuit adder module should have a jumper plug on
its continuity jumper - all others must be left without a jumper plug.

 Loading...