11
11-57
Inspection procedure
Inspection: Connecting rod bearing span when free
CAUTION
• Do not attempt to manually expand the bearings.
• If the measurement is less than the limit, replace the upper and
lower connecting rod bearings.
Inspection: Connecting rod bearing-to-crankshaft clearance
(oil clearance)
• Fit the lower bearing to the connecting rod cap and the upper
bearing to the connecting rod, then tighten the nut to a torque of
115 N
·m {12 kgf·m}.
• Measure the inner diameter of the bearing and the outer diame-
ter of the crankshaft pin.
• If the clearance exceeds the limit, replace the defective part(s).
• If a bearing has to be replaced with an undersized one, machine
the crankshaft pin to the specified undersize diameter.
(See “CRANKSHAFT AND CRANKCASE”.)
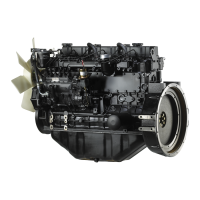
Inspection: Mitsubishi 6M70 Piston and cylinder liner clearance
• If the value calculated from the measurement deviates from the
standard value, replace the defective part(s).
A: Measuring point on the crankcase (in direction of the crank-
case axis).
B: Measuring point on the crankcase (vertical to the crankcase
axis).
C: Measuring point on the piston (vertical to the piston pin hole).
CAUTION
• Because the cylinder liner is a thin-walled liner, the boring
process cannot be preformed on an oversized liner. Do not
remove the cylinder liner except for replacement to prevent
deformation.

 Loading...


