68 / 155
Service Manual Mitsubishi L-Series diesel engines
Version 08/2004
ENGLISH
PISTON AND CONNECTION ROD ENGINE MAIN PARTS
15.3 Inspection
Inspect the removed parts. If any parts are found
defective, replace or repair them.
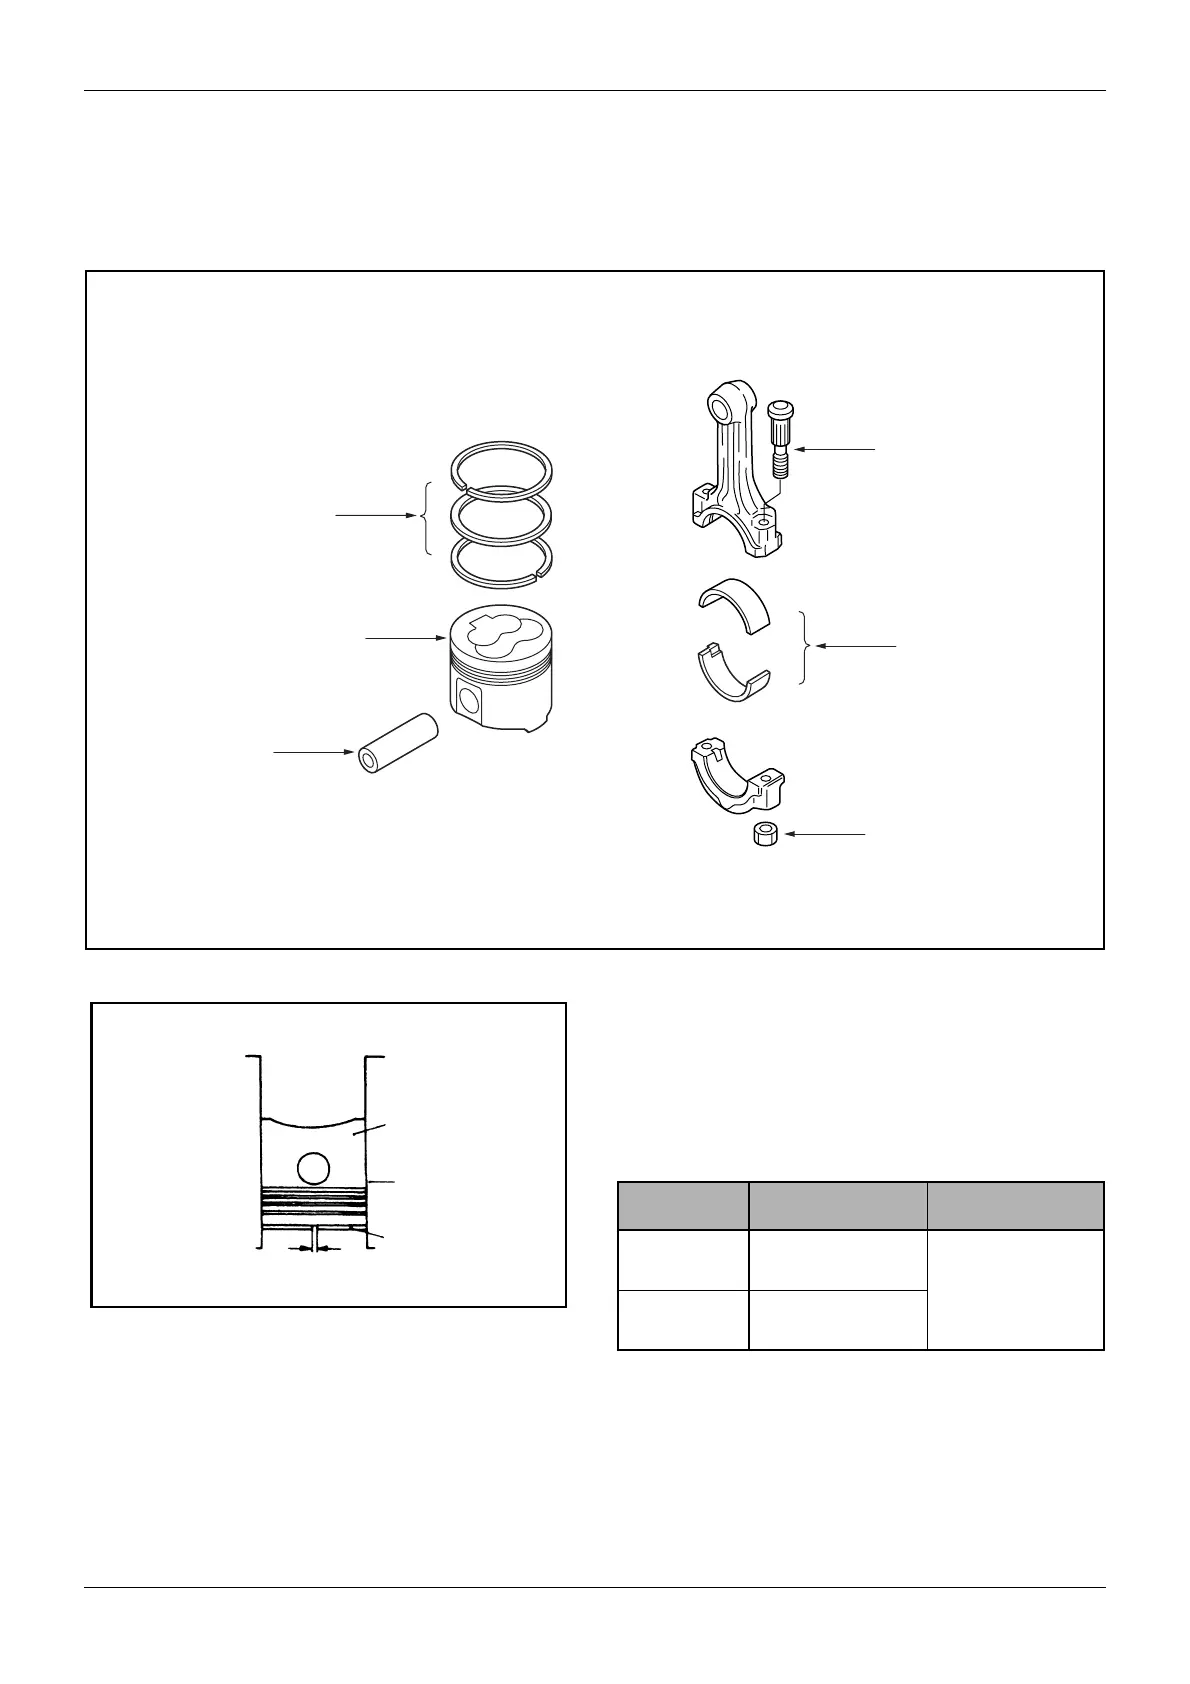
15.3.1 Inspection of piston ring gaps
Place each piston ring into the cylinder bore and push
the ring with piston to have square position to the
cylinder wall. Measure the ring gap with feeler gages. If
the measurement exceeds service limits, replace that
piston ring.
Damage, wear, and ring gap
Journal bearing-
wear and damage
• Bend and twist
• Big end play.
Standard: 0.1 to 0.35
mm [0.0039 to 0.0138
in.]
Damage
• Contact and seizure
• Flaking and fusion
• Oil clearance.
Standard: 0.028 to
0.071 mm [0.0011 to
0.0028 in.]
Damage and wear
• Wear, seizure and
streaks
• Clearance between
piston and cylinder.
Standard: 0.07 to
0.115 mm [0.0028 to
0.0045 in.]
• Wear of piston ring
grooves
Damage, wear,
and ring gap
Figure 69 Inspection of piston and connecting rod
Figure 70 Measuring ring gap
Piston
Cylinder
Ring
Ring gaps
Ring Standard Service Limit
No. 1
No. 2
0.15 to 0.30
[0.0059 to 0.0118]
1.5 [0.059]
Oil 0.15 to 0.35
[0.0059 to 0.0138]
Table 27 Inspection of camshafts, unit in mm [in.]

 Loading...