Configuring the terminal in the Service application
Configuring the joystick button allocations
7
30302710-02-EN V7.20141016 41
You can press the function keys even if the camera is set to full screen mode.
You have connected and activated the camera.
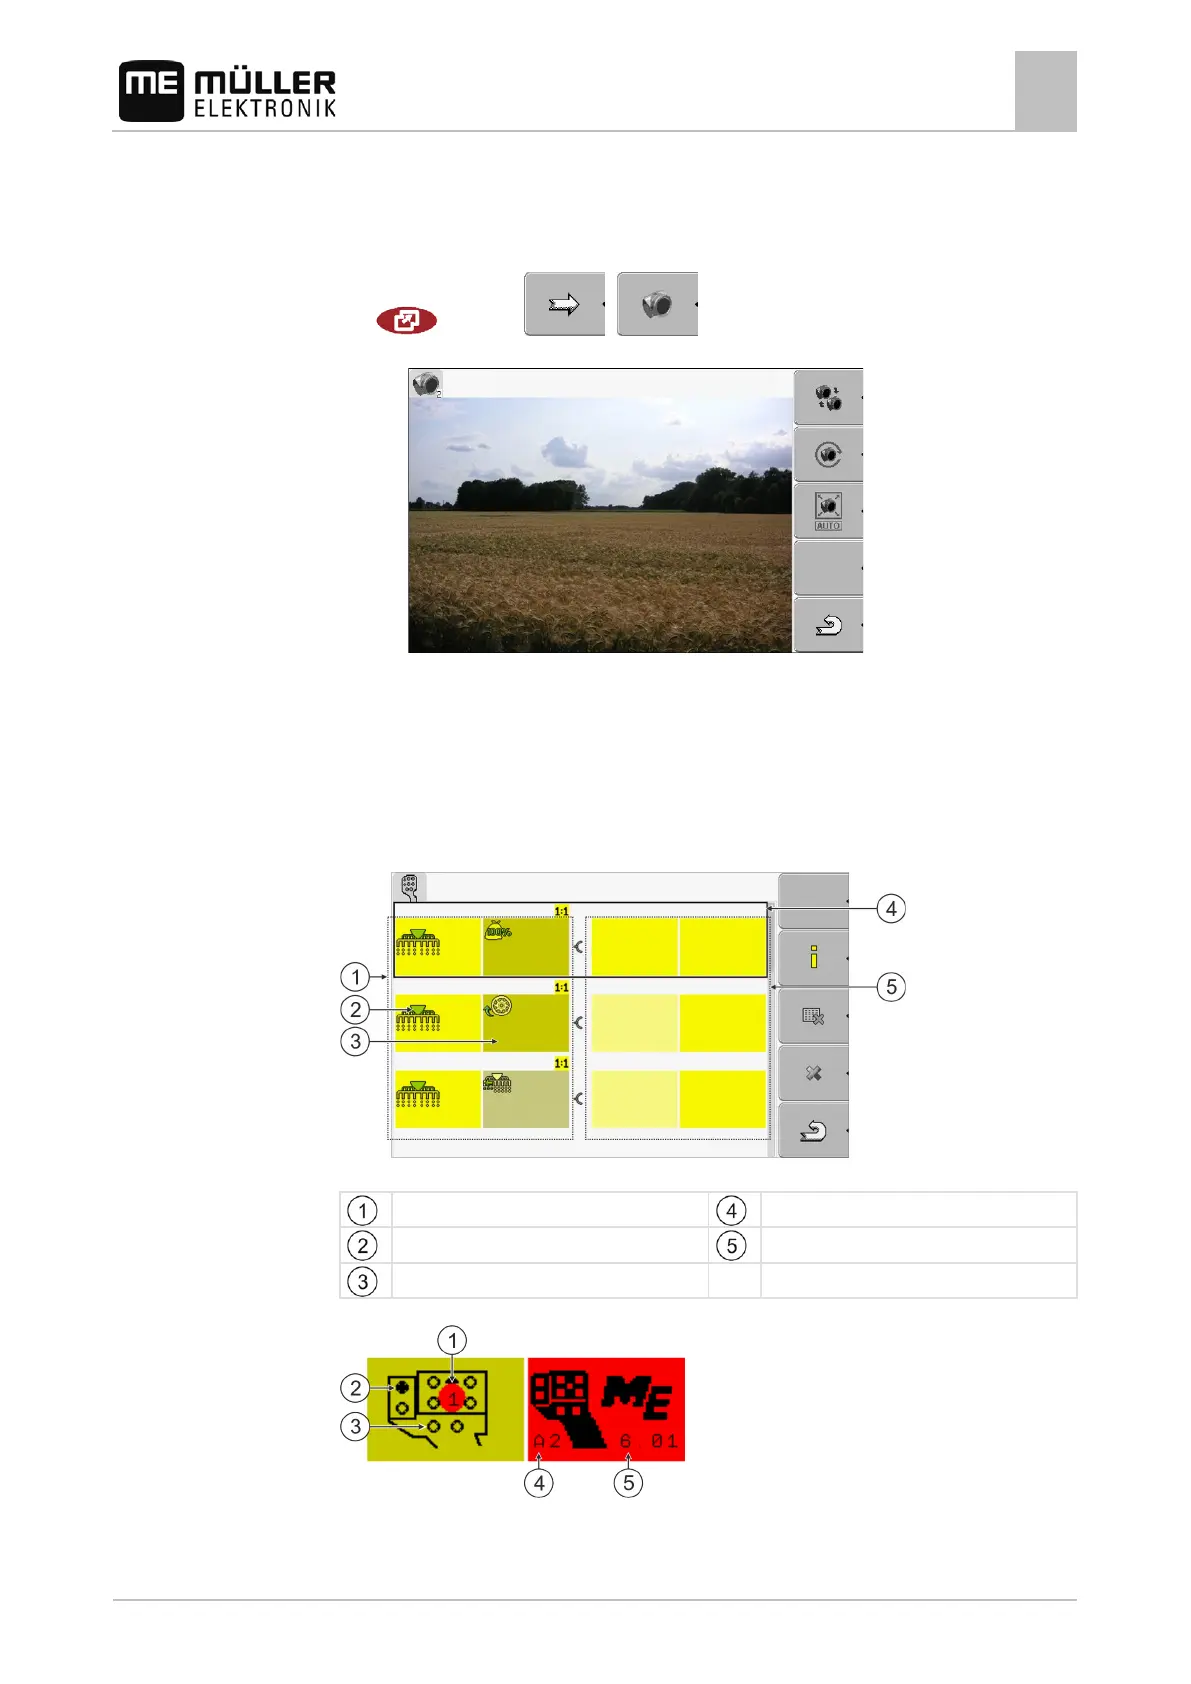
1. Switch to the "Camera" screen:
| Service | |
⇨ The following screen will appear
2. Use the function keys to control the camera.
Configuring the joystick button allocations
The terminal offers you the possibility of assigning the functions of an ISOBUS job computer to the
buttons of the joystick. To do so, the ISOBUS job computer and the joystick must fulfil the Auxiliary 2
specification requirements from the ISOBUS standard.
Selecting the function
Area with available functions
Cursor
Icon for the ISOBUS job computer
Button assignment area
Icon for the function
Button assignment. The example of the Müller Elektronik multi-function grip (MFG)
Procedure
 Loading...