6
EN
hyperion - TECHNICAL MANUAL
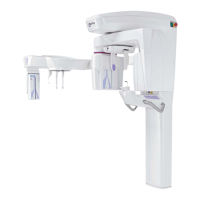
Once hyperion has been put in place for installation, lower the slide by loosening the four screws that connect the
brackets to the wheels.
Intheunitisinstalledonaplate,securethexingscrewstothelatterbeforelooseningtheslidecompletely.
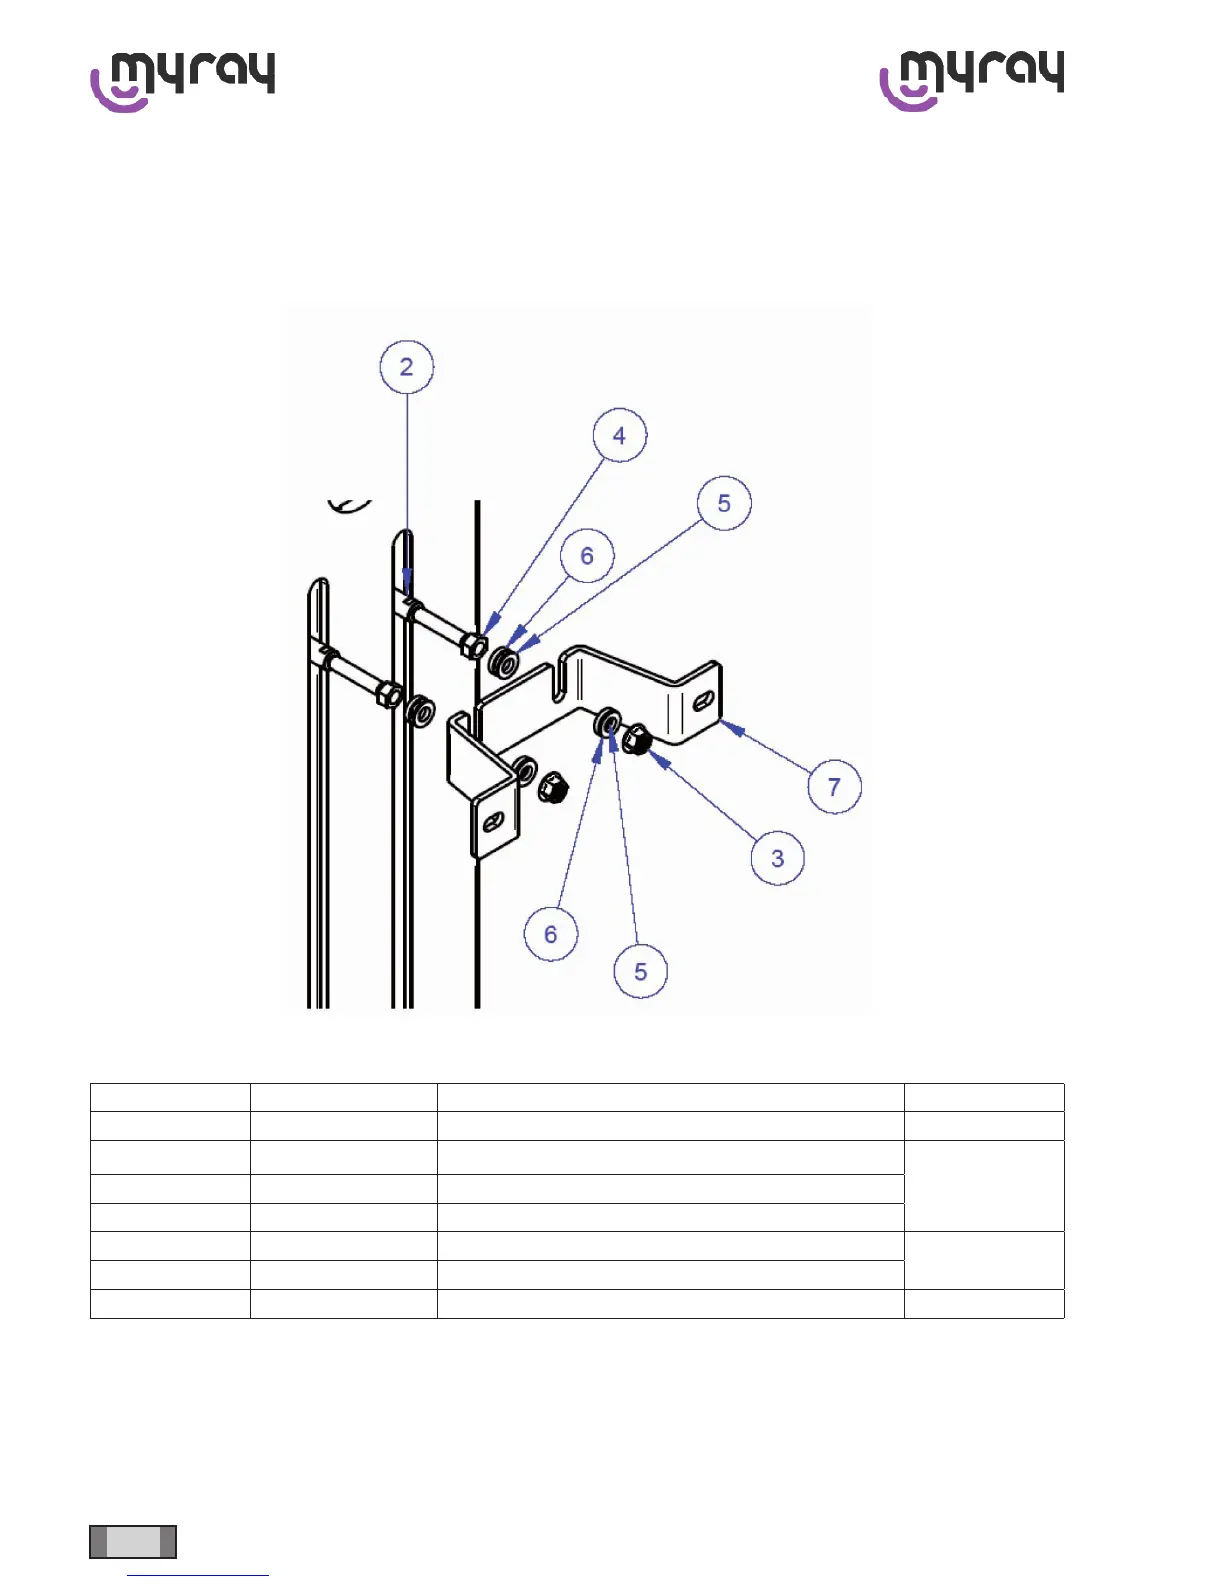
Iftheunitiswall-mounted,securehyperion’sposttothewallasshowninthefollowinggure.
Loosentheslideonlyaftertheposthasbeenrmlyattachedtothesupport.
Position Code Name Quantity
1 99932078 MOBILE POST (MACHINED) 1
2 99932130 PIN FOR WALL-MOUNTING
2
3 52220045 FLANGED M12 NUT FOR WALL BRACKET
4 52220011 MEDIUM NUT UNI 5588 M12
5 53135024 CONVEX WASHER M12
4
6 53135025 CONCAVE WASHER M12
7 99932076 WALL BRACKET 1
Before going on to the next installation steps, remember to remove the safety screw that blocks the head assembly.
The screw is found at the top of the head assembly.