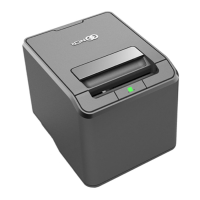
7197 Series II Owner’s Manual Chapter 2: Setting Up and Using the Printer
17 September 2011
Checking for USB Support on the Host Computer
If USB interface communications is required, the host computer must be equipped and
setup properly. If it is not, you need to install a USB interface card. With the required
hardware in place, Windows XP natively support plug-and-play USB with a built-in
driver.
IMPORTANT: You need to have internet access to download the USB drivers from the
NCR Web site://www.NCR.com.
Host Configuration
Verify that the proper hardware has been installed in the host PC.
Windows XP:
1. Open the Control Panel.
2. Click on System.
3. Click the Device Manager tab.
4. In the Device Manager window, scroll down the list of installed hardware devices
until you find an entry for “Universal serial bus controller.”
If this entry exists, your host computer is set up for USB operation. If this entry does not
appear:
Consult your computer documentation to see if USB must be enabled in the BIOS setup.
Configuring the Printer
USB is a plug-and-play environment. As such, neither the printer nor the host requires
user configuration to work. However, since the NCR solution simulates a serial
communication interface, you must configure “handshaking” on the printer for proper
operation. The printer can be configured to use hardware flow control (using
DTR/DSR) or software flow control (using XON/XOFF). All other serial
communication parameters (i.e., baud rate, parity, stop bits, and data bits) are ignored.
To define software or hardware handshaking:
1. Open the Receipt Cover and check whether there is paper in the printer. If there
isn’t, insert the paper roll, as described in the Owner’s Manual.
2. Turn the printer so the bottom side of the printer is facing you.
3. Set DIP switch 1 to the On position (up).

 Loading...