164
INSTALLING A TRANSMITTER ON A REGULATOR
To install the Transmitter on the Regulator First Stage:
Remove the existing Pressure Gauge and High Pressure
Hose, or the High Pressure Port Plug from the Port marked
HP using the proper size Hex Key .
Lightly lubricate the O-ring and Threads of the T ransmitter
fitting with a halocarbon based lubricant such as Christo-
Lube MCG111 (provided in Oceanic Battery Kits).
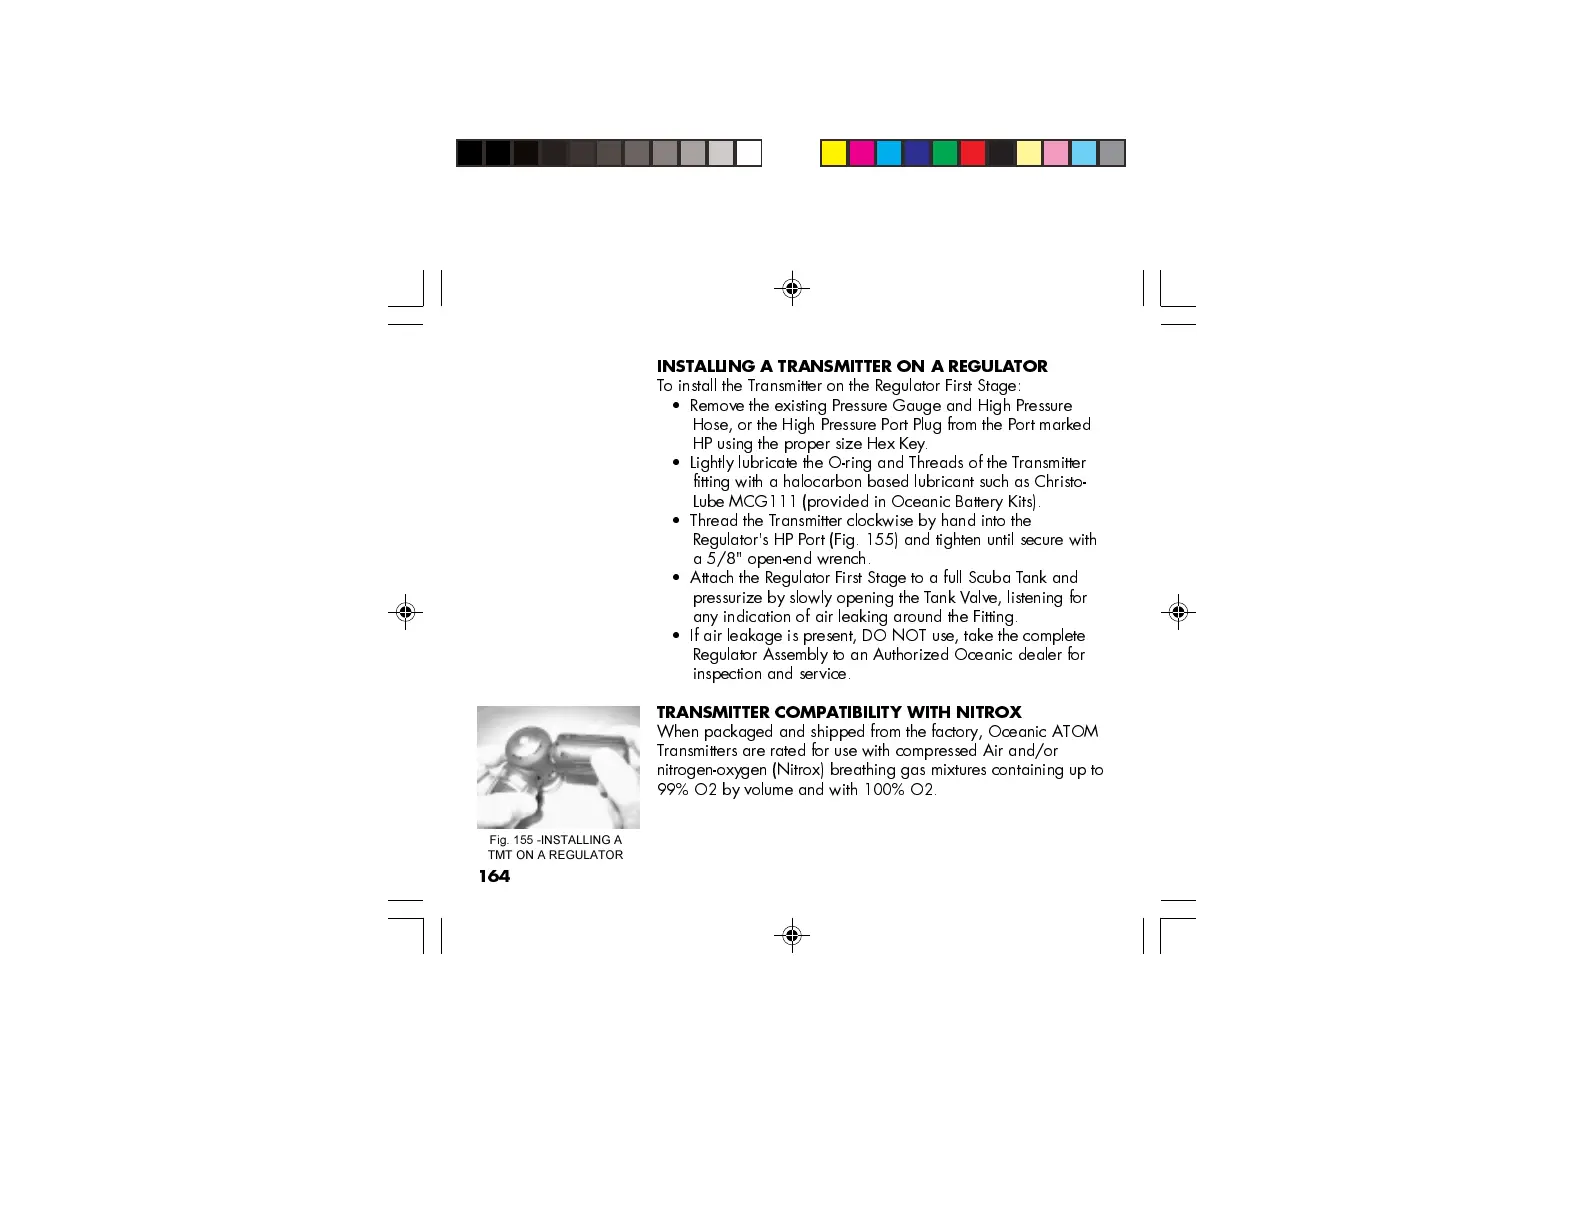
Thread the T ransmitter clockwise by hand into the
Regulator's HP Port (Fig. 155) and tighten until secure with
a 5/8" open-end wrench.
Attach the Regulator First Stage to a full Scuba Tank and
pressurize by slowly opening the Tank Valve, listening for
any indication of air leaking around the Fitting.
If air leakage is present, DO NOT use, take the complete
Regulator Assembly to an Authorized Oceanic dealer for
inspection and service.
TRANSMITTER COMPATIBILITY WITH NITROX
When packaged and shipped from the factory, Oceanic ATOM
Transmitters are rated for use with compressed Air and/or
nitrogen-oxygen (Nitrox) breathing gas mixtures containing up to
99% O2 by volume and with 100% O2.
Fig. 155 -INSTALLING A
TMT ON A REGULATOR