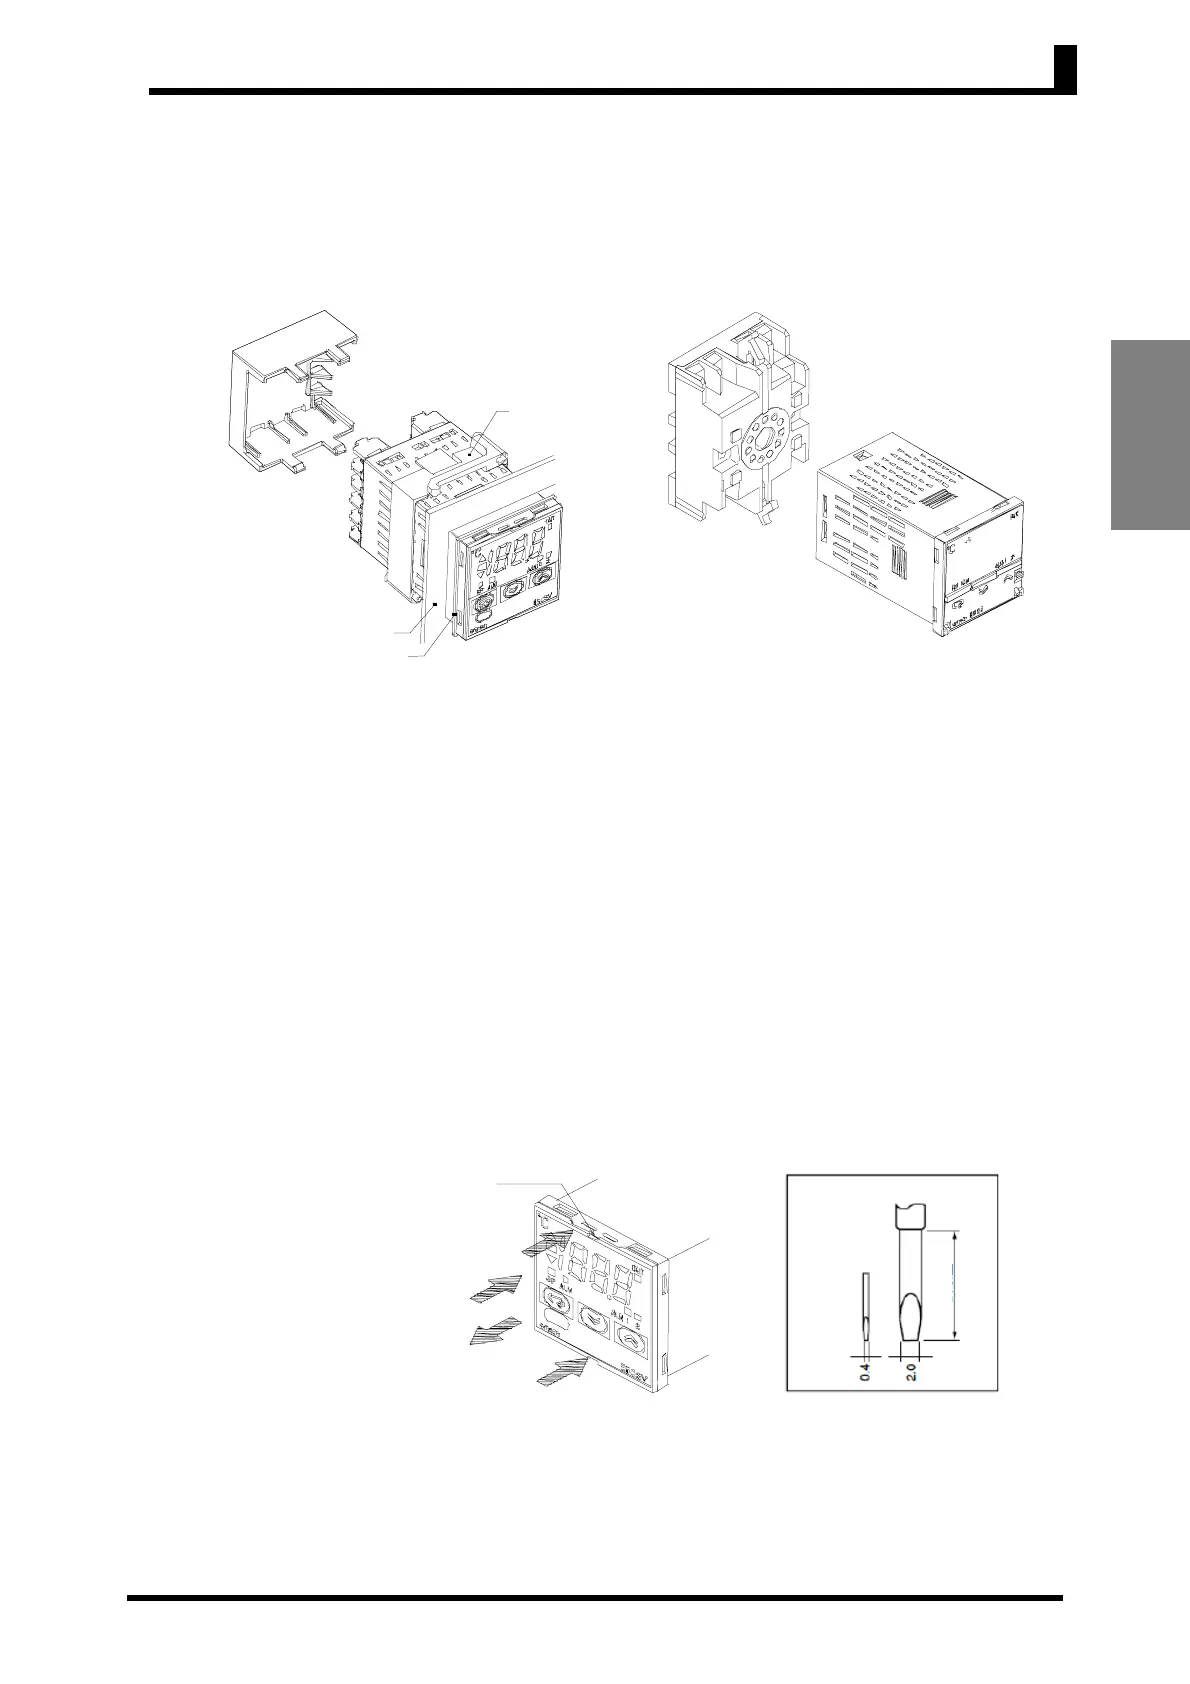
2.1 Installation
2-3
Preparations
• Group mounting is possible in one direction only, either vertical or horizontal.
■ Mounting
For the Wiring Socket, separately purchase the P2CF-08 or P3G-08 for
models without alarms, or the P2CF-11 or P3GA-11 for models with
alarms.
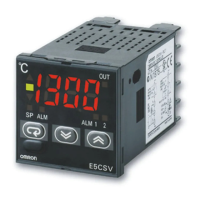
●E5CSV ●E5CS-U
● Mounting to the
Panel
(1) For waterproof mounting, waterproof packing must be installed
on the Controller. Waterproofing is not possible when group
mounting several Controllers. (E5CSV only)
(2) Insert the E5CSV/E5CS-U into the mounting hole in the panel.
(3) Push the adapter from the terminals up to the panel, and
temporarily fasten the E5CSV/E5CS-U.
(4) Tighten the two fastening screws on the adapter. Alternately
tighten the two screws little by little to maintain a balance. Tighten
the screws to a torque of 0.29 to 0.39 N·m.
● Mounting the
Terminal Cover
For the E5CSV, make sure that the “UP” mark is facing up, and then fit
the terminal cover into the holes on the top and bottom.
* Order the E53-COU10 Terminal Cover separately.
■ Removing the
E5CSV from
the Case
The Temperature Controller can be removed from the case to perform
maintenance without removing the terminal leads. Only E5CSV can
be removed from the case. The E5CS-U cannot be removed from the
case.
Ada
te
Panel
Waterproof packing
Terminal cove
Tool
insertion hole
(1)
(1)
(2)
(3)
Flat-blade screwdriver
(Unit: mm)
20 min.