No. P10355
|16|
8.
CONNECTION PROCEDURE AND GROUND FOR SAFETY USE (continued)
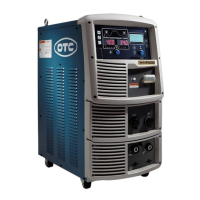
Follow the steps below to attach the cables to the output connectors of the welding power source
referring to the illustrations of “Connection of the Welding Power Source“ on the previous page.
1. Connect between the “base metal
- “ terminal and the base metal using the power cable for
base metal.
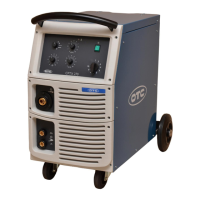
2. Attach the power cable for wire feeder to the “torch
+ “ output terminal and connect to the torch
cable.
3. Insert the control cable for wire feeder into the socket for wire feeder.
4. Attach the gas hose to the gas inlet on the wire feeder.
5. Connect the welding torch to the wire feeder.
6. Connect the hoses for water supply and for condensed water to the water cooler. (When using a
water-cooled torch.)
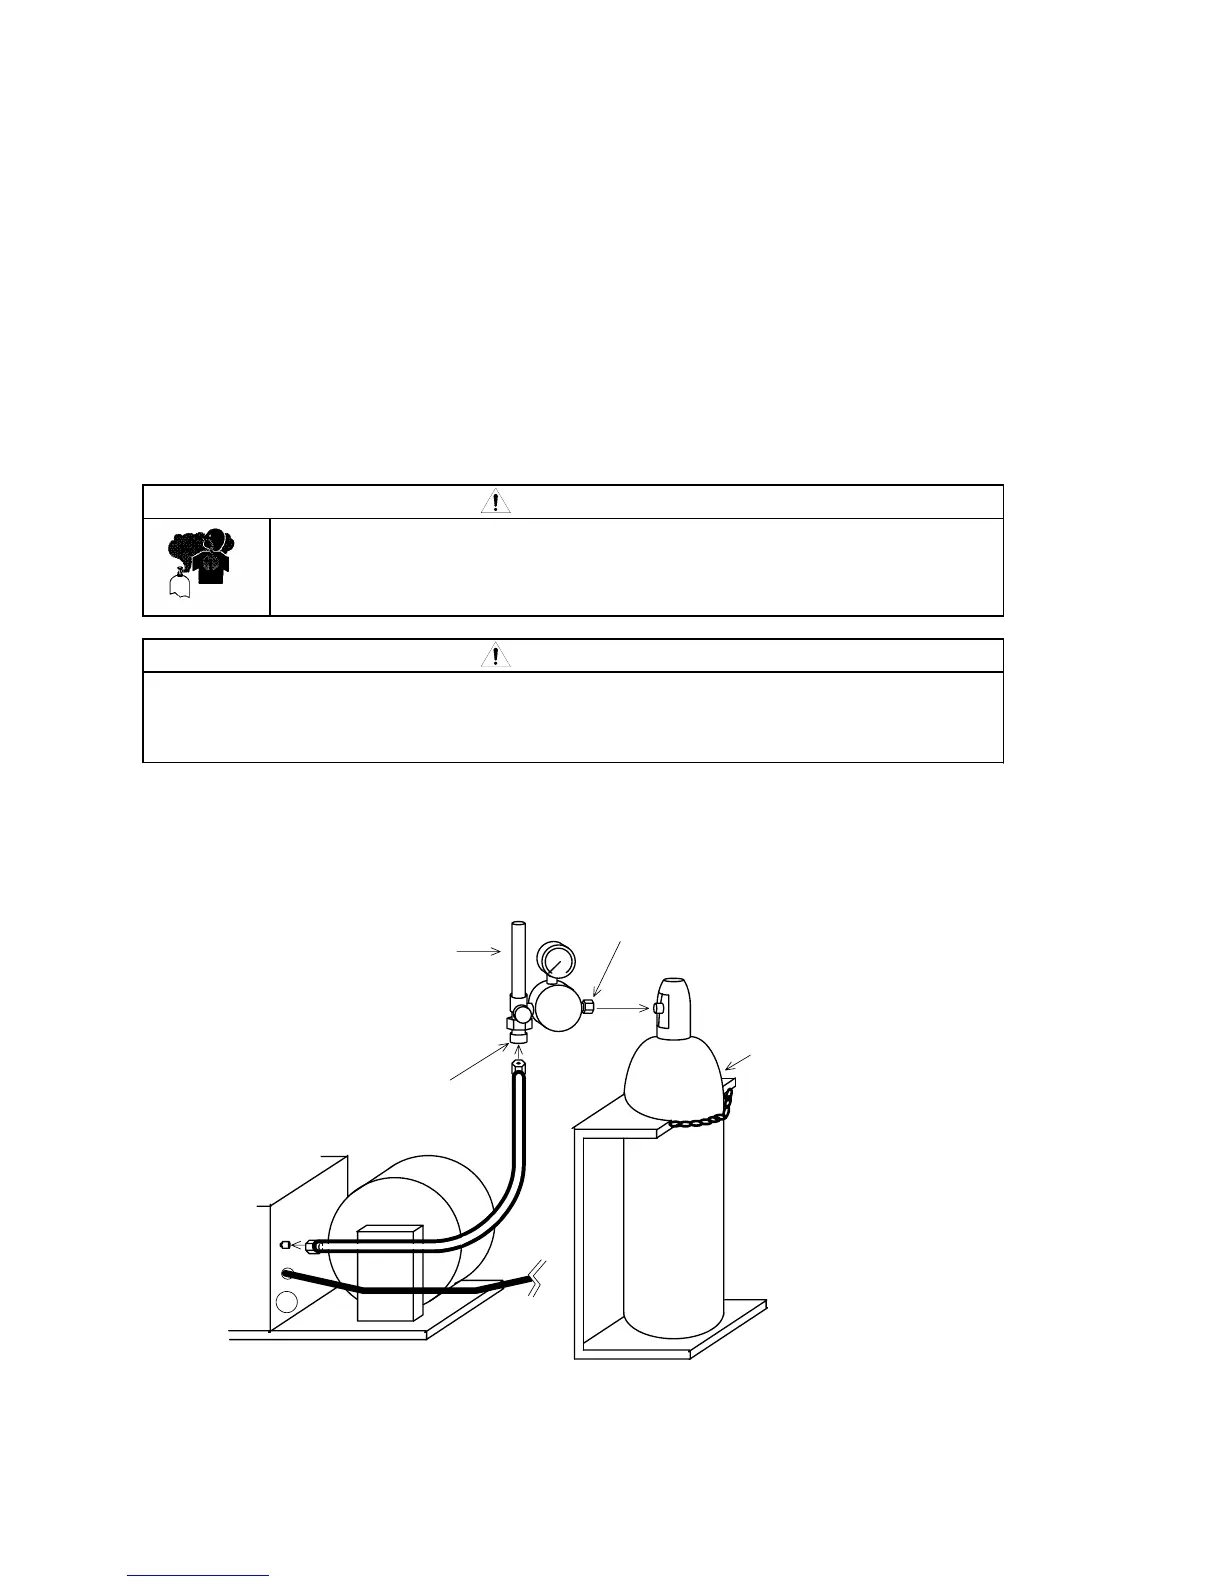
8.2 Connecting of the Gas Hose
WARNING
ou may suffer from danger of suffocation caused by lack of oxygen when
shield gas keeps drifting in a closed place. Be sure to turn off the shield gas
at the main when the welding power source is not in use.
CAUTION
Be sure to connect the gas hose after fixing to the stand, as physical injuries may result
from falling down of gas cylinder.
Attach a proper gas flow regulator to a gas cylinder. Failure to observe the demand may
result in physical injuries. The gas flow regulator for high pressure gas must be used.
1. Securely attach the gas hose to the gas inlet located on the rear side of the wire feeder with a
monkey wrench, etc.
2. Fix the nut for attaching gas cylinder to the gas cylinder with a monkey wrench, etc.
3. Securely attach the gas hose to the gas outlet with a monkey wrench, etc.
Gas cylinder
Gas flow rate regulator
Gas outlet
@
A
B
Nut for attaching gas cylinder
Wire feeder
Gas hose fitting size: 9/16-18UNF