No. P10355
|40 |
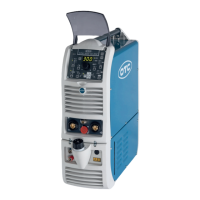
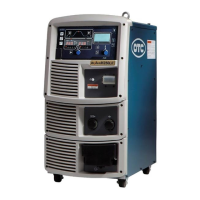
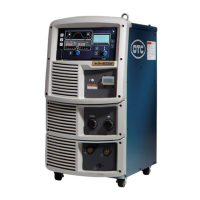
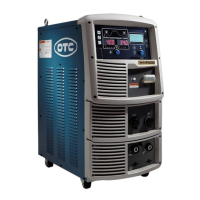
10. OPERATION (continued)
10.1.11 TORCH WATER/AIR Selection
Select WATER/AIR according to your torch by using the TORCH key [16]. When using a
water-cooled torch, select “WATER” by pressing the TORCH key once. When “WATER” is
selected, the TORCH lamp (located at the upper left of the TORCH key) lights up. When
using an air-cooling torch, make sure that the TOCH lamp goes out. When lack of water
pressure and no water flow occur while “WATER” is selected, the WARNING lamp lights up.
10.1.12 Verifying the Parameters in the Displays
The displays on the front panel provides the following functions:
1. Display of Parameter Setting Value
When setting to “parameter setting values display” mode during down period (excluding
the result display period right after the completion of welding) and during welding, values
of parameters under adjustment are displayed.
2. Display of Output Current During Welding
The parameters shown in the displays automatically change to average values of output
current and output voltage according to the output conditions every about 0.5 second.
The display accuracy is Class 2.5 or equivalent and is the same as that of a general
needle type meter. When you want to change the parameters during welding, switch to
the “parameter setting values display” mode by using the DISPLAY CHANGE key [8].
When no welding operation is not carried out for about 5 seconds or the DISPLAY
CHANGE key [8] is held down, the display mode automatically returns to the “average
parameter setting values display” mode. When the TORCH key is pressed, the LED
lamps of the sequence parameters go on sequentially according to the welding
operations. When the display setting is switched to the "parameter setting values
display" mode, each LED lamps (located at the sequence parameter setting section) of
the sequence that is currently outputting begin blinking. Refer to Section 10.1.13, “Using
the Parameter Adjusting Knob” for the parameters that can be adjusted using the
parameter adjusting knob [6] during welding.
3. Display of Welding Results after Completion of Welding
Upon completion of welding, the average output current and voltage for last one second
blink for about 20 seconds (however, the output conditions of crater fill are ignored).
Therefore, the operators can verify the welding conditions right after the completion of
welding and can use them as approximates when adjusting the welding conditions. This
display is cancelled by starting the next welding or by pressing any key on the front
panel without waiting 20 seconds after the completion of welding. The result display
time can be preset to F8 by using the F key [12]. The setting value is displayed in the
left digital and the "sec" lamp lights up. The setting range of the result display time is 5
seconds to 60 seconds.
NOTE: In the case where the less than one-second welding such as tack welding,
etc. is performed, the correct results of the welding are not displayed.
4. Display of Error Message
If an error is detected in the power source of electric welding, an error number indicating
error messages blinks. See Section 11.1, "Troubleshooting".
NOTE: The average output values shown in the displays are processed by
software and are not guaranteed as control data of measuring instruments.
Display accuracy: Class 2.5 or equivalent).