No. P10355
|47 |
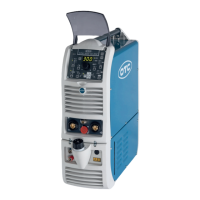
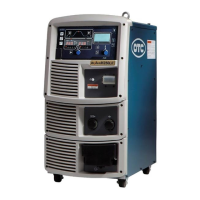
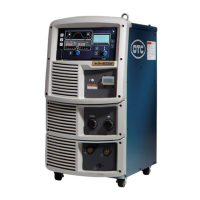
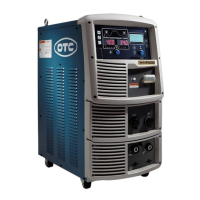
10. OPERATION (continued)
(8) Setting of Result Display Holding Time: F8
After completion of welding, the average value of output current and output
voltage for last one second blinks for about 20 seconds, but the result display
holding time can be set by F8 using F key [12]. The setting range of result
display holding time is 5 seconds to 60 seconds.
(9) Selection of Scale Plate of Analog Remote Control: F9
When the analog remote control (optional accessory) is used, it is possible to
finely adjust a low-current region where a small-diameter wire is used for weld
by replacing the full-scale 350A scale plate with the full-scale 200A scale plate
(supplied). The analog remote control scale plate is changed over by using the
F selector key [12]. Set to "200" by using F9.
(10) Setting of Feed Motor Load Current Error Detection Level: F10
In the event that contact resistance is applied to the wire feed line section due
to worn liners, defective tips, etc., the current supplied to the motor increases
(when feed roll lacks smooth movement). Monitoring current of this motor can
detect defective feed. The motor load current detection level at shipment is 70%
(2.0A) of the rated motor current 2.8A (continuous), and if the current exceeds
the setting value, "E-" and "820" in the displays are displayed after welding
operation is stopped. But, in this case, the welding machine stops operation
automatically, then it self-restores by re-welding. This detection level can be
changed by changing the setting of F10 using F selector key [12]. The setting
range of motor load current trouble detection level is 20% to 150%.
NOTE: Adjust the detection level optionally and use it in the best detection
level, because the application environment and judgment criteria vary
depending on wires and torches and customers respectively.
(11) Setting of Job Memory Fine Adjustment: F11
Under the welding conditions already stored in JOB MEMORY, current can be
finely adjusted with the WELDING CURRNET knob located on the optional
analog remote control and voltage with the VOLTAGE knob. The initial setting
of F11 is “oFF”. When activating the function, set F11 to “on”. Setting both
CURRENT and VOLTAGE knobs to the center of the scales allows the machine
to work under the conditions already stored in the welding conditions memories.
To increase welding current slightly, turn the knob clockwise and to decrease
slightly, turn it counter-clockwise. Welding voltage can be adjusted in the same
manner. The fine adjustment range is r20%.
NOTE:
xWhen no data is stored in the JOB MEMORY, the function cannot be
activated.
xFor the conditions stored in memory in synergic mode, adjust them in
individual mode.
Place these knobs in the center