22 Laser settings
In the dialog, configure any of the following settings:
• “Application”:
The list box items vary depending on the connected laser marking system.
‒ LP-GS (marking): “PCB (Faint marking)”, “PCB (Deep marking)” (LP-GS051, LP-
GS051-L), “Epoxy coated component”, “Resin (Black)”, “Paper (layer removal)”,
“Paper (dark marking)” (LP-GS051, LP-GS051-L)
‒ LP-RC (marking): “Paper (layer removal)”
LP-RF, LP-RV: For “Application”, select “Marking” or “Processing”. Then select the
marking or processing application from the list box.
‒ LP-RF (marking): “Aluminum (shallow engraving)”, “Aluminum (deep engraving)”,
“Iron/Stainless steel (shallow engraving)”, “Iron/Stainless steel (deep engraving)”,
“Acrylonitrile butadiene styrene (Black)”, “Acrylonitrile butadiene styrene (White)”,
“Polybutylene terephthalate (Black)”, “Polybutylene terephthalate (White)”,
“Polyoxymethylene (Black)”, “Polyoxymethylene (White)”, “Polypropylene (Black)”,
“Polypropylene (White)”, “Polycarbonate (Black)”, “Polycarbonate (White)”
‒ LP-RV (marking): “Aluminum (shallow engraving)”, “Aluminum (deep engraving)”,
“Iron/Stainless steel (shallow engraving)”, “Iron/Stainless steel (deep engraving)”,
“Acrylonitrile butadiene styrene (Black)”, “Acrylonitrile butadiene styrene (White)”,
“Polybutylene terephthalate (Black)”, “Polybutylene terephthalate (White)”,
“Polyoxymethylene (Black)”, “Polyoxymethylene (White)”, “Polypropylene (Black)”,
“Polypropylene (White)”, “Polycarbonate (Black)”, “Polycarbonate (White)”, “Epoxy
coated component”
‒ LP-RF, LP-RV (processing): “Surface removal”, “Cutting of cable shield”
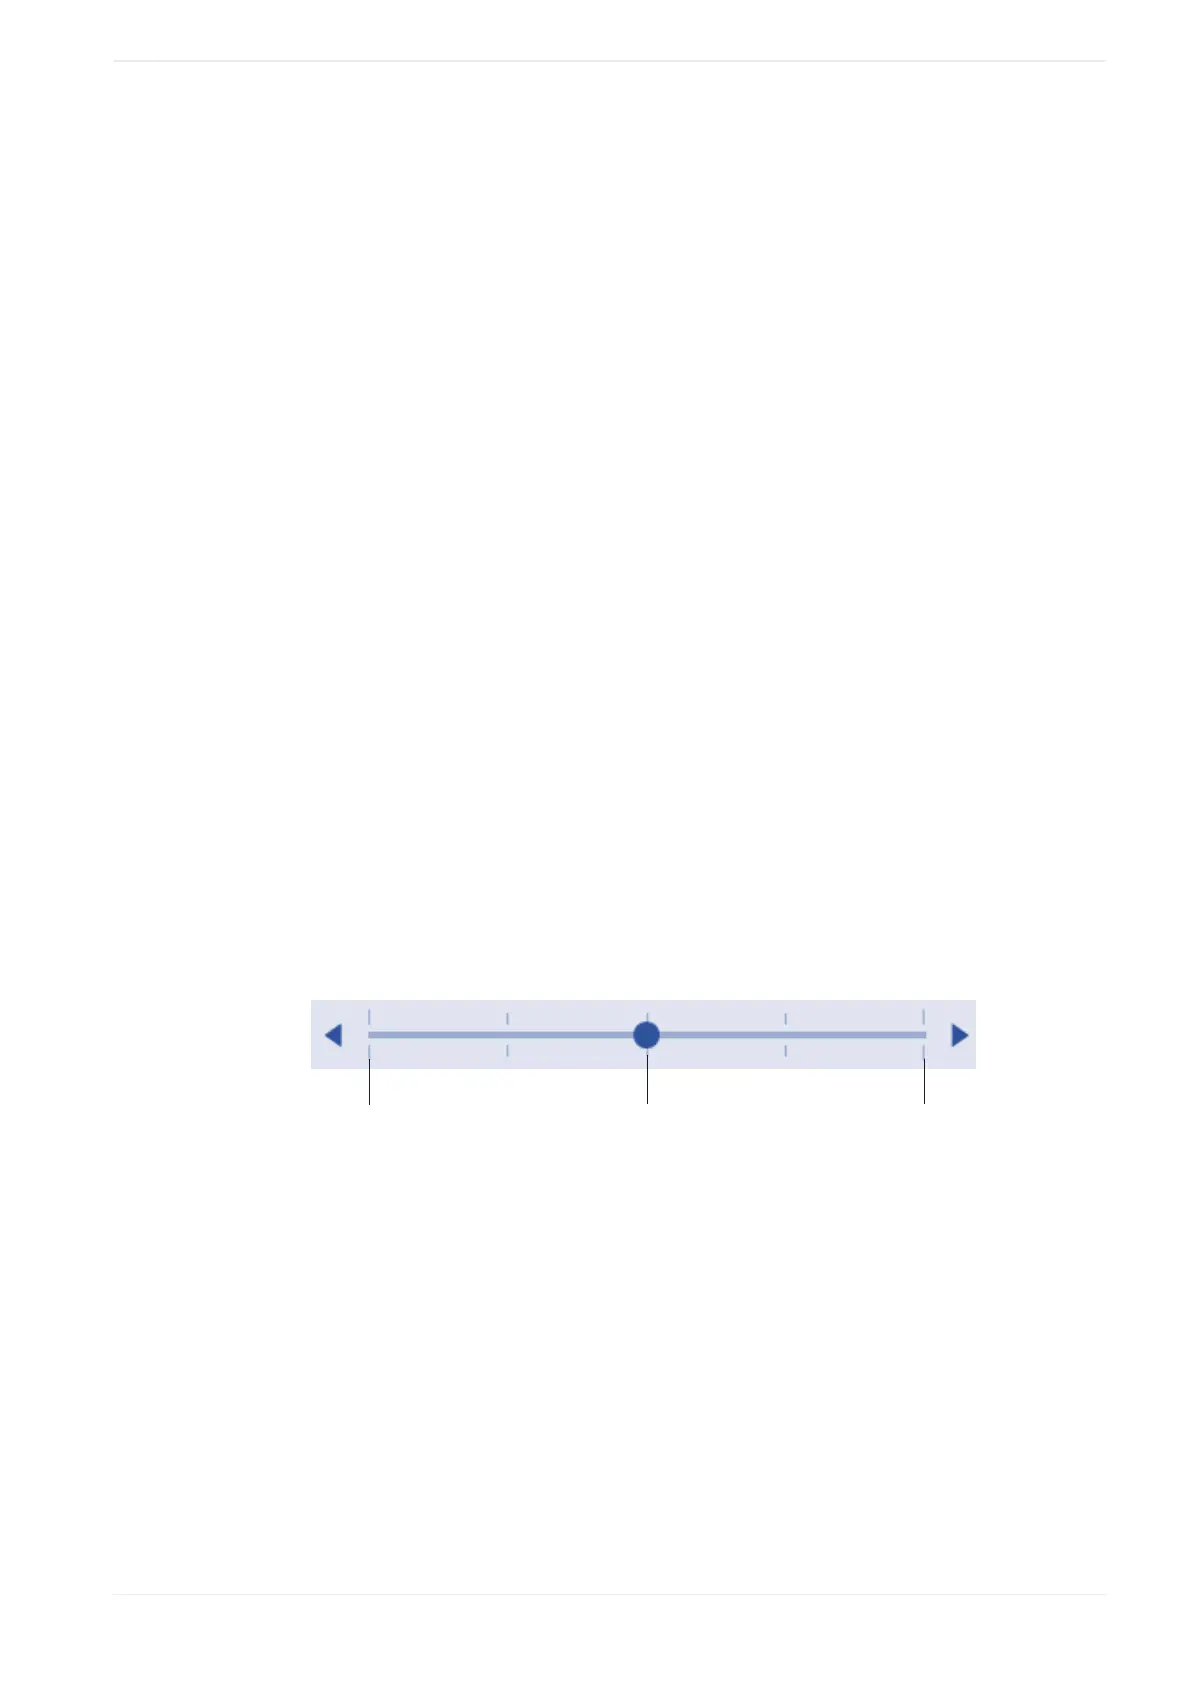
• “Contrast (marking time)”: The parameter is available for marking applications.
Use the slider to adjust the marking contrast. Set a low contrast by moving the slider to
the left in the direction of “Low (short)”. To set a high contrast, move the slider to the right
in the direction of “High (long)”. The higher the contrast the longer marking takes.
(1)
(2)
(3)
(1)
“Low (short)”
(2)
“Base”
(3)
“High (long)”
• “Laser power (marking depth)”:
The parameter is available for marking applications. Use the slider to adjust the laser
power. Set a high laser power by moving the slider to the right in the direction of “High
(deep)”. A higher laser power results in a deeper marking. To set a low laser power, move
the slider to the left in the direction of “Low (shallow)”.
• “Number of overwritings” (LP-RF, LP-RV):
The parameter is available for processing applications.
Specify how many times the setting data is processed with one single trigger. The larger
the specified number the longer the processing takes.
ME-NAVIS2-OP-1 235
 Loading...