157
Shooting Settings
6
Setting the Image Finishing Tone
(Custom Image)
You can set the image finishing tone before shooting when the exposure
mode is set to e (Program), K (Sensitivity Priority), b (Shutter Priority),
c (Aperture Priority) or a (Manual).
Select from the following six modes for [Image Tone]: Bright, Natural,
Portrait, Landscape, Vibrant and Monochrome. The default setting is
[Bright]. You can adjust the following items for Image Tone.
*1 This can be set when any mode other than [Monochrome] is selected.
*2 You can also change the setting to [Fine Sharpness], which makes image outlines even
thinner and sharper.
*3 This can be set when [Monochrome] is selected.
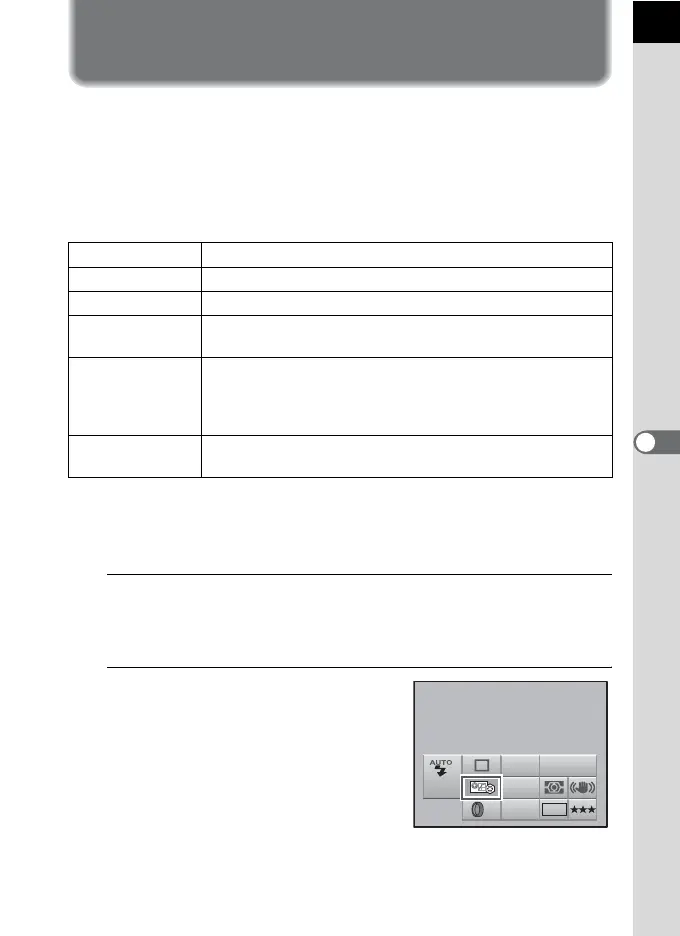
1
Press the 4 button in the status screen.
The control panel appears.
Press the M button when the status screen is not displayed.
2
Use the four way controller
(2345) to select a custom
image and press the 4 button.
The [Custom Image] screen appears.
After the power is turned on, the last
image taken is displayed in the
background.
Saturation
*1
Sets the color saturation. (Available settings: –4 to +4)
Hue
*1
Sets the color. (Available settings: –4 to +4)
Contrast Sets the image contrast. (Available settings: –4 to +4)
Sharpness
*2
Sets the sharpness of the image outlines. (Available settings:
–4 to +4)
Filter Effect
*3
Changes the contrast to appear as if a B&W color filter was
used. Sets the filter color. (Available settings: [None],
[Green], [Yellow], [Orange], [Red], [Magenta], [Blue], [Cyan],
[Infrared Color])
Toning
*3
Sets the level for cold tone adjustment (– direction) and warm
tone adjustment (+ direction). (Available settings: –4 to +4)
AF.A
JPEG
AWB
ISO
AUTO
10M
OFF
400
Custom Image
Bright

 Loading...