This document is the property of PPedm Corp. and contains proprietary and/or patented information and may not be reproduced in
part or in whole without the express written permission of the company. Perfect Point logo, Perfect Point
TM
and E-Drill
®
are
trademarks of PPedm, Corp. US and worldwide patents pending.
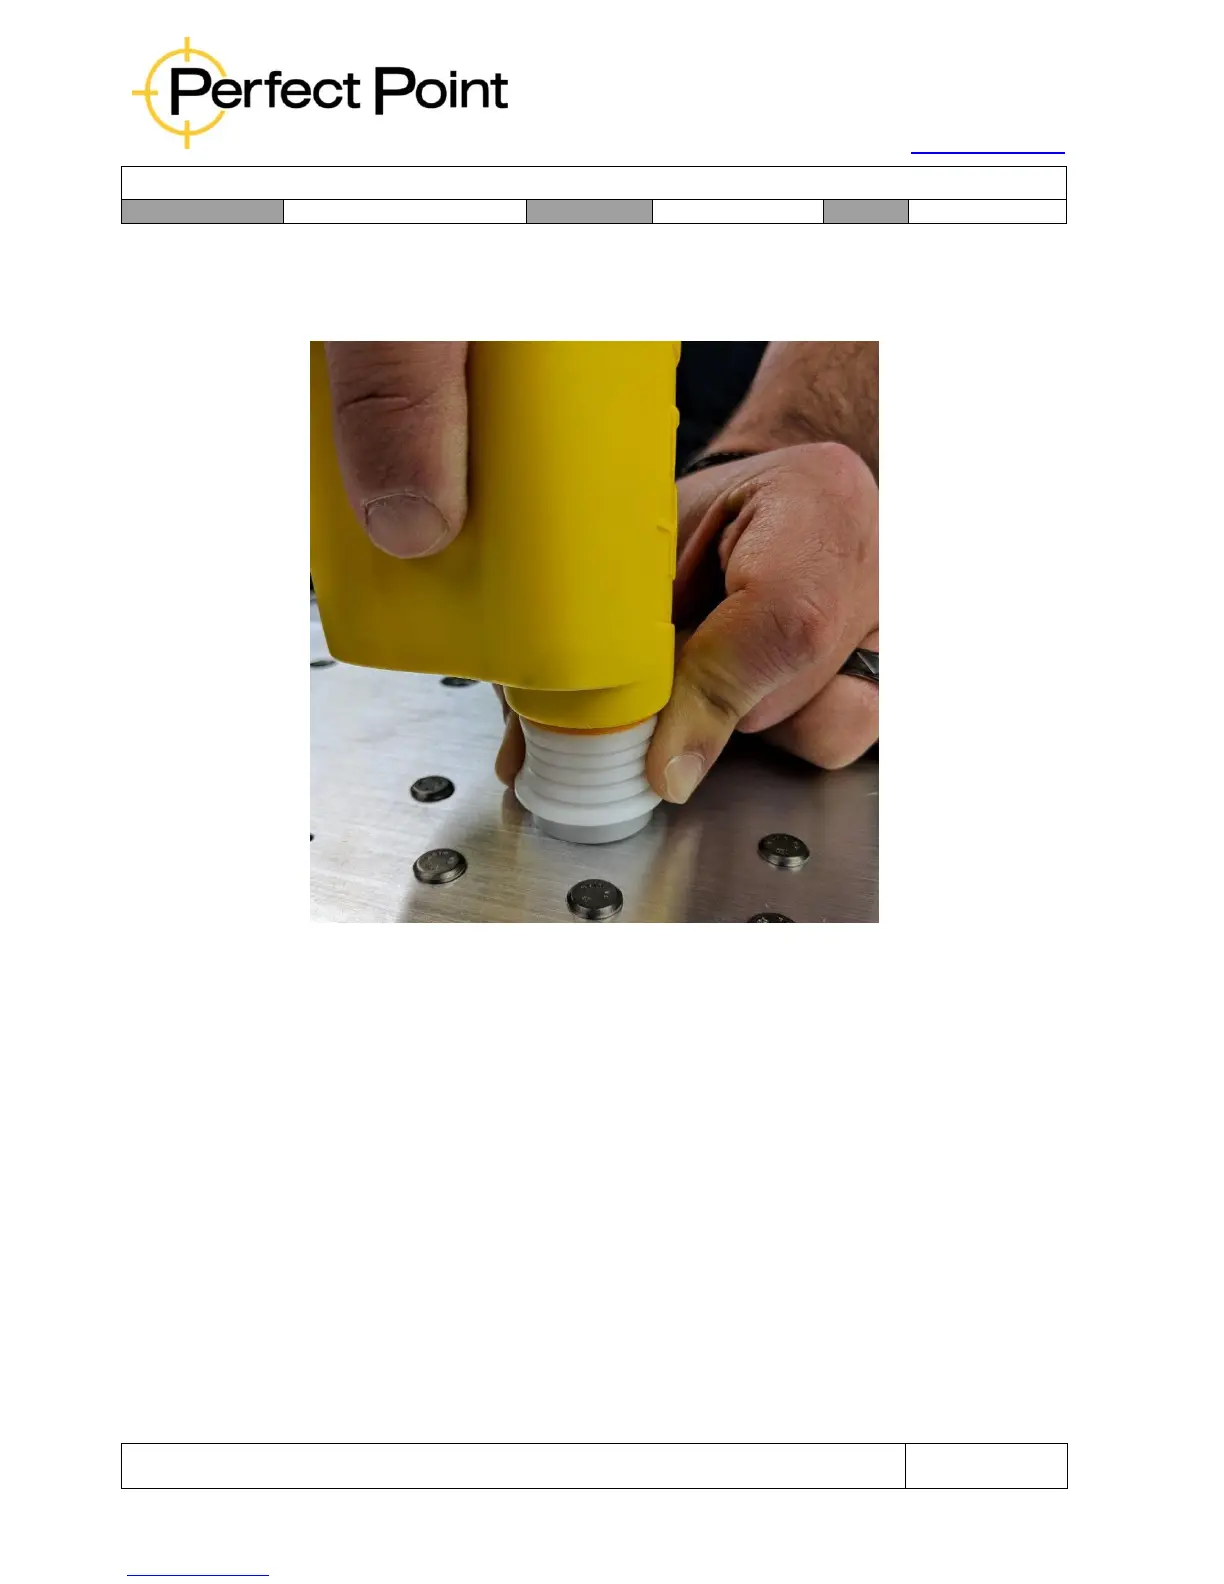
C)
Guide the Adapter installed on the E-Drill into the Button Head Locator and
press firmly but lightly down onto the fastener, (compressing the central E-
Drill Ground Pin if using a CG hand tool) and sealing the Adapter around the
head of the fastener. Ensure the E-Drill is held perpendicular to the surface.
Concentric E-Drill Alignment
D)
At this point the Adapter should be located concentrically around and over
the fastener, sealing to the surrounding airframe. If in doubt about E-Drill
placement and concentricity go back to step A and try again.
E)
While holding the E-Drill firmly but lightly against the fastener, wrap fingers
around the E-Drill grip and squeeze the trigger with your second finger. The
device will then automatically go through the following sequence:
i.
The Vacuum Pump will turn on to purge the area.
ii.
The cutting electrode will advance until it detects the electrically conductive
head of the fastener, whereupon it will automatically calibrate itself.
iii.
The cutting electrode will retract slightly, the system Water Pump will start
and cutting will be initiated.