Quantum GX2 microCT Imaging System Manual Chapter 6 | Image Acquisition 48
3. Place the anesthetized subject on the sample bed.
If using the Mouse Imaging Shuttle, place the shuttle with the anesthetized subject on the sample
bed. If needed, connect the gas anesthesia tubing. See the Mouse Imaging Shuttle Instructions
(part no. 127820) for details on the Mouse Imaging Shuttle.
4. Push the sample table into the bore and slide the imaging system door closed so that the interlock
properly engages.
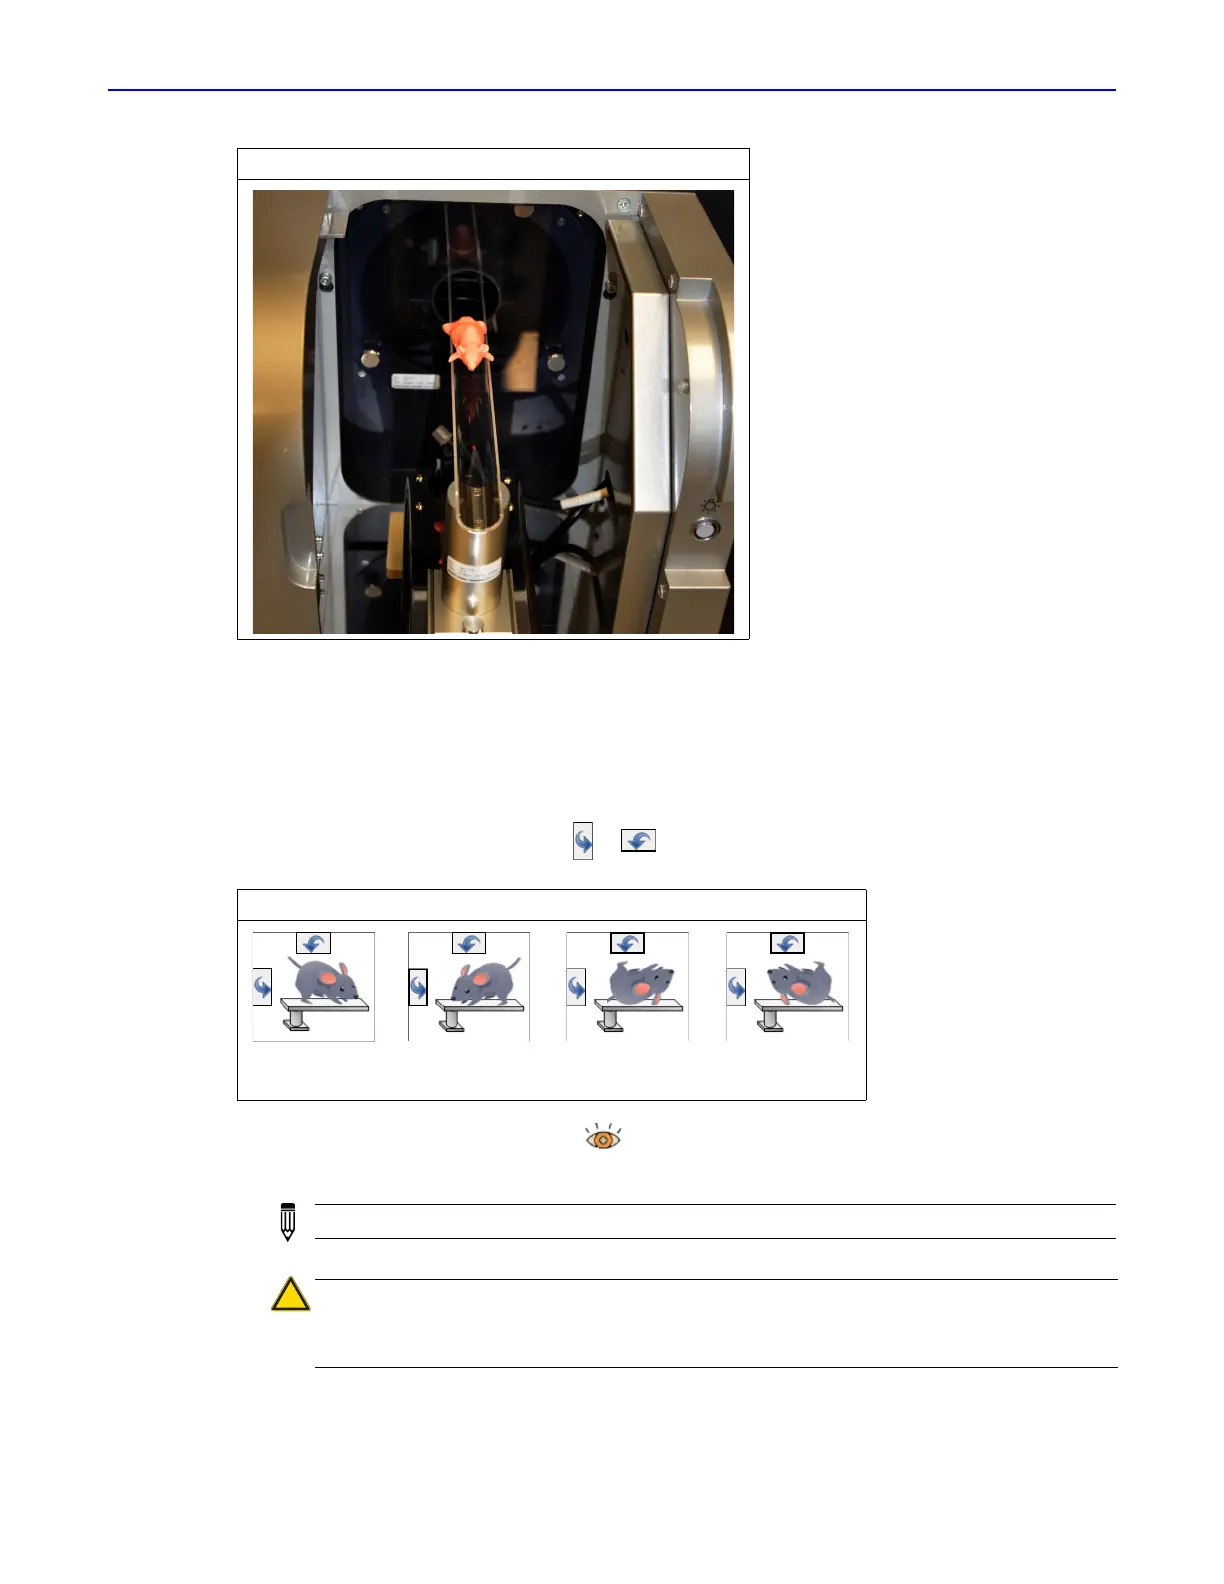
5. Set the body orientation using the or arrows in the Control Panel. (Figure 6.9).
.
6. Turn on Live Mode by clicking the button in the Control Panel.
The Xcapture window appears and shows the subject in real time (Figure 6.10).
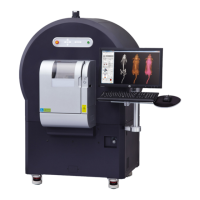
Figure 6.8 Sample Bed at Out-Limit Position
Figure 6.9 Body Orientation
I
NOTE: Only the image data inside the bounding box are used to reconstruct the 3D volume.
WARNING! If using the small bore cover with the mouse bed, watch through the
front viewing window when moving the bed right or left using the Stage X-axis
control buttons on the front panel (Figure 6.11). Make sure the bed does not hit the
bore cover.
Head first,
prone (HFP)
Feet first,
prone (FFP)
Head first,
supine (HFS)
Feet first,
supine (FFS)
 Loading...