User Guide – PERC2000 System Controller
Publication 81-9059-0605-0, Rev. B
November 2010
Proprietary Information of
PESA 6-1
Chapter 6 – P2K Hardware Description
6.1 I
NTRODUCTION
This chapter describes both the PERC2000 System Controller circuit card and the stand-alone
rack chassis. Regardless of which hardware installation method is used – the P2K circuit card
assembly is functionally identical. When the hardware is installed in the 1RU stand-alone
chassis, the card is attached to an extender tray to allow it to fit the chassis card guides and
midplane connectors.
6.2 PERC2000
S
YSTEM
C
ONTROLLER
C
IRCUIT
C
ARD
A
SSEMBLY
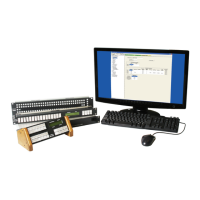
In all applications and in normal operation, there is no user interface required with the
PERC2000 circuit card assembly. An illustration of the controller card is shown in Figure 6-1.
Note in the illustration that there are two exploded areas showing detail of two DIP switch
devices and a 6-pin header connector for jumper shunts. For ALL normal applications of the
PERC2000, the switches and jumpers must be in the positions shown by the figure:
• All switch elements for DIP switch devices S1 and S2 must be in the OFF position as
shown.
• Install one end of a jumper shunt to J15 pin 1 and leave the other end open. This
jumper is not connected to any other pin during normal P2K operation – but should be
readily available for use if ever directed by PESA Customer Service.
• J15 pins 2, 3, and 4 should all be left open.
• J15 pins 5 and 6 must be jumpered as shown.