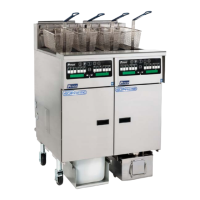
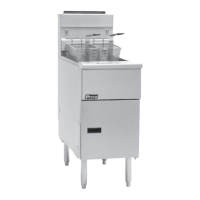
PitcoSolsticeandSolsticeSupremeHighEfficiencyGasFryers
SG/SSHSeriesServiceManual 23
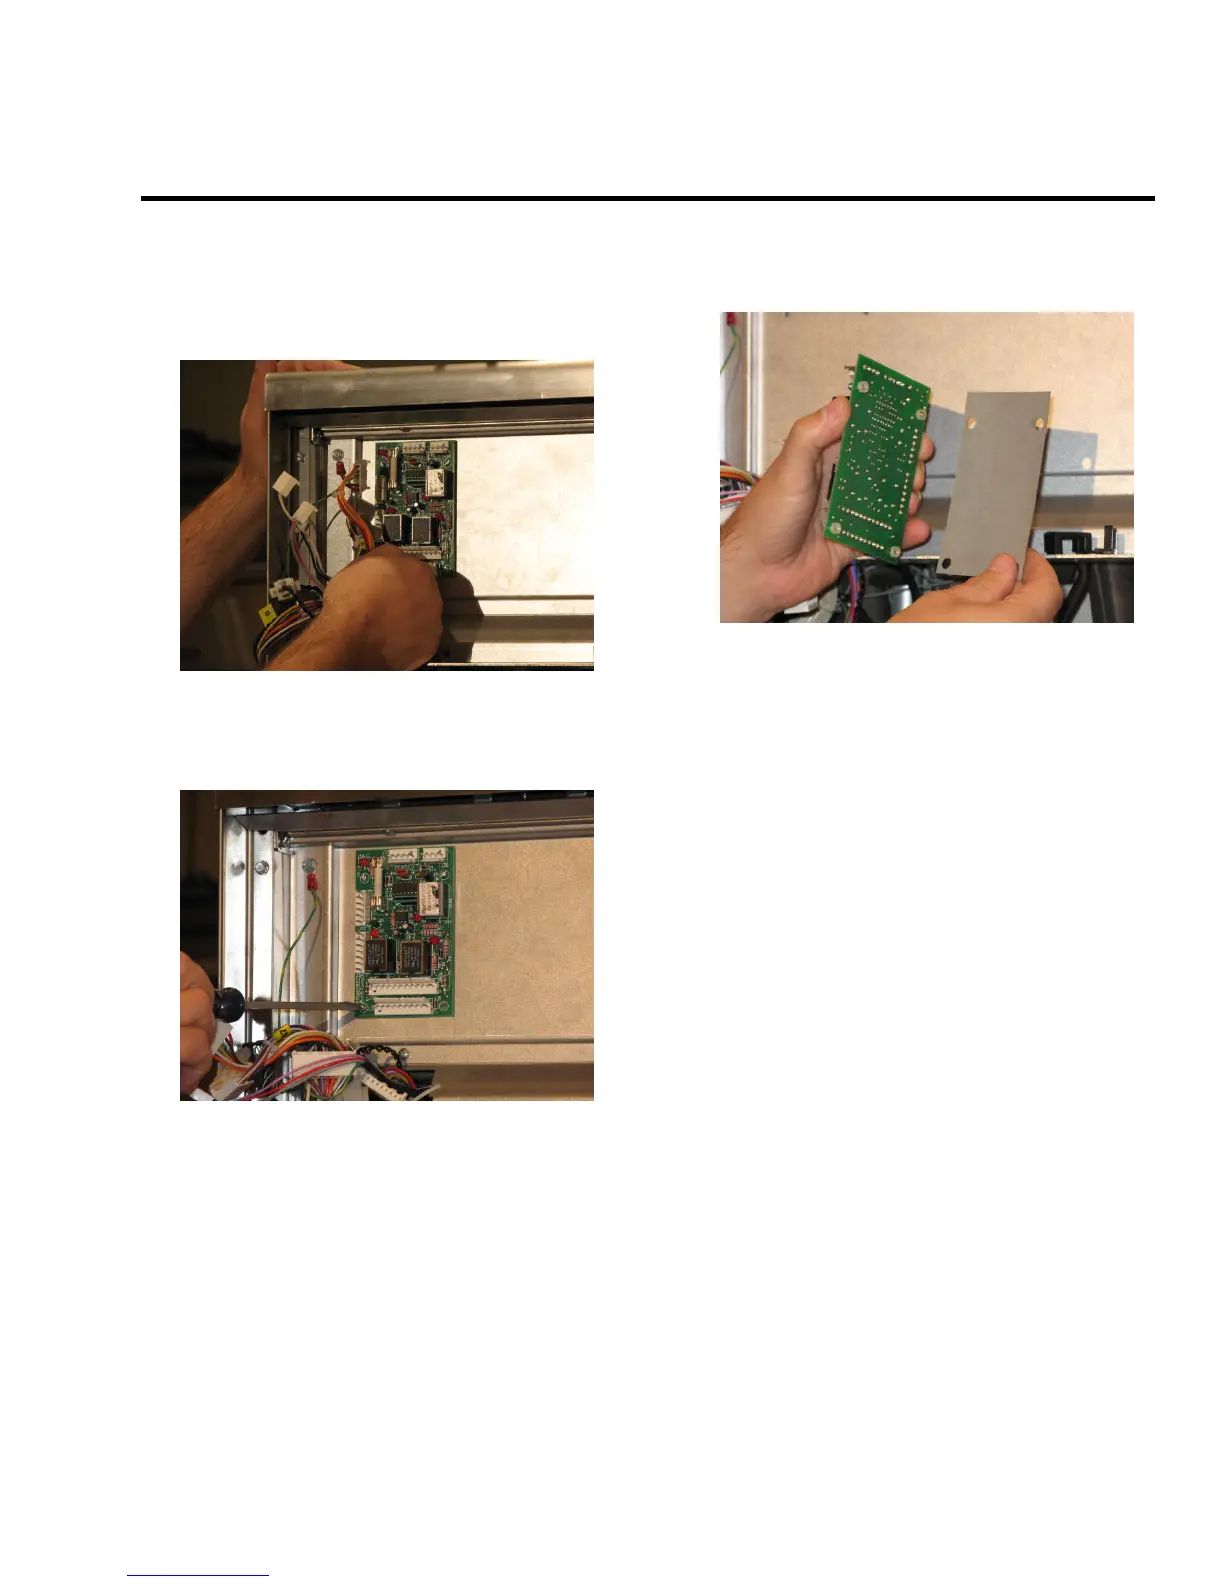
ReplacingtheRelayBoardandPaper
1. Remove the front panel. See “Removing the
Controller Front Panel Bezel” on page 20.
2. Disconnect all connections.
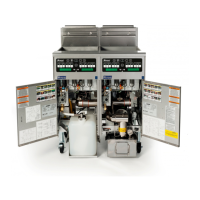
3. Remove the four (4) screws, which hold down
the relay board, using a small flathead
screwdriver.
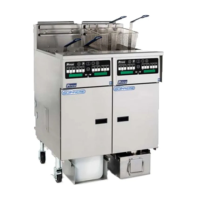
4. Remove the relay board and flip it over.
5. Remove the existing insulator and replace with a
new insulator.
NOTE: Make sure the insulator does not
have puncture marks in it.
6. Reconnect all connections and reinstall the front
panel.