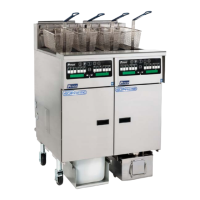
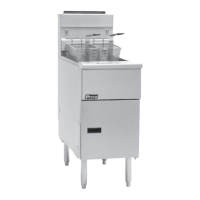
PitcoSolsticeandSolsticeSupremeHighEfficiencyGasFryers
SG/SSHSeriesServiceManual 25
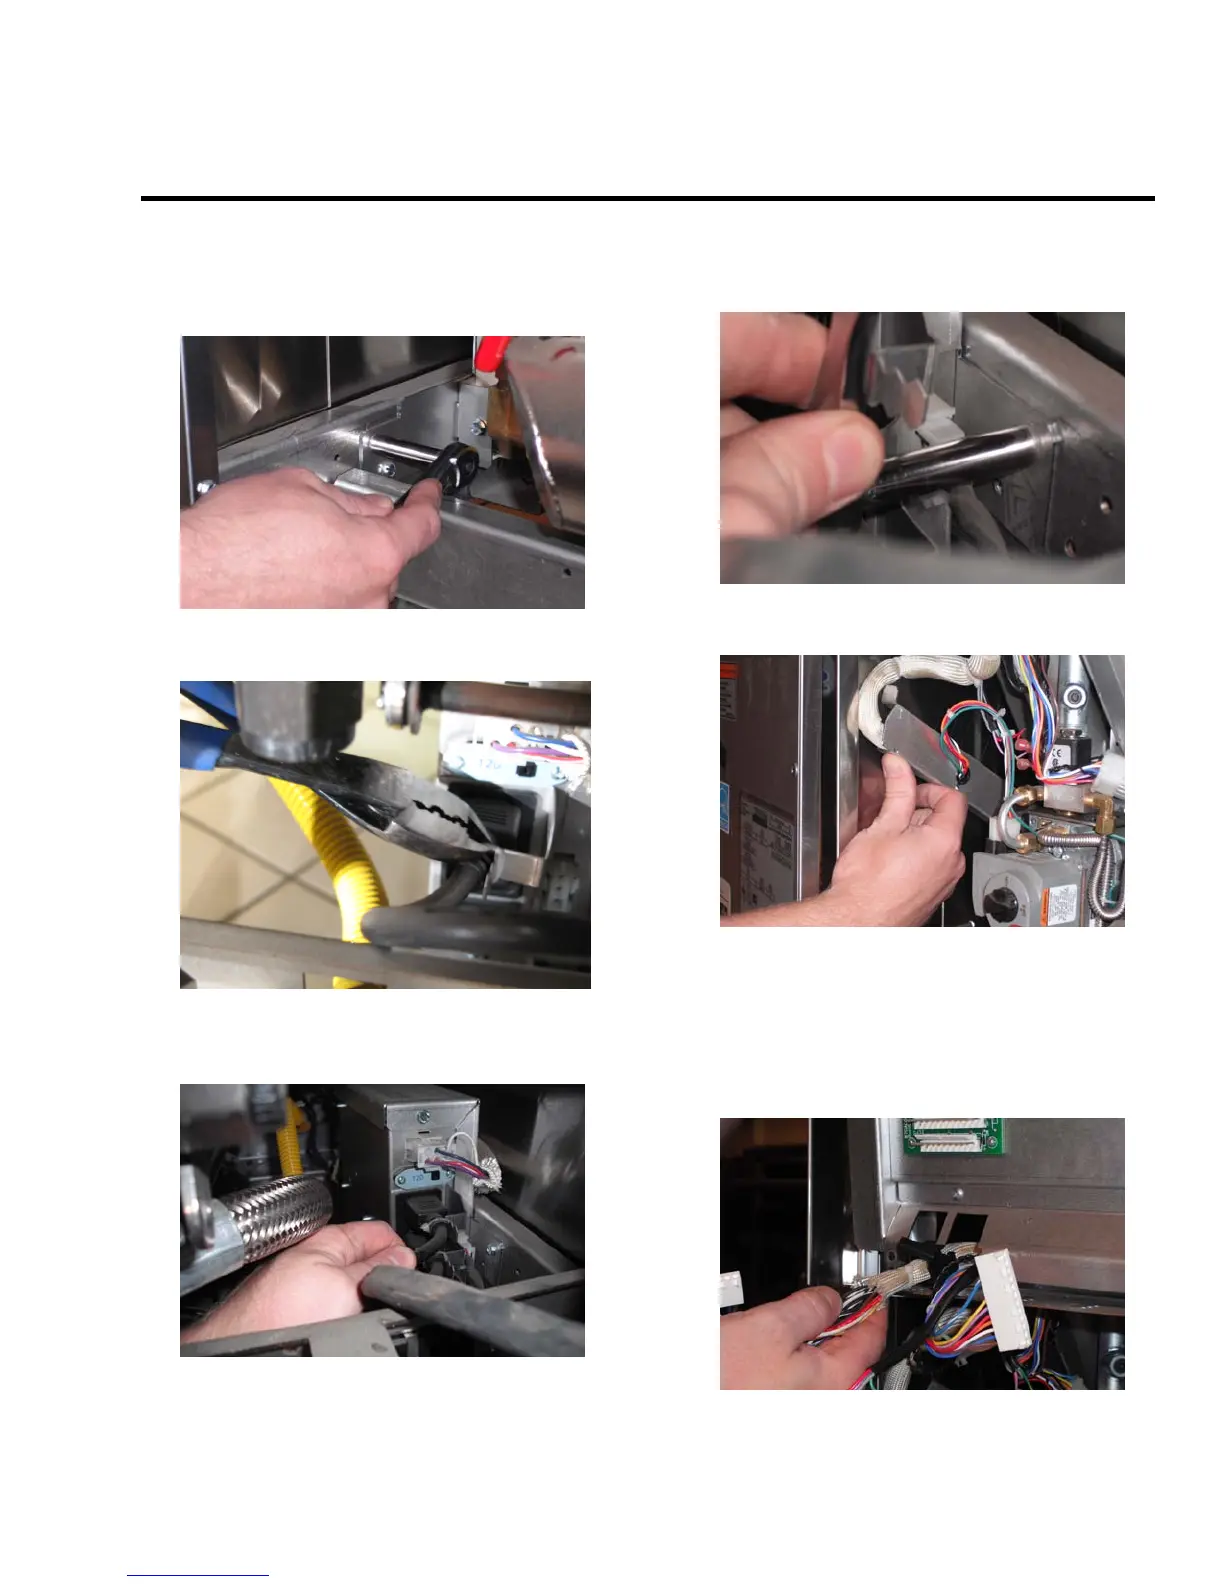
ReplacingtheSpinalTap
1. Remove the two (2) screws in the front of the
unit, which hold the entrance box assembly,
using a 5/16 inch socket.
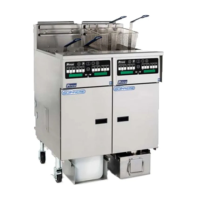
2. Cut the zip ties from the cord retainers.
3. Unplug the cords from the electrical entrance
box assembly.
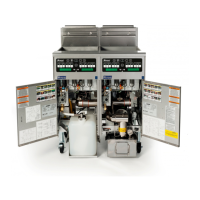
4. Remove the two (2) screws, which hold the
spinal harness, using a /16 socket.
5. Remove the entrance box assembly.
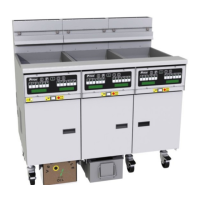
6. Remove the front panel assembly. See
“Replacing the Controllers and Wiring Harness”
on page 20.
7. Disconnect al
l the connections and remove the
harness fro
m front panel.