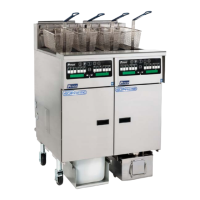
PitcoSolsticeandSolsticeSupremeHighEfficiencyGasFryers
SG/SSHSeriesServiceManual 38
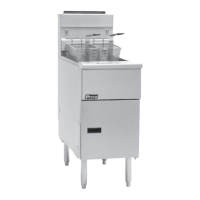
ReplacingtheBurnerAssembly
1. See “Replacing the Burner(s)” on page 36.
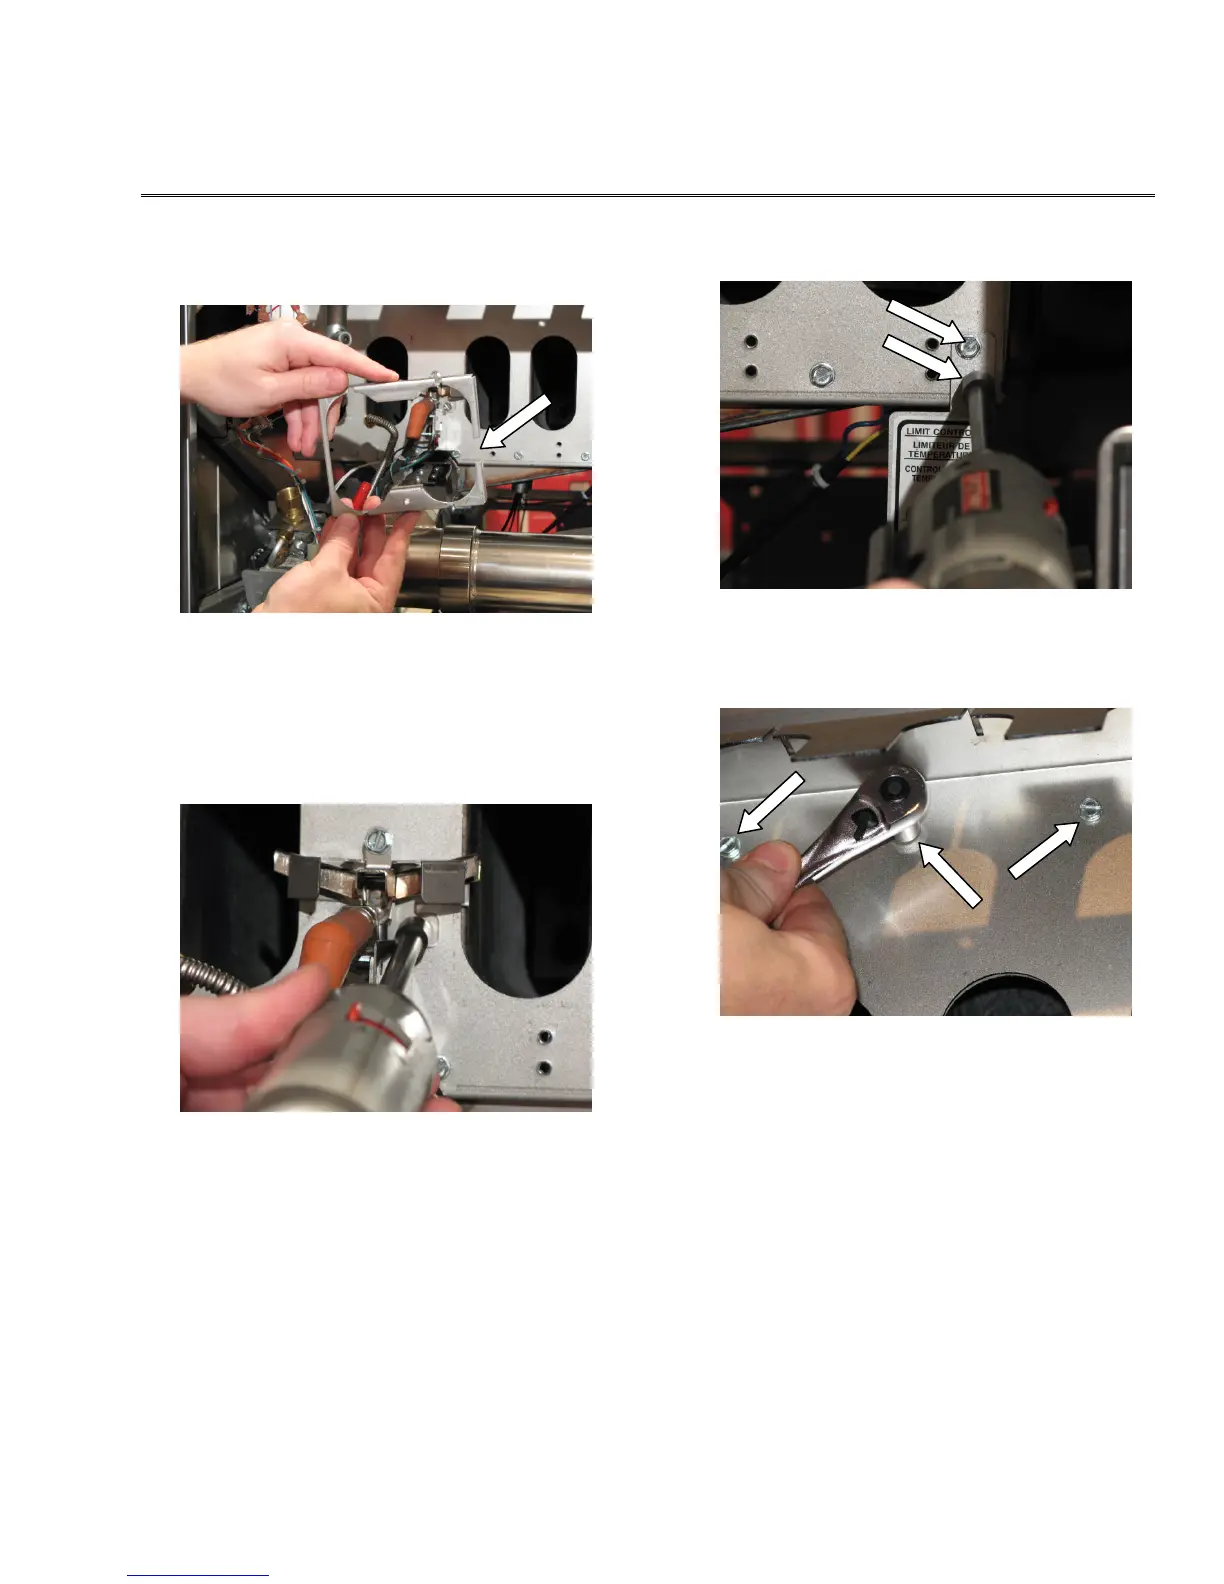
2. Remove the burner shield.
NOTE: When reinstalling, the burner
shield opening should face toward
the pilot.
3. Remove the two (2) screws, which hold the pilot
assembly, using a 5/16 inch socket.
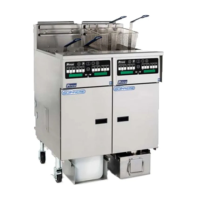
4. Remove the two (2) screws, which hold the
high-limit bracket, using a 5/16 inch socket.
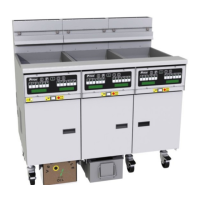
5. Remove the te
n (10) screws (5 screws on the top
and 5 screws on the bottom), which hold the
burner rack, using a 5/16 inch socket.