PitcoSolsticeandSolsticeSupremeHighEfficiencyGasFryers
SG/SSHSeriesServiceManual 37
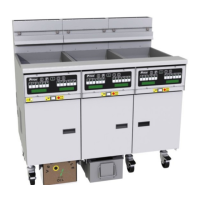
6. Remove the screws, which hold the flame
jumper shields, using a 5/16 inch socket.
7. Remove the flame jumper shields on both sides
of the burner.
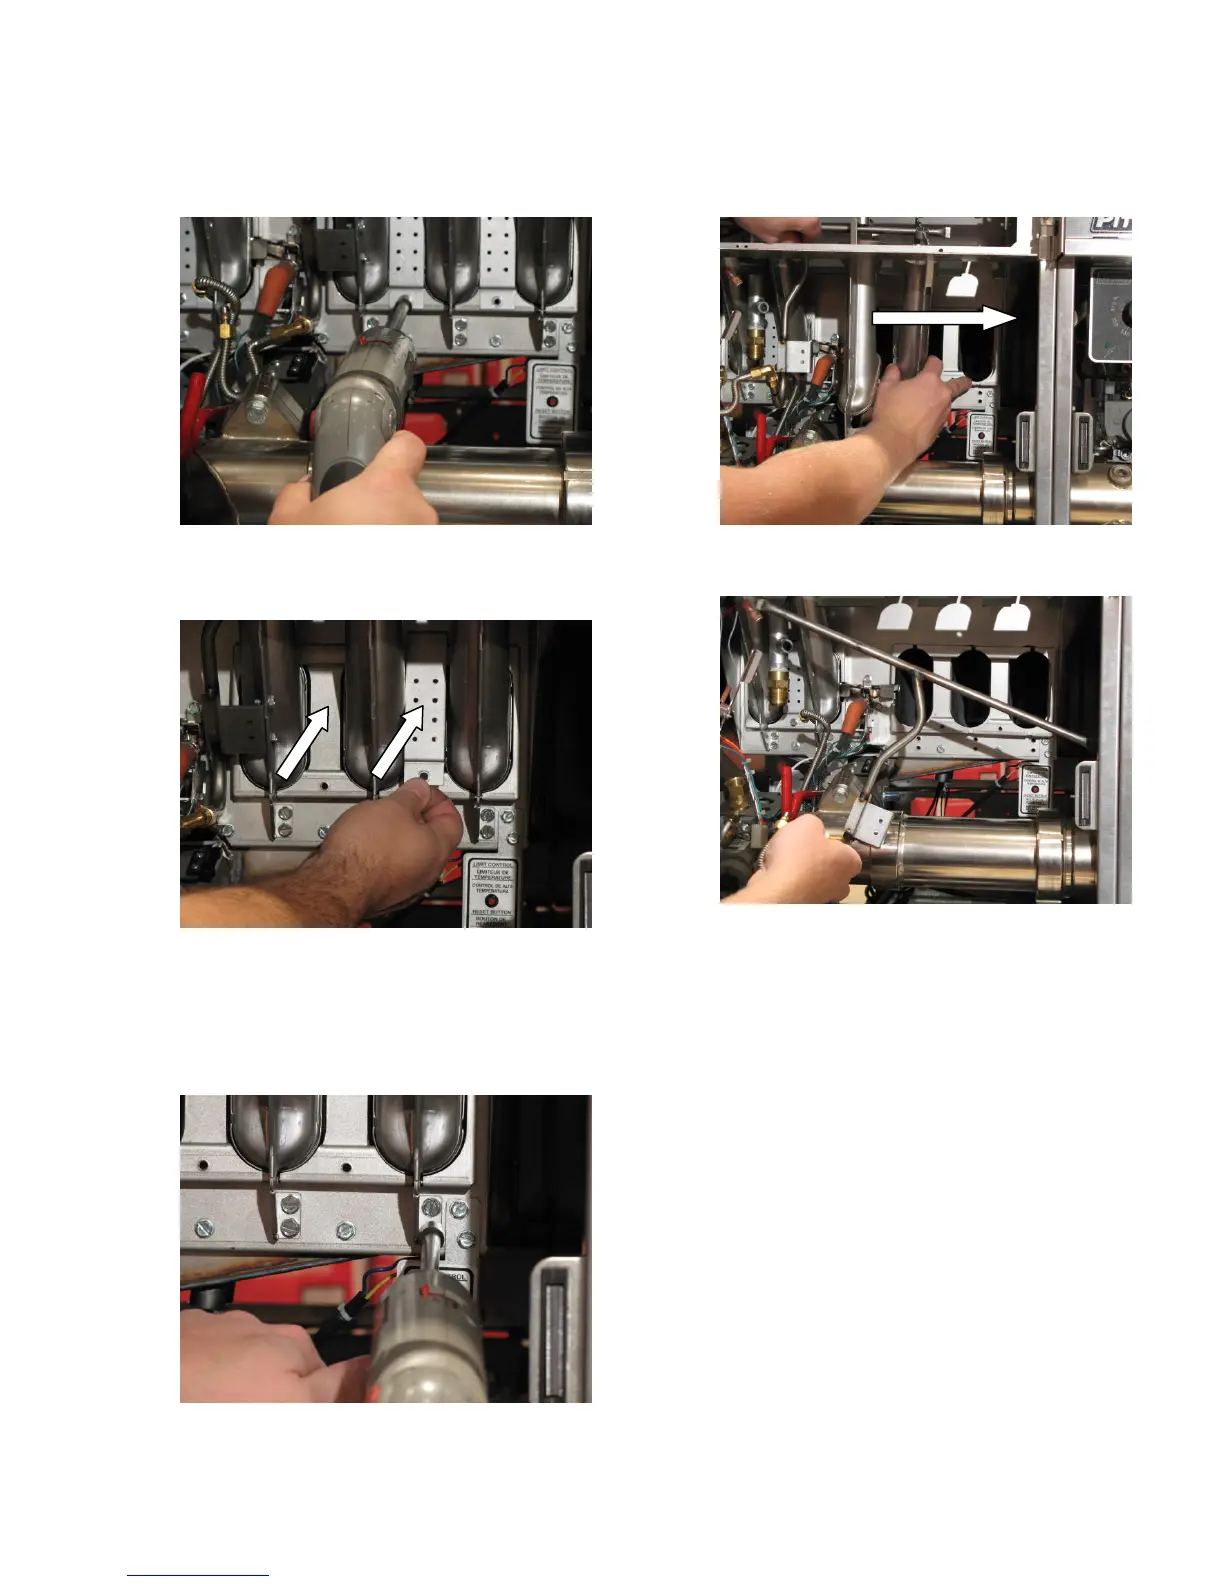
8. Remove the two (2) screws, which hold the SCB
runner tube, using a 5/16 inch socket.
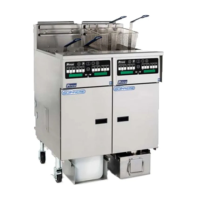
9. Remove the two (2) screws, which hold each
burner, using a 5/16 inch socket.
10. Remove the right burner(s) by sliding them off
the SCB runner tube.
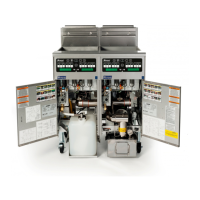
11. Remove the SCB runner tube.
12. Remove the left burner(s) by slidin
g them off
the SCB runner tube.
13. Reinstall the new burner(s) by following steps 1
through 12 in reverse.