PitcoSolsticeandSolsticeSupremeHighEfficiencyGasFryers
SG/SSHSeriesServiceManual 57
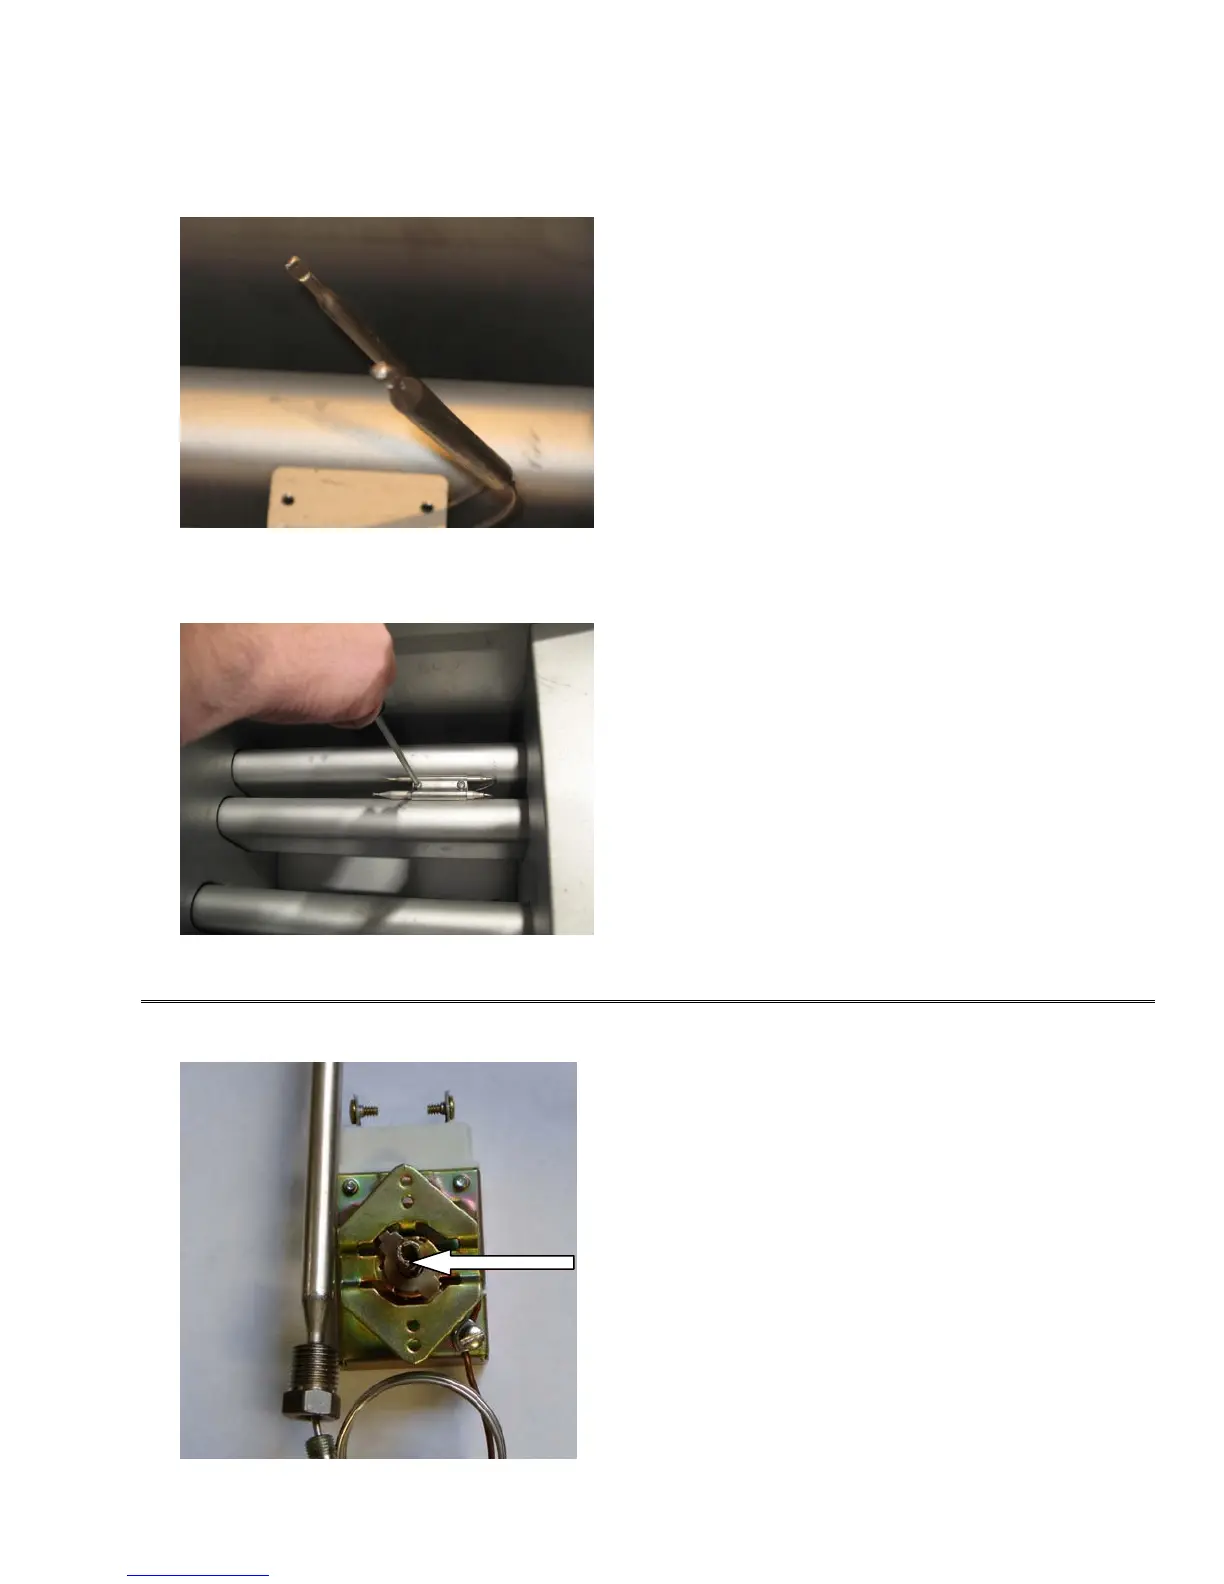
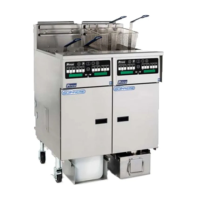
12. Make sure the temperature bulb(s) are in the
correct location.
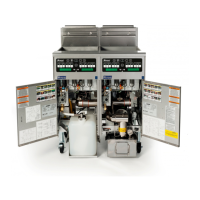
13. Reinstall the two (2) bolt clamp screws using a
Phillips screwdriver.
NOTES:
Hi limit and thermostat capillaries should
not be in contact with the heat tubes.
Make sure the bulbs are centered in the
bolt clamp before tightening the screws.
Make sure the thermostat bulb is
mounted on the welded side of the
tapping pad.
14. Follow steps 2 through 11 in reverse.
15. Calibrate the thermostat.
CalibratingtheThermostat
1. Remove thermostat knob.
2. Rotate adjustment screw 90 degrees at a time to
match set temperature. Clockwise to decrease
temperature, counter-clockwise to increase
temperature.
3. Replace knob.