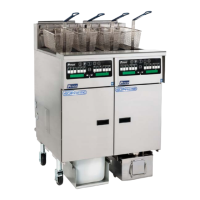
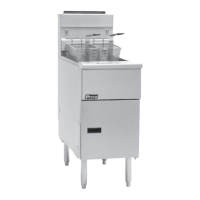
PitcoSolsticeandSolsticeSupremeHighEfficiencyGasFryers
SG/SSHSeriesServiceManual 56
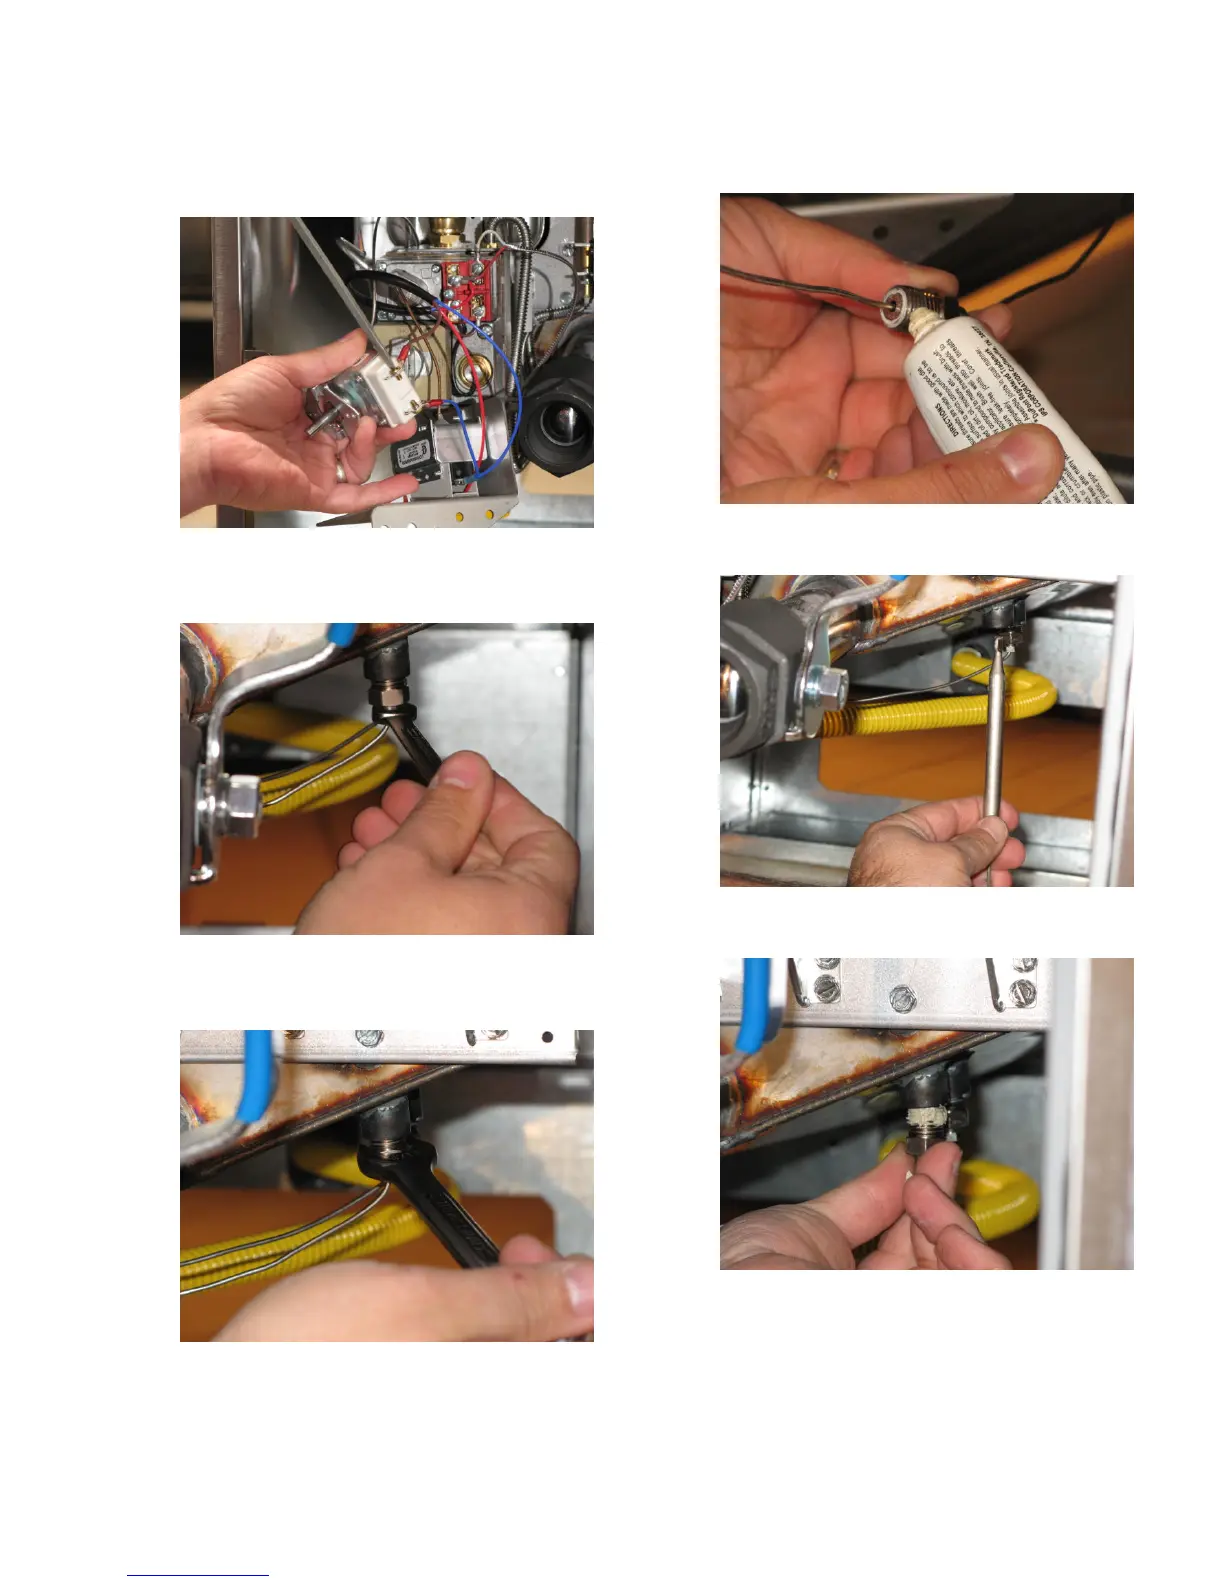
6. Remove the two (2) screws that hold the wires
using a flathead screwdriver.
7. Remove the capillary nut using a 5/16 inch
close-ended wrench.
8. Remove the grand nut using a 9/16 inch open-
ended wrench.
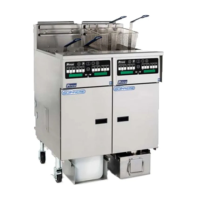
9. Apply Teflon paste to the fitting.
10. Remove and replace the temperature bulb.
11. Finger tighten the fitting.