PitcoSolsticeandSolsticeSupremeHighEfficiencyGasFryers
SG/SSHSeriesServiceManual 29
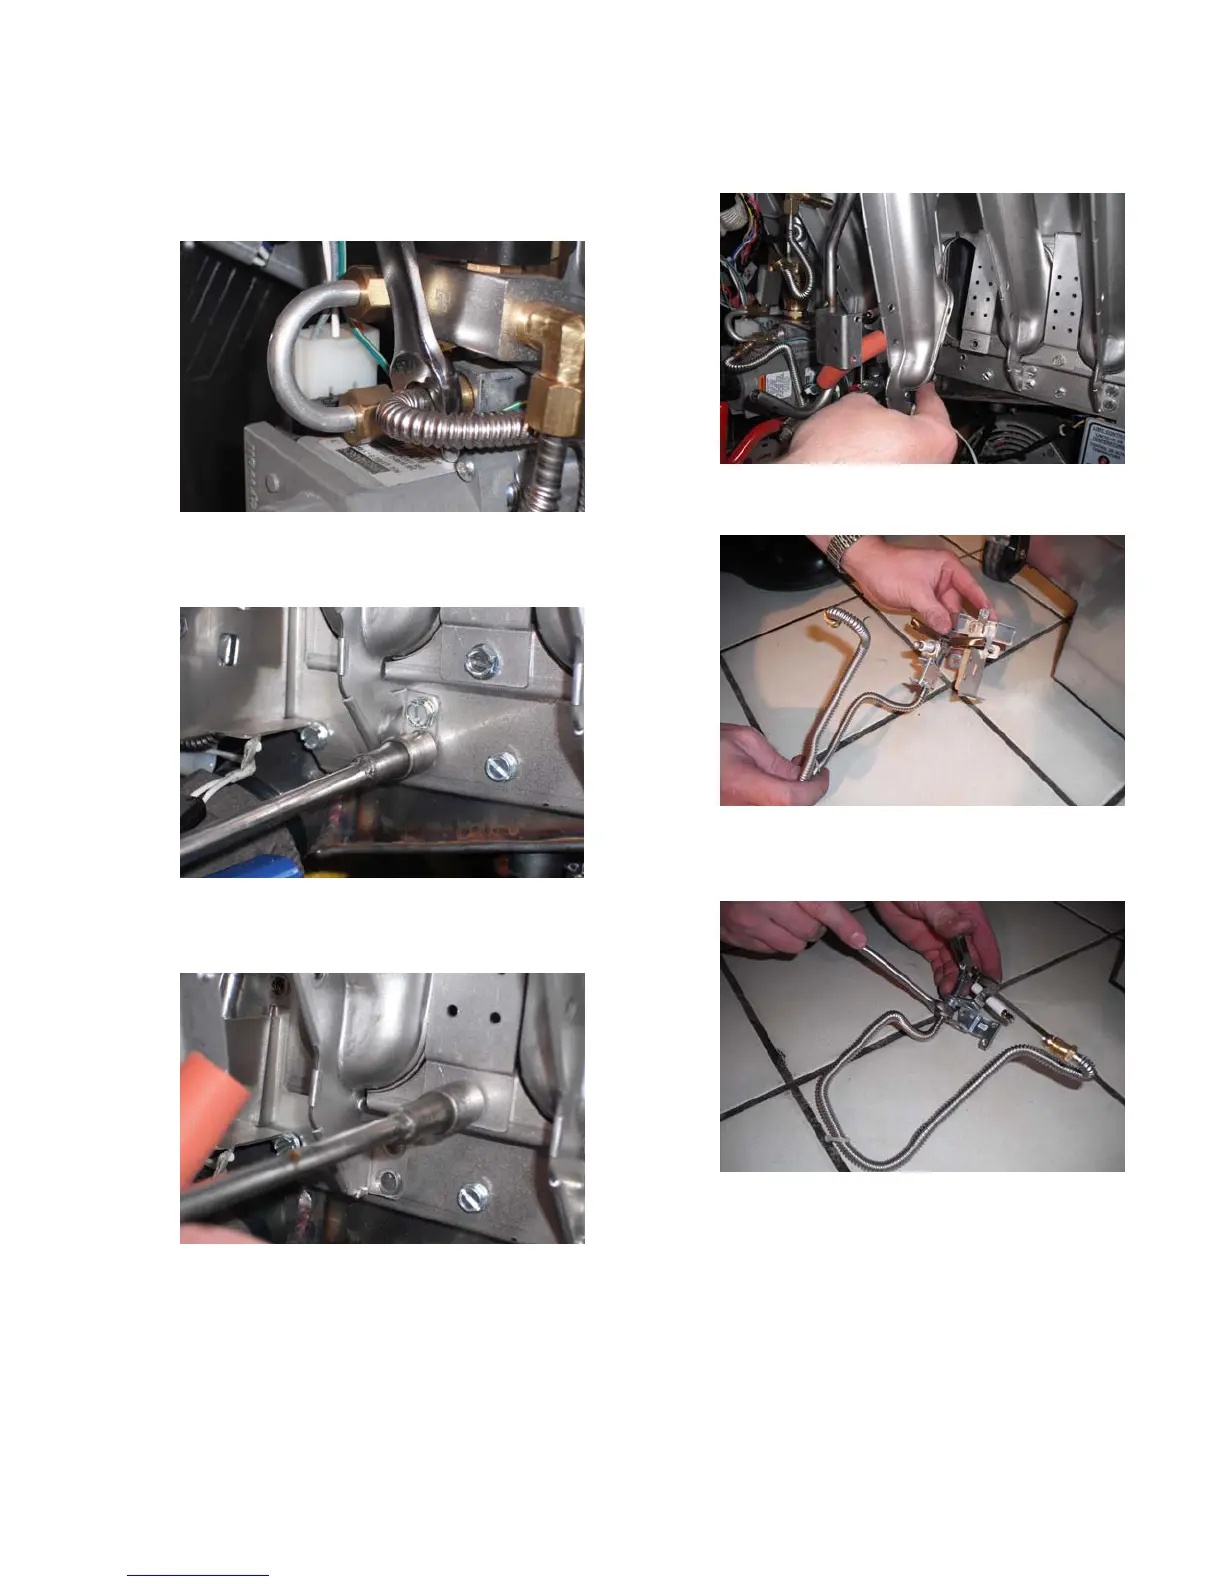
7. Remove the flexible line for the pilot tubing at
the gas valve using a 1/2 inch open-ended
wrench.
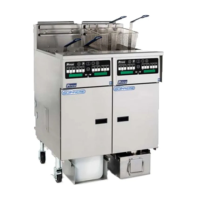
8. Remove the two (2) screws at the bottom of the
left and right burner using a 5/16 inch socket.
9. Remove one (1) screw, which holds the flame
jumper shield, using a 5/16 inch socket.
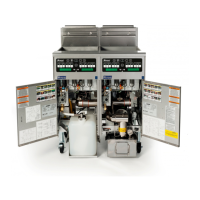
10. Remove the burner.
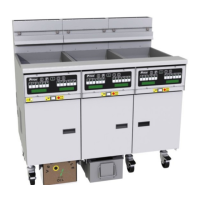
11. Remove the pilot assembly.
12. Remove the nut, which holds the pilot tubing,
using a 1/2 inch open-ended wrench.
13. Follow steps 1 through 12 in reverse to reinstall
new pilot assembly.