A-12 DA80F/DA95F AddressRight™ Printers Service Manual (SV61962 Rev. A)
Appendix A • Printer Control Panel Menus and Utilities
A.4 LCD
Setup Menu
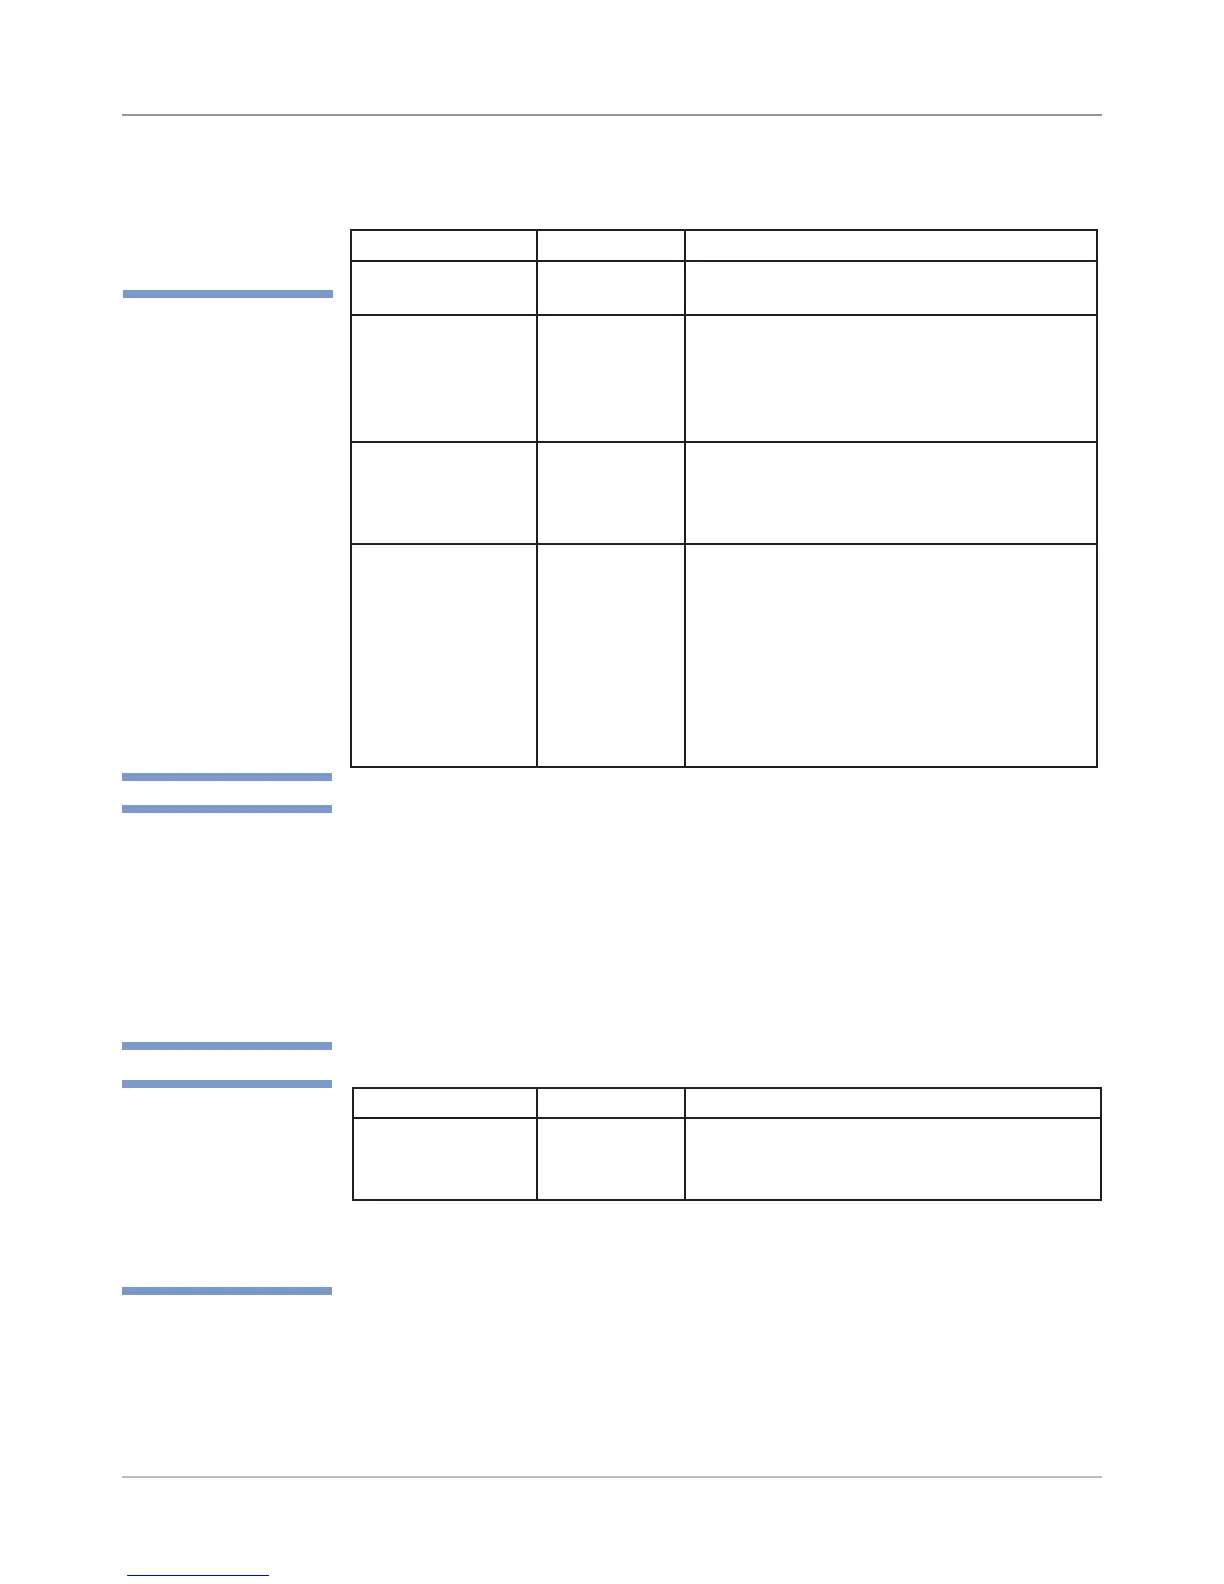
Menu Option Settings What It Does
Lines per Address Entry of 1 - 66
lines per ad-
dress
Allows you to specify the number of lines
in the printed address (which is typically
between 3 to 8 lines per record).
4. Lines per Address
Sub-menu option Settings What It Does
A. Use Conveyor Enable,
Disable
Allows you to set if an external conveyor is
being used with the printer.
B. Conveyor Type Stacker,
Conveyor
Allows you to set the type of stacker/con-
veyor being used with the printer.
Stacker - W983/4/5/6 Pitney Bowes Stacker.
Conveyor - another Pitney Bowes and/or
third-party conveyor.
C. Activate Polarity Rising Edge,
Falling Edge
Allows you to set the type of activation sig-
nal that triggers the conveyor to run.
NOTE: This option only displays if “Convey-
or” is selected above for Conveyor Type.
D. Conveyor on
time
0.1 - 2.00
seconds (in
0.1 second
increments)
Allows you to set how long the conveyor
runs once it is triggered. This option modi-
fies the amount of time the conveyer contin-
ues to run after printing a record. Changing
the time for the conveyer to remain running
alters how the media is shingled on the
conveyer.
NOTE: This option only displays if “Convey-
or” is selected above for Conveyor Type.
3. Conveyor [Stacker] Setup - Output
✍
TIP: After changing a
setting in the Conveyor
Setup menu, you need
to power down the
printer and power it up
again for the new set-
tings to be recognized.
✍
TIP: For a pin-out of
the RJ-11 connec-
tor used to attach a
third-party conveyor,
see Appendix C -
Schematics.
✍
TIP: When using a
printer with a Pitney
Bowes W98x series
stacker, set:
“Use Conveyor”
to Enable
“Conveyor Type”
to Stacker
Connect the cable to
the 4-pin connector at
the end of the printer.
NOTE: A third-party
conveyor is connected
to the RJ-11 connector
by the power switch.