DA80F/DA95F AddressRight™ Printers Service Manual (SV61962 Rev. A)
5-67
Removal and Replacement • 5
DA95F (WF96) - Printer Parts Removal
1. Disengage the feeder assembly from the printer (see section 5.22).
2. Remove all covers, shafts, support frames, print heads, etc. from printer
(see sections 5.28 to 5.36).
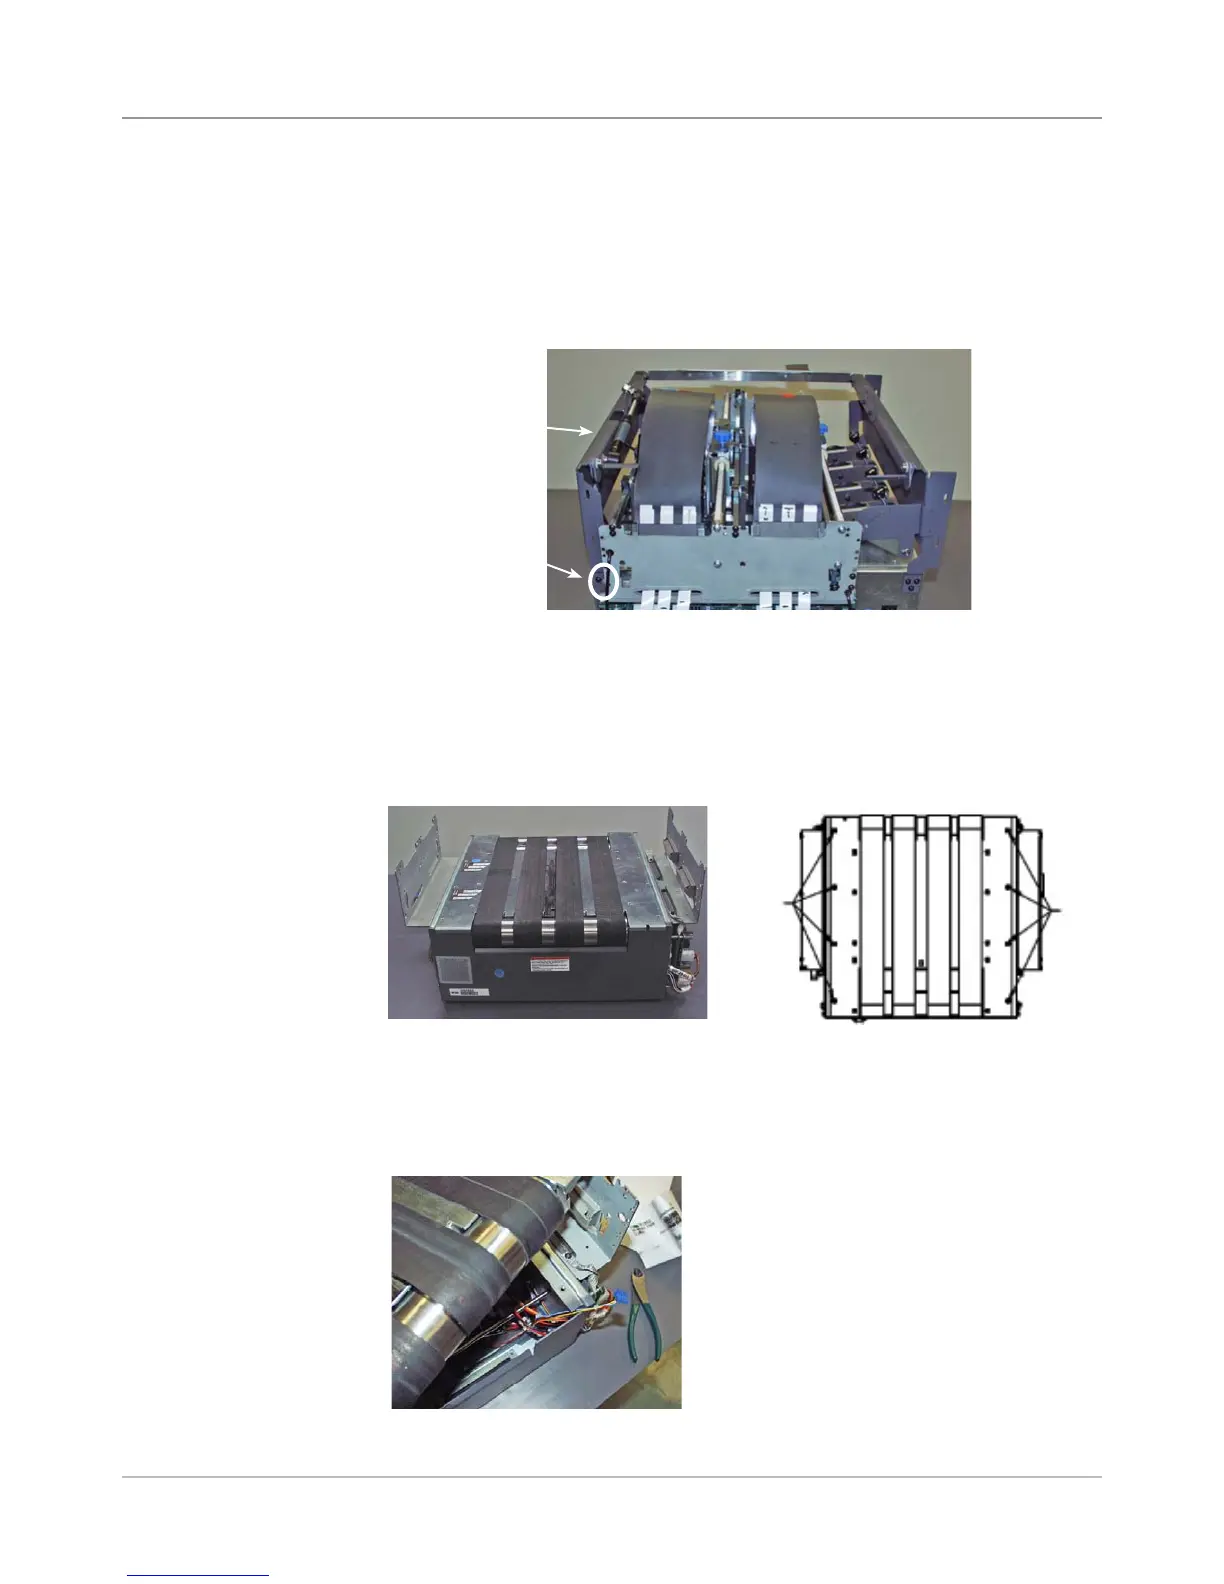
3. Unfasten the six screws (three on either side, see figure below) and re-
move the exit frame support (procedure not documented until now).
6. Holding the front of the assembly against the base assembly, grasp the
far belt and pivot the assembly about the front edge. Do it slowly so as
not to snag any of the cable assemblies. Clip the tie wrap at bottom of
base holding cables.
Three Screws
(one side only)
Exit Frame
Support
4. Unplug from the main board the feeder motor/encoder/feeder sensors
(J15) and unplug shaft encoder cable (J34). Push the cables through the
openings in the base assembly.
5. Unfasten eight screws attaching the belt drive assembly to the base as-
sembly.
5.37 Belt Drive
Assembly
Screws
Screws