DA80F/DA95F AddressRight™ Printers Service Manual (SV61962 Rev. A)
5-17
Removal and Replacement • 5
DA80F (WF81) Parts Removal
5.12 Feed
Motor Assembly
and Feed
Motor Encoder
Harness
Assembly
(continued)
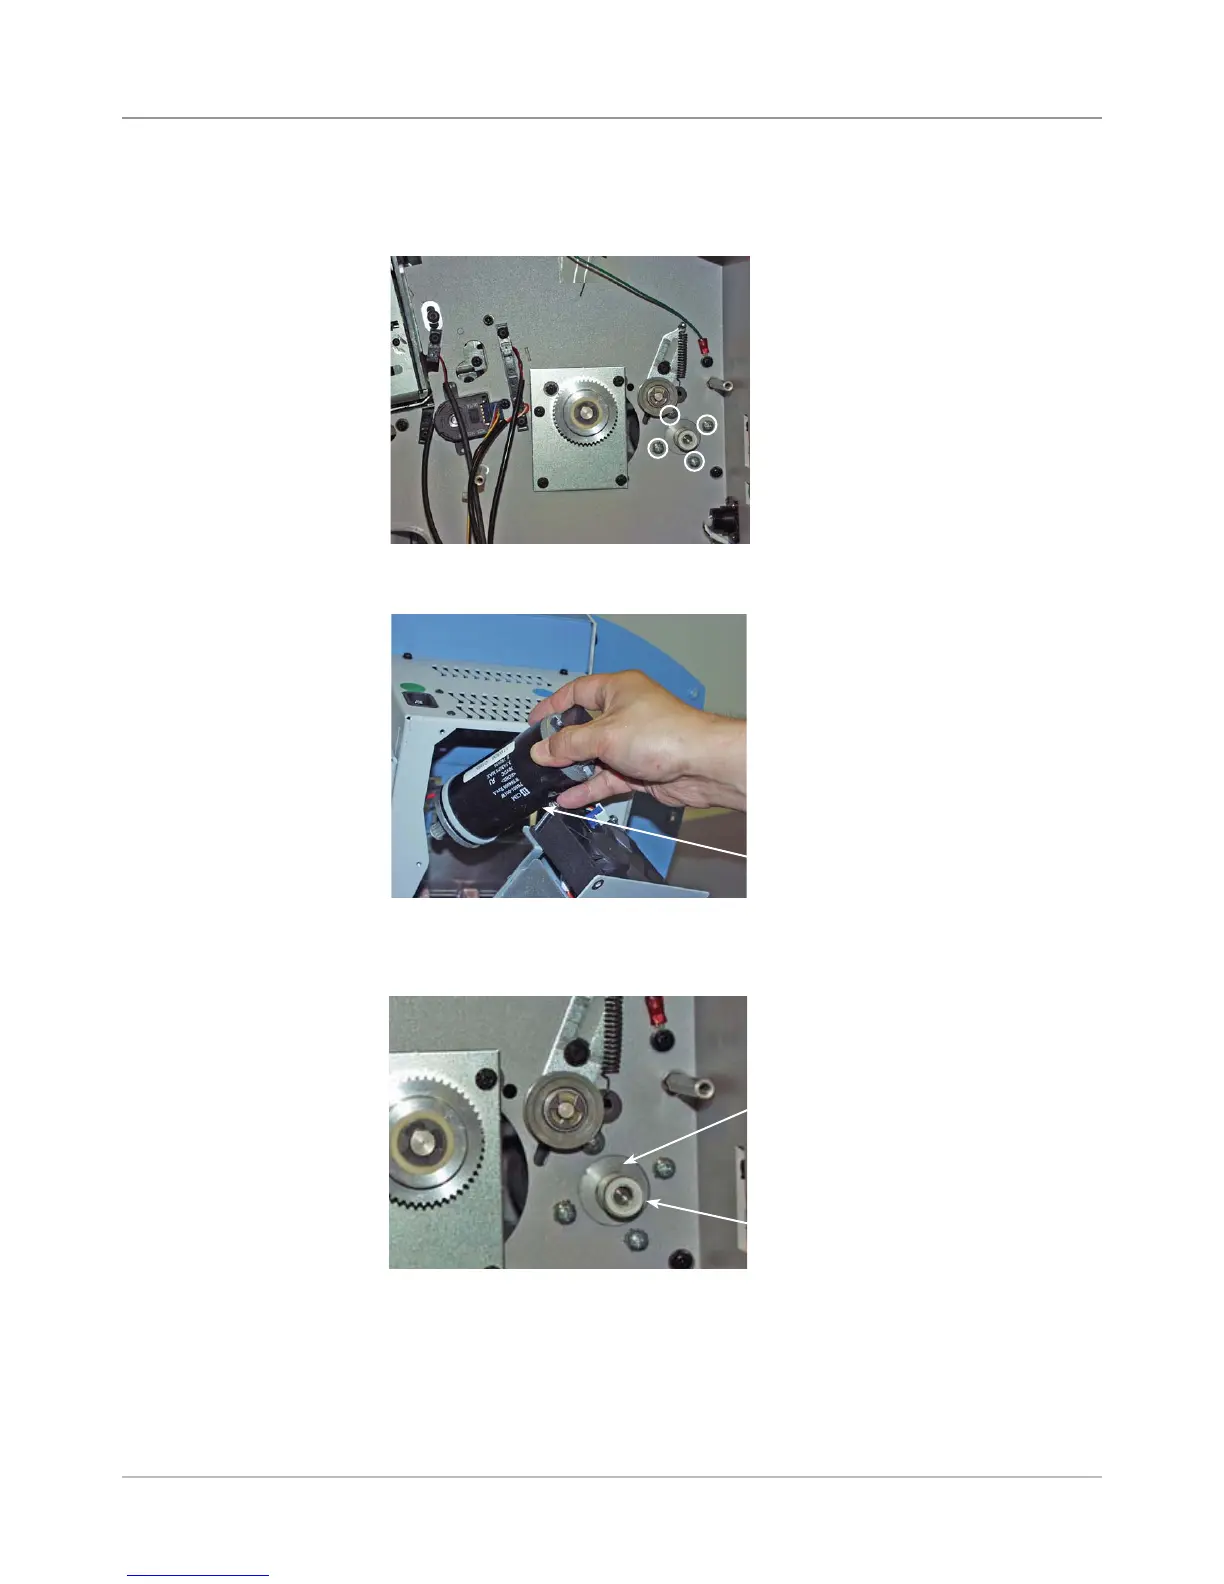
7. Carefully remove feed motor assembly through power supply access hole.
6. Unfasten four screws holding motor assembly to back chassis plate.
Keep the back of the motor from dropping.
9. Reinstall in reverse order.
NOTE: Connect encoder cable on new motor before inserting motor into
place. Push the cable through the openings in the rear chassis assembly.
Hook up the feed motor encoder cable to the processor board at connec-
tor J31.
Feed Motor Assembly
Four Screws Holding
Feed Motor Assembly
(Circled)
8. When positioning the new motor pulley on the back chassis plate, make
sure you leave a 0.180” space between the pulley and motor face.
Pulley
Motor Face