DA80F/DA95F AddressRight™ Printers Service Manual (SV61962 Rev. A)
5-33
Removal and Replacement • 5
DA80F (WF81) Parts Removal
8. Reinstall in reverse order.
NOTE: Make certain to set the tensioner on the transport timing belt (see
section 5.9).
TIP: Work the printer motor harness through the main chassis before the
front plate assembly is reinstalled.
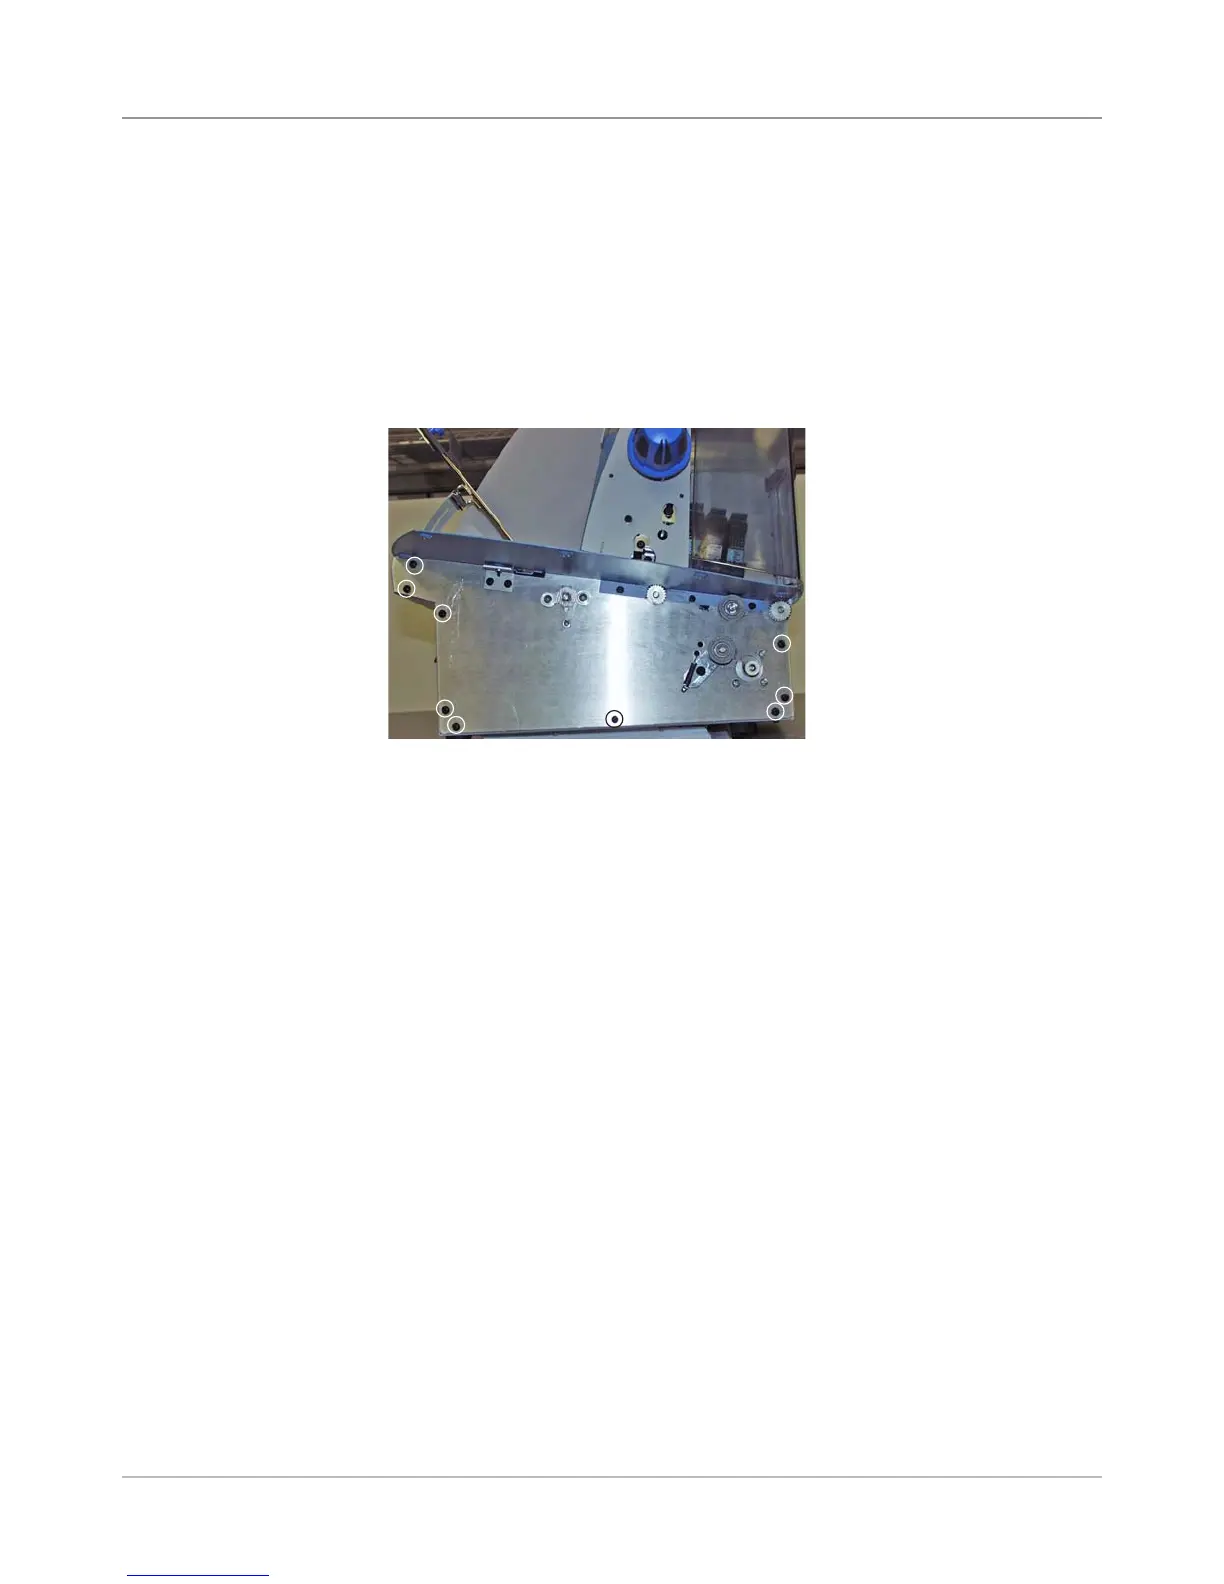
Screws Holding Front
Plate (Circled)
7. Unfasten the nine screws (see figure below) securing the front plate as-
sembly to the main chassis and floors of the printer. Slowly remove the
front plate assembly from the printer. Check for the end of the wire har-
ness; it may snag on the other cables located in the main chassis, pre-
venting the removal of the front plate assembly from the printer.
NOTE: Lay the plate face down to keep the back end of the motor from
dropping and hitting the bottom of the chassis. The motor encoder is eas-
ily damaged or destroyed if the motor is dropped.
5.17B Front
Plate Assembly
(continued)